Official Luthiers Forum! http://w-ww.luthiersforum.com/forum/ |
|
Redo top on number 3. (pics) http://w-ww.luthiersforum.com/forum/viewtopic.php?f=10101&t=17188 |
Page 1 of 1 |
Author: | Steve Saville [ Wed May 14, 2008 10:00 am ] |
Post subject: | Redo top on number 3. (pics) |
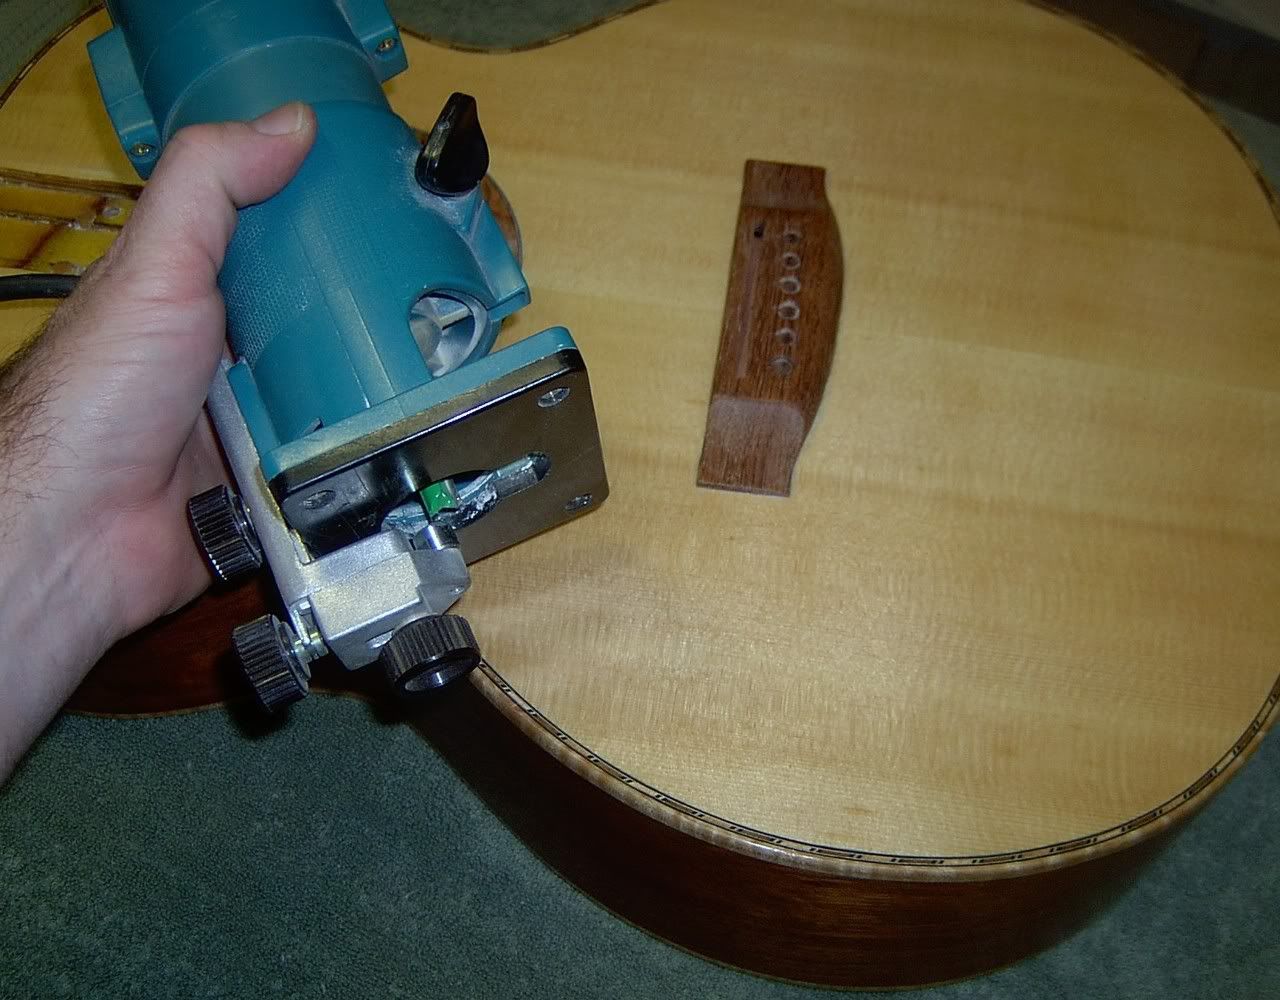
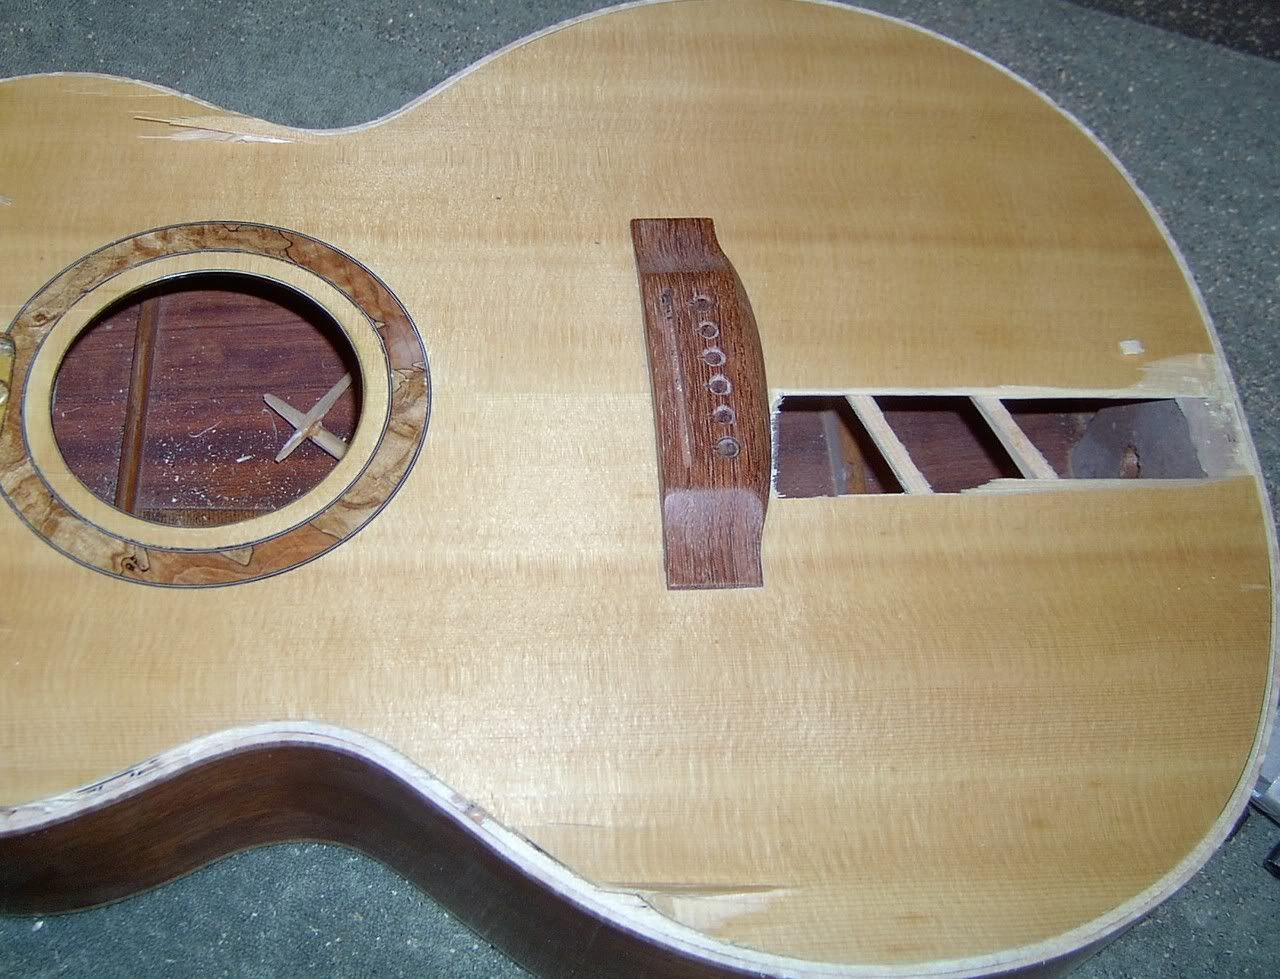
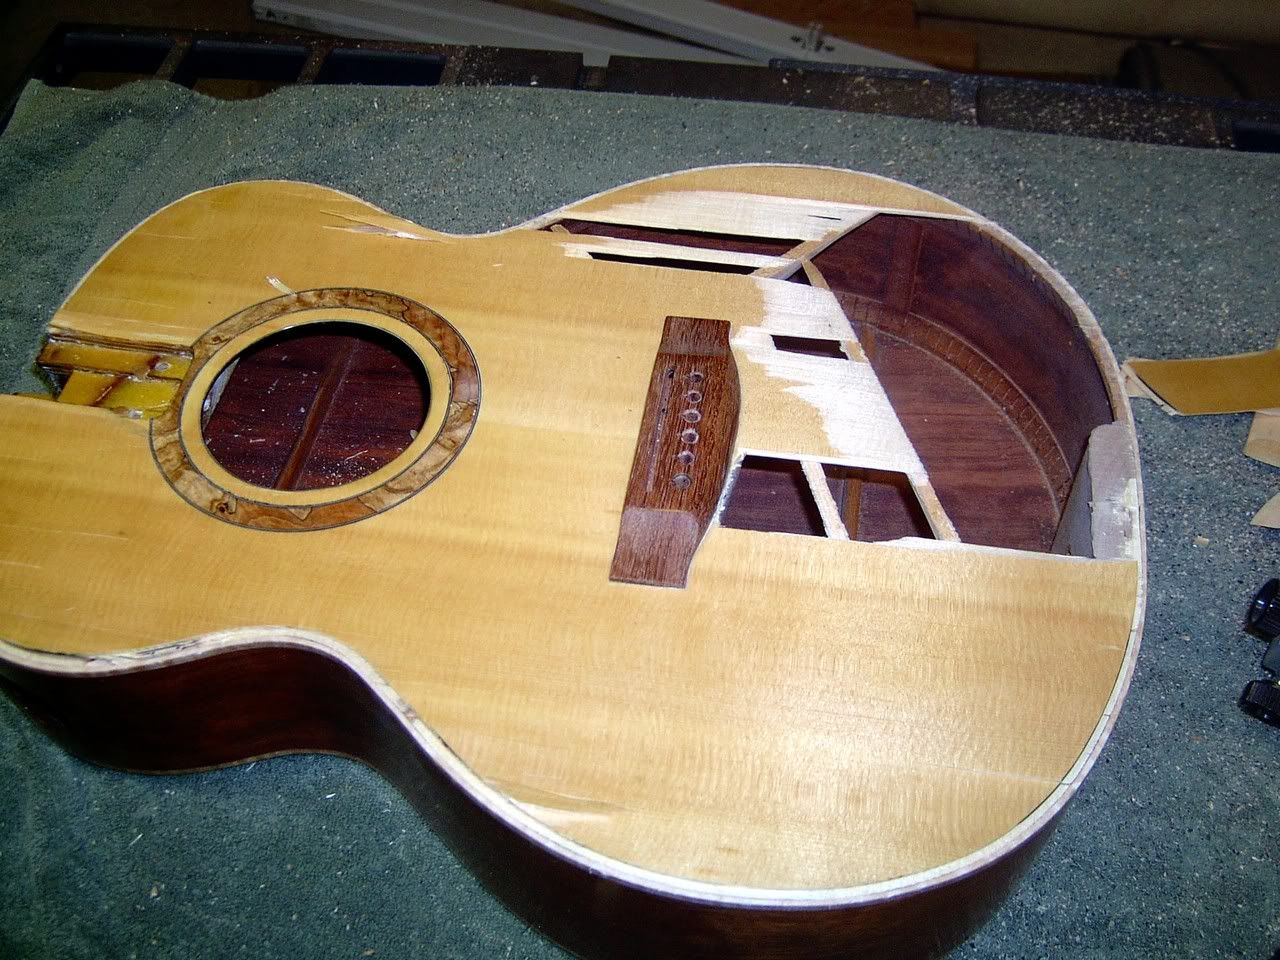
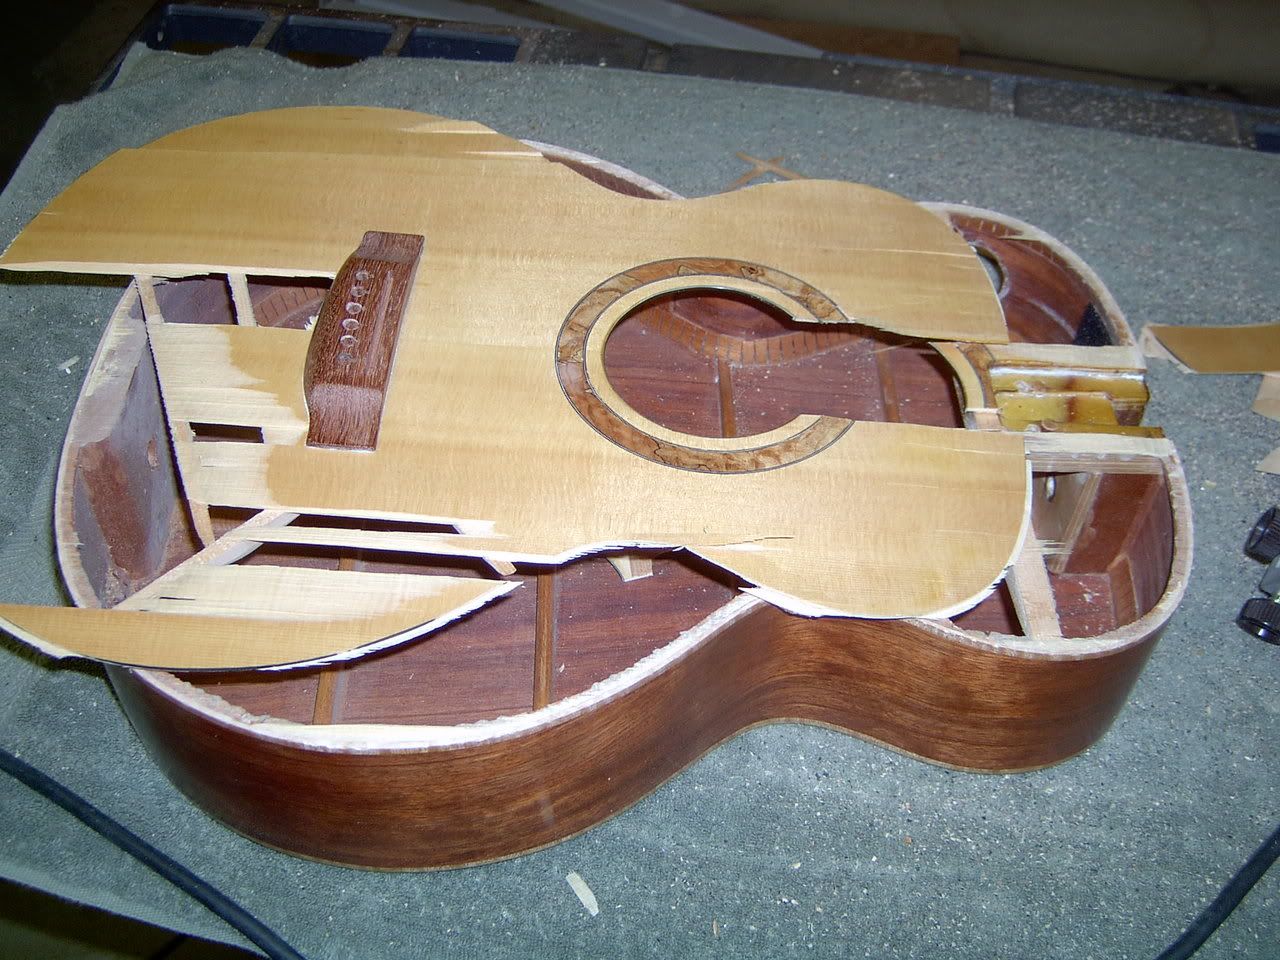
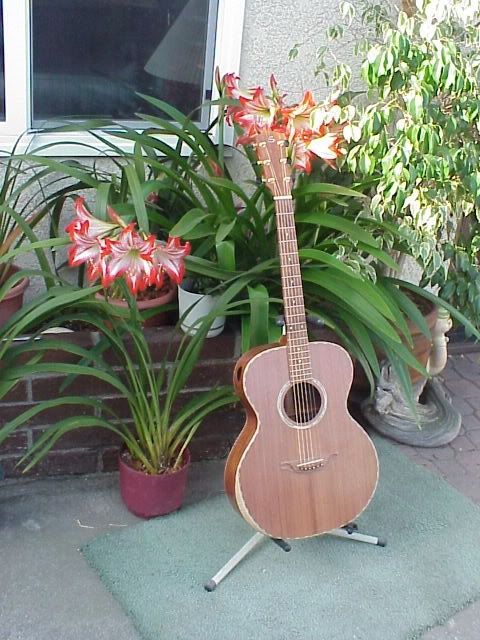
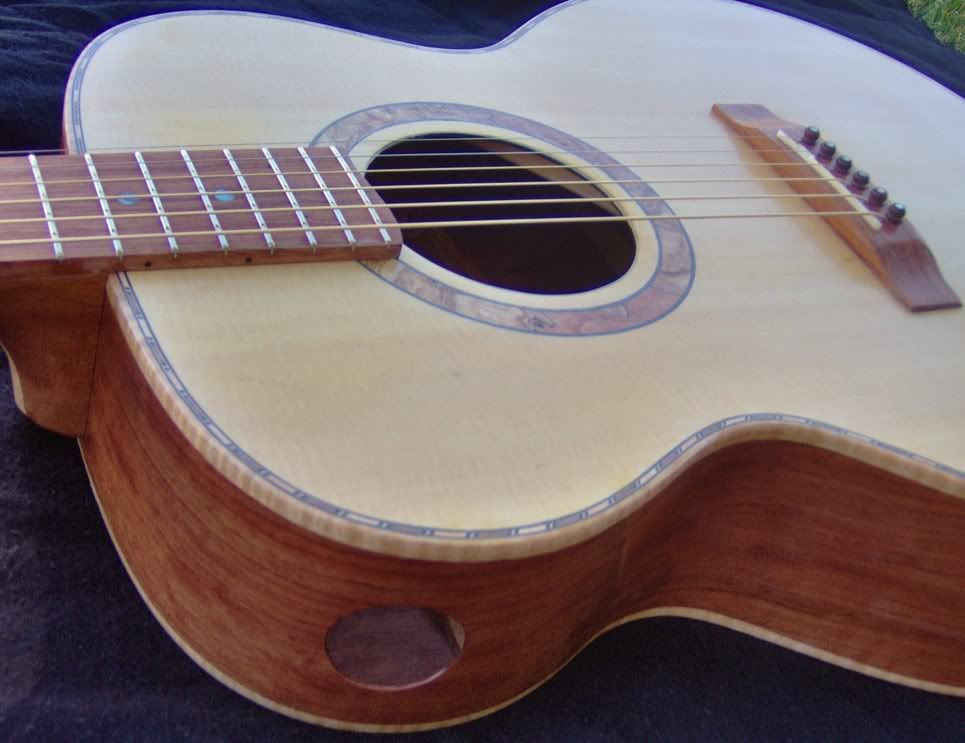
My third guitar was sitka on bubinga. I messed up on the top. It was concave when I finished it and the top recently started to move with a big depression in front of the bridge. I looked inside a the X-braces were pretty short. I learned a lot on this guitar, but it was obviously time to put on a new top. I had a hygrometer that was off, so my wood was stored at 60% RH instead of 45%. When the top equilibrated with ambient conditions it went from a nice 25" spherical radius to concave. The guy I sold it to loved the guitar. It sounded great. I sold it real cheap and he has been happy. He is a friend and he took it with the knowledge that I would make it right if there was ever a problem. He wanted me to fix it because he loved the sound, but we talked and decided to put a redwood top on it instead of trying to repair it This is my first top replacement. I thought I would post it to let you all know that it isn't as bad as it sounds. |
Author: | Steve Saville [ Wed May 14, 2008 10:08 am ] |
Post subject: | Re: Redo top on number 3. (pics) |
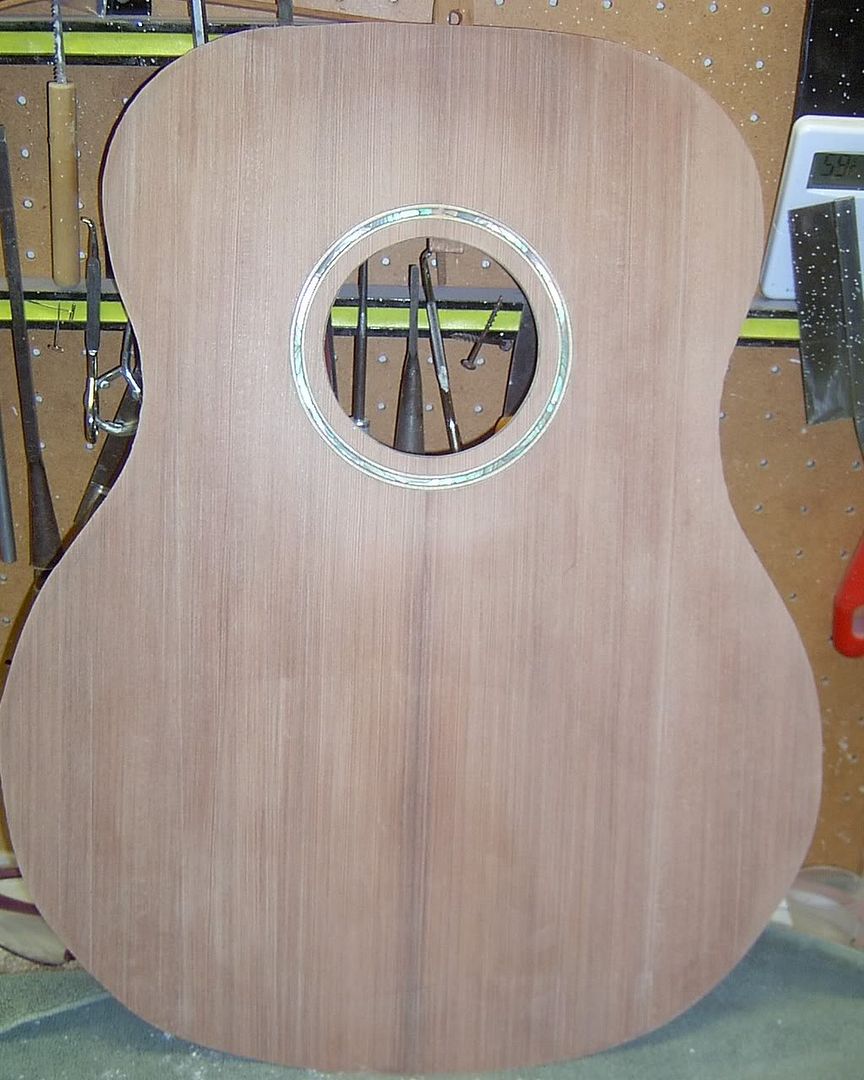
Did I forget to mention that he wanted an armrest also? Time to start on the redwood top. |
Author: | Alexandru Marian [ Wed May 14, 2008 11:13 am ] |
Post subject: | Re: Redo top on number 3. (pics) |
Not trying to cause trouble, but maybe that top could have been rebuilt or saved for some experimental guitar. I did a retop and ripped the old one in several pieces and now I'm sorry. I could have taken it out nicely and see how the tap tone was after the thinning and brace shavings done on the completed guitar.... |
Author: | burbank [ Wed May 14, 2008 12:42 pm ] |
Post subject: | Re: Redo top on number 3. (pics) |
Woa, Steve, That's a brave step! Looks like you're planning on saving the binding. Let us know how it goes, especially routing around the new top for the purfling. |
Author: | Steve Walden [ Wed May 14, 2008 3:27 pm ] |
Post subject: | Re: Redo top on number 3. (pics) |
Do you know how you wince in sympathetic pain when you see someone get hurt? That's how I felt lokking at that top destruction! Great lesson in repair? I trust that it will turn out all right. The humidity question is really getting to me. I have kept my house where my stash of wood is stored at 55-60% RH since the AC would have to run continuously to get it lower. Just bought a GE dehumidifier at Sams Club that is keeping it about 47 to 50 % while set at 45%. I plan to build out my garage shop fully sealed and insulated with AC/heat and dehumidification. Hopefully, the smaller space will be easier to condition. |
Author: | Brad T [ Wed May 14, 2008 7:50 pm ] |
Post subject: | Re: Redo top on number 3. (pics) |
Man that's radical. Looks like you dropped a brick on it or something before you even started with the trimmer. I saw an article that I think was referenced here on top removal where the guy managed to cut off the top and leave the binding, and use the original top as the pattern. Sweet idea |
Author: | Steve Saville [ Thu May 15, 2008 12:52 am ] |
Post subject: | Re: Redo top on number 3. (pics) |
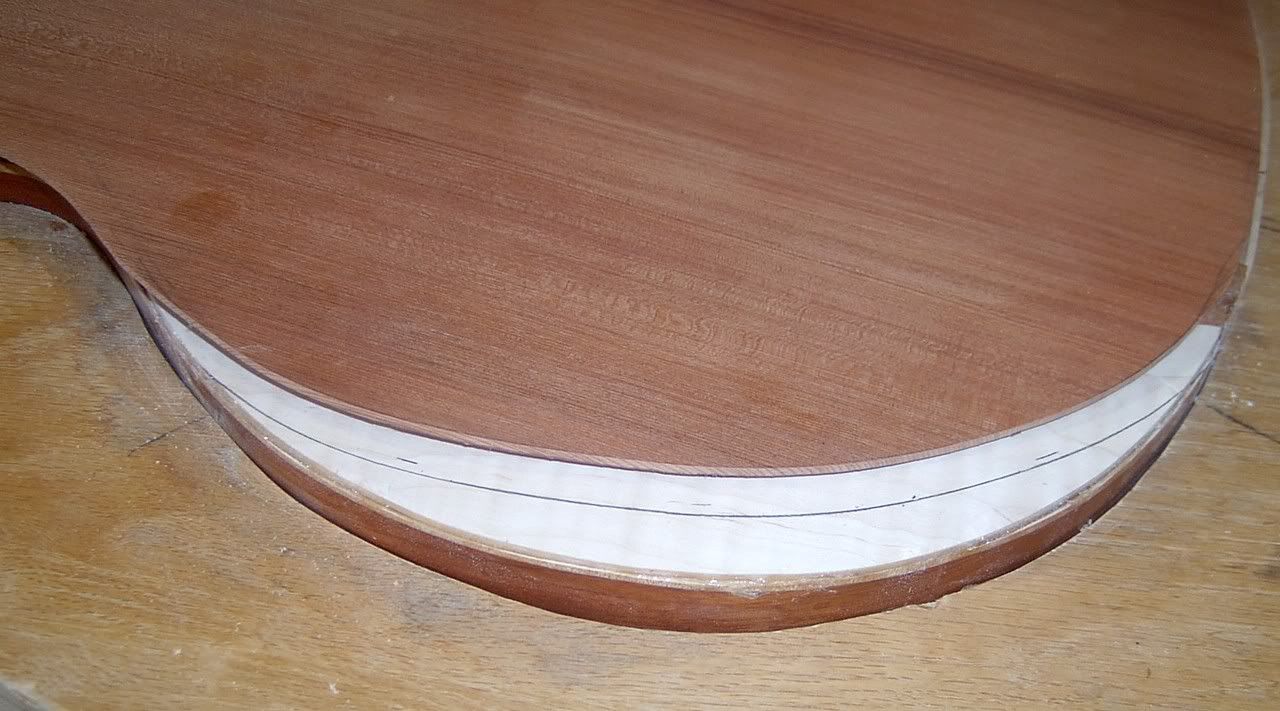
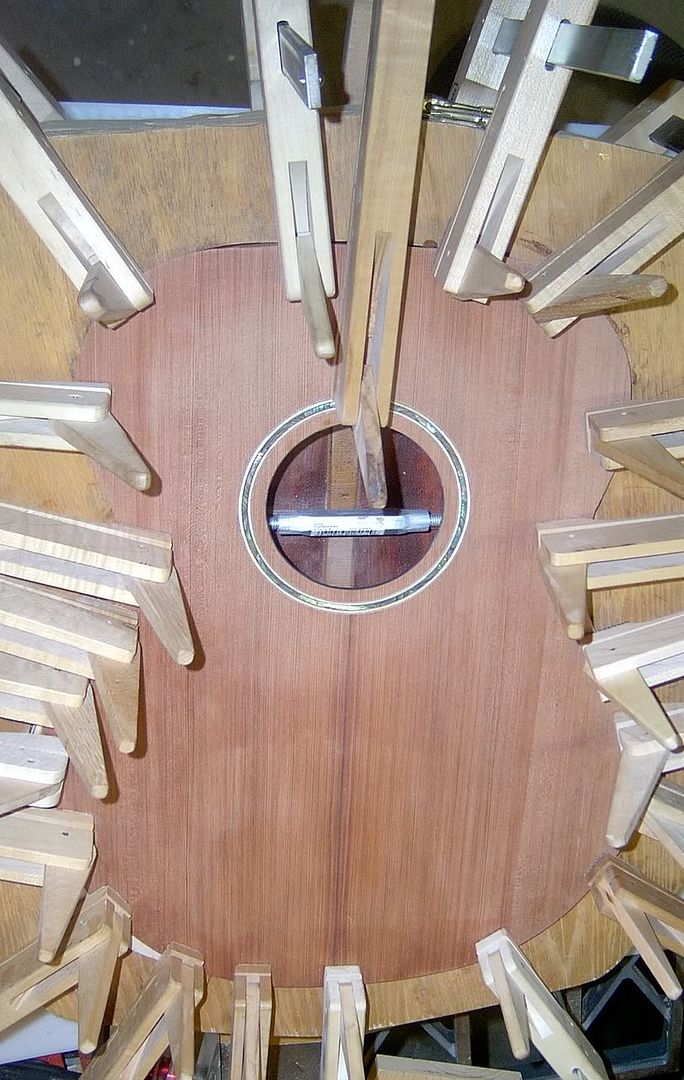
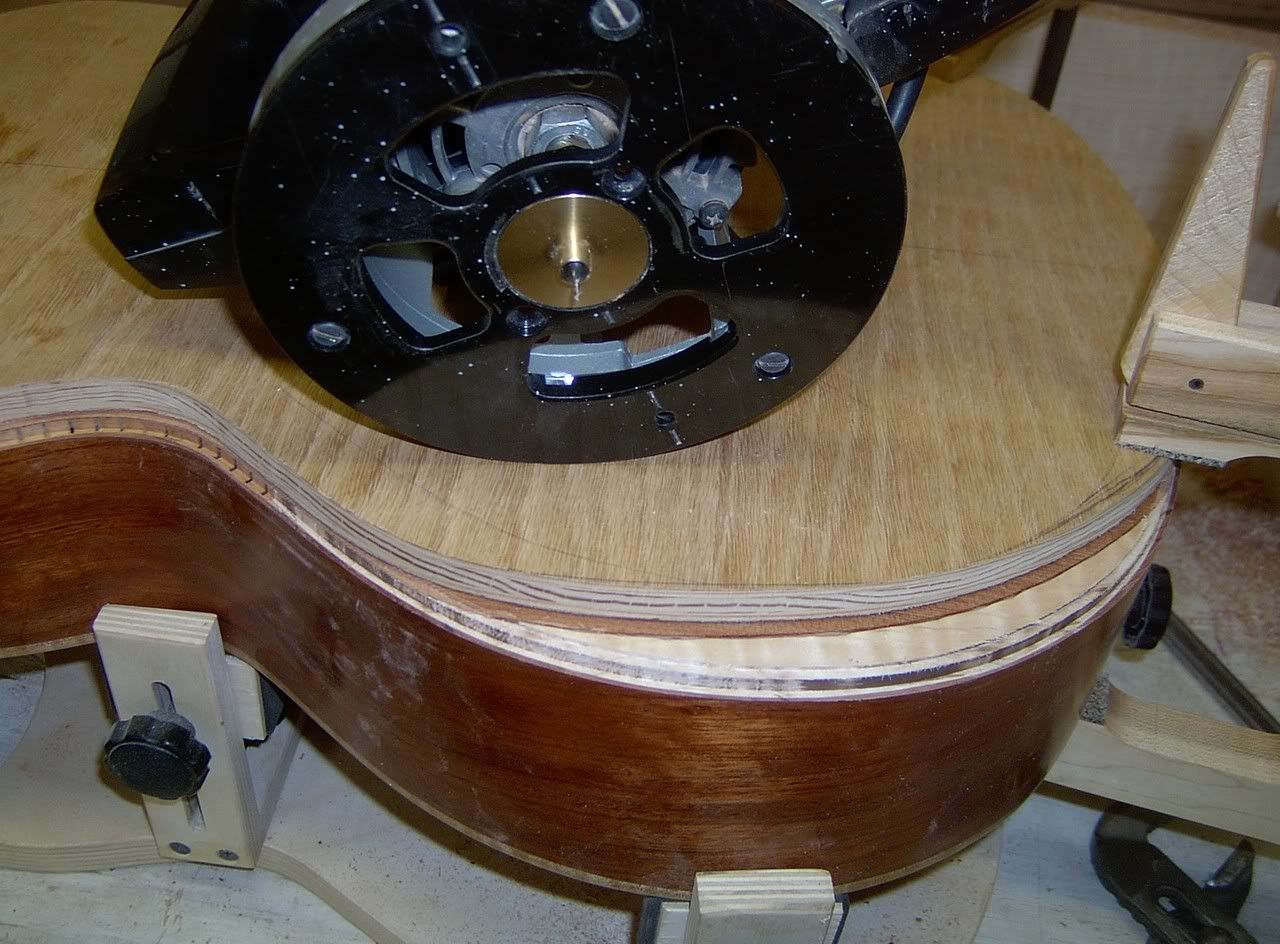
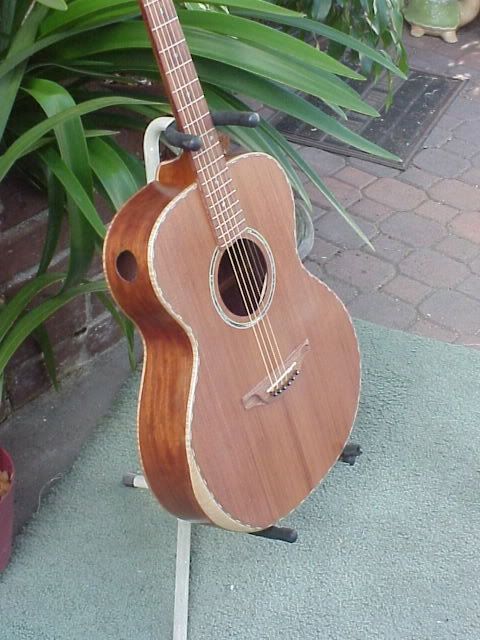
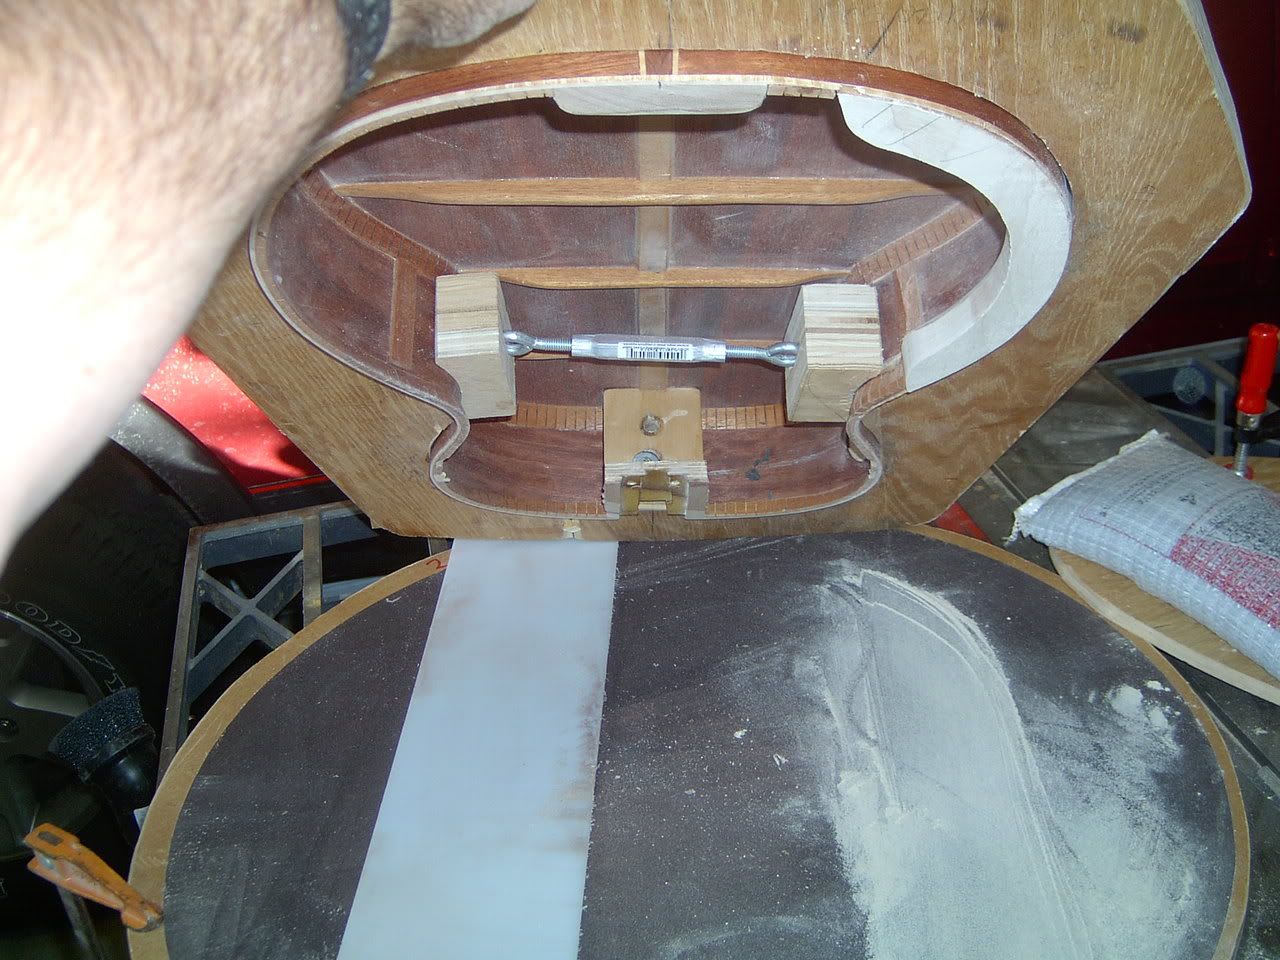
Time for the armrest - This is my first attempt at this! The topped is braced and the rims re-sanded to shape. Kerfing is removed from the armrest section of the rims and the the maple section for the armrest was added and left about .125" proud. The 28" spherical radius was sanded into the the armrest, lowering the maple to about .1oo" above the rims - the approximate thickness of the top. A .100" think HDPE spacer was used to stop from sanding the rest of the rims. (See the first picture below.) The top was cut to shape at the armrest and the line traced on the maple. The armrest was free hand routed to the line even with the kerfed linings on either side of the maple. Free hand is close enough because the purfling channel will take up any mismatch. Time to glue the top on. |
Author: | Steve Saville [ Thu May 15, 2008 1:08 pm ] |
Post subject: | Re: Redo top on number 3. (pics) |
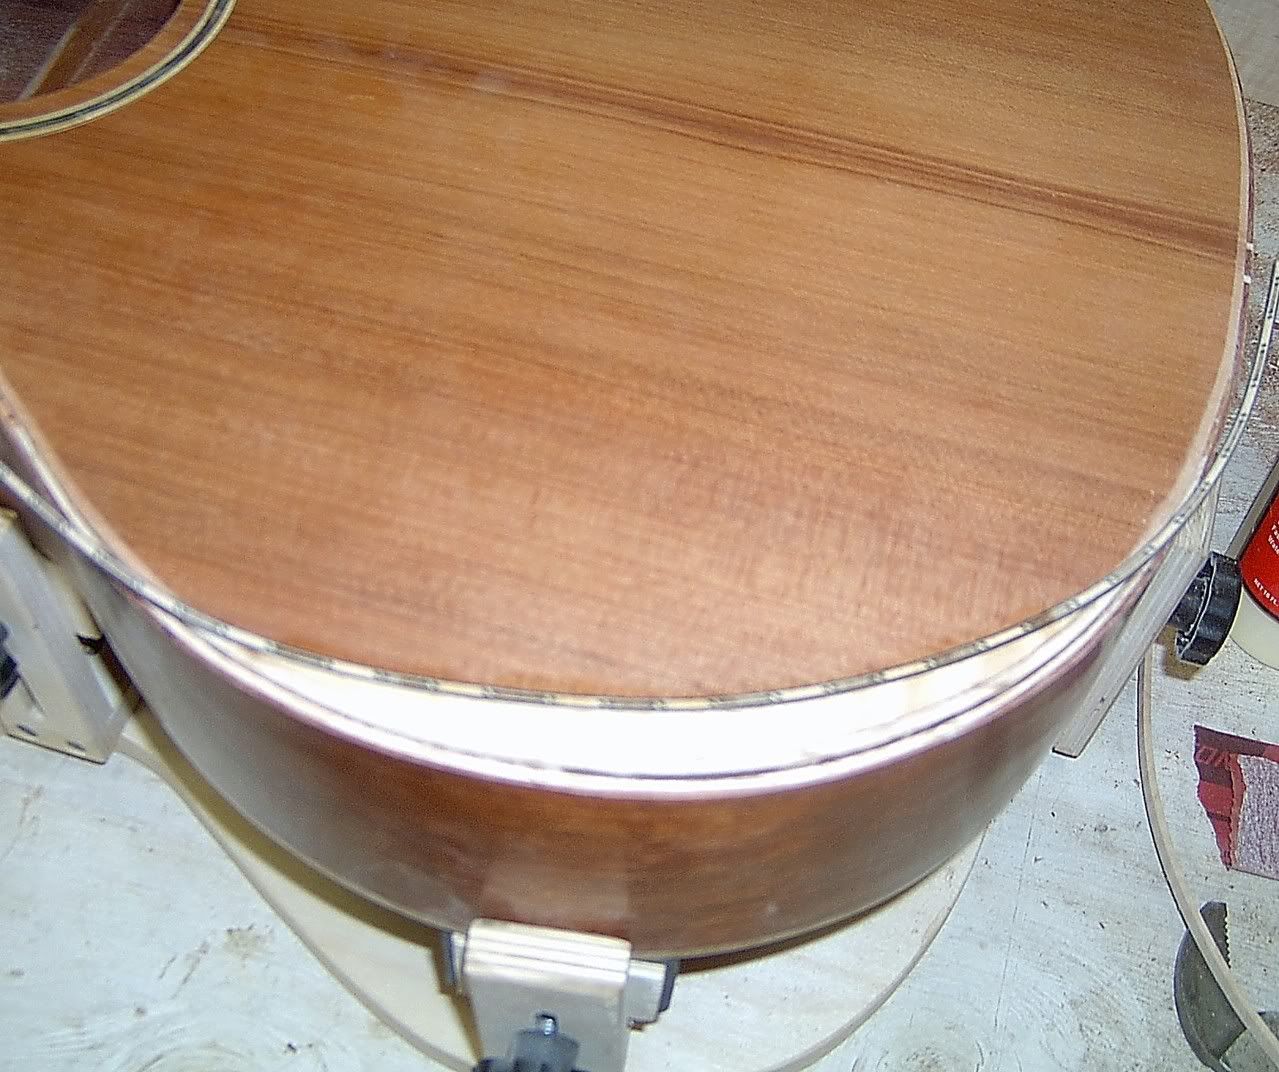
Time to rout the binding and purfling channels. Pictured below is the template that I used to trace the shape onto the top. I will use that template to rout the channel for the purfling. |
Author: | Steve Saville [ Sat May 17, 2008 3:58 pm ] |
Post subject: | Re: Redo top on number 3. (pics) |
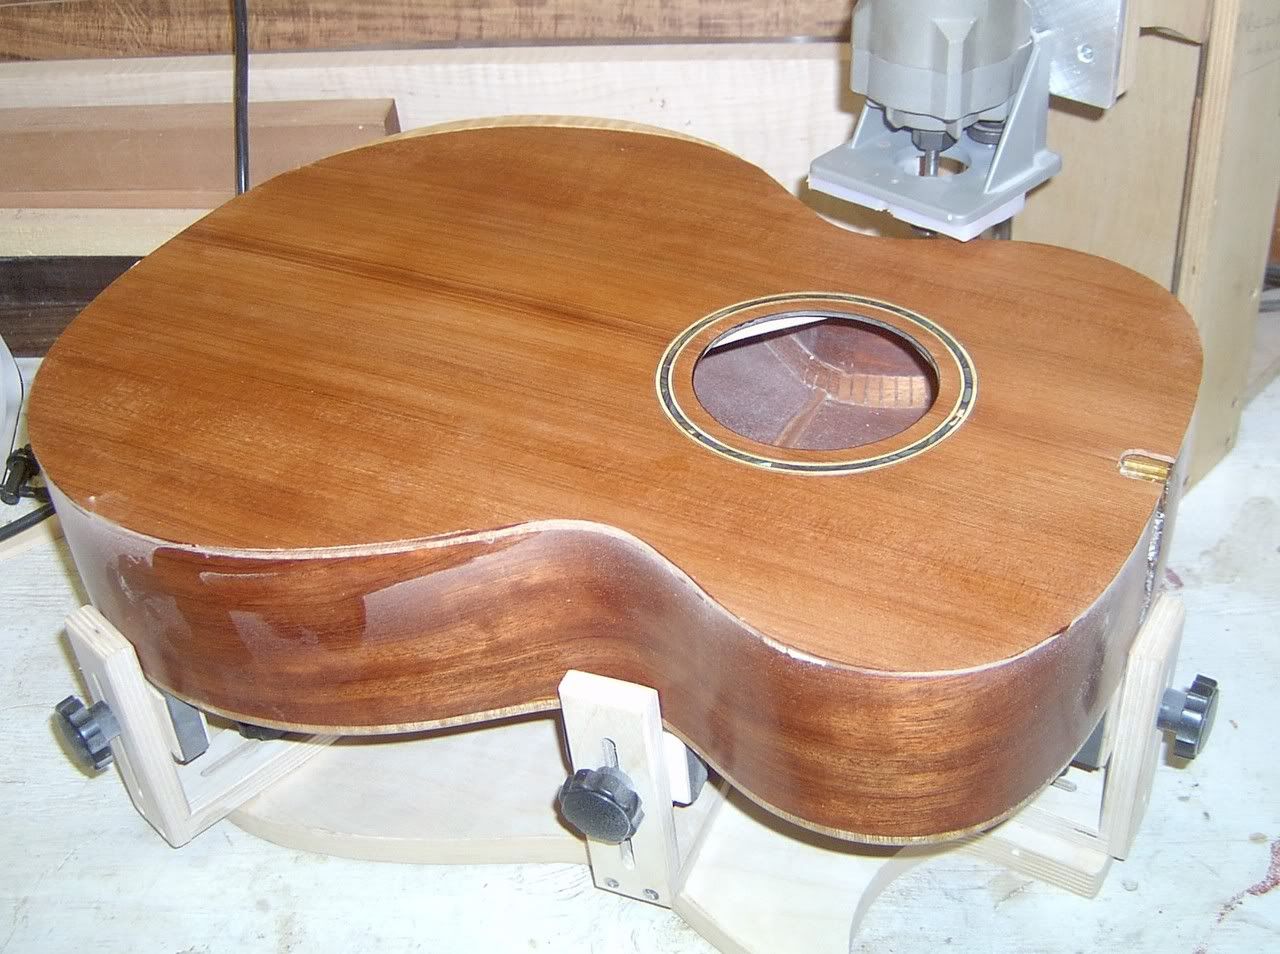
A little sanding to profile and a few coats of Crystalac satin and it is all done. It turned out to be much more of a fillet than a bevel. It is comfortable. I'll try this fillet on my next build. |
Author: | WaddyThomson [ Sat May 17, 2008 11:36 pm ] |
Post subject: | Re: Redo top on number 3. (pics) |
Nice job. That looks great. |
Page 1 of 1 | All times are UTC - 5 hours |
Powered by phpBB® Forum Software © phpBB Group http://www.phpbb.com/ |