I posted this elsewhere this morning, sorry for the repeat. I don't normally like to clutter multiple boards with the same post, but I thought this one was worth it! Fair warning, this is long!
Well, this build was progressing along just fine as the deadline for completion loomed near. Right up until I was putting the last coat of finish on my fully completed and inlayed neck, when I found a crack right up the middle of the back of the neck shaft. I wasn't happy with my attempts to stabilize it, so I just built a whole new neck, setting that one aside for a persoanl build in the future where I can monitor its stabililty over time.
OK, so we're back on track, right? Running a little behind, but I can hurry and catch up. Well, as you all know, "hurry" and luthierie is not a good combination. Especially when you're already frustrated. Here's the story in pictures:
New neck built, roughed in, fretboard slotted, bound, and glued on. Now, I normally have inlayed my fretboards before gluing, but made an exception here because it fit the schedule better. I had spent all morning carving my headstock script and was going pretty well. This is an example of what I was facing carving, only in abalone. The one I was actually carving for this one was MOP. But just so you can see what I was facing:

Well, mid-day I had to go run an errand I really didn't want to run. By the time I got back I was aggravated and not in the frame of mind to be doing inlay work. When I started back carving the script, I broke it into about 8 pieces! Finally, I got through it and decided - what the heck - I'll go ahead and inlay the 12th fret.
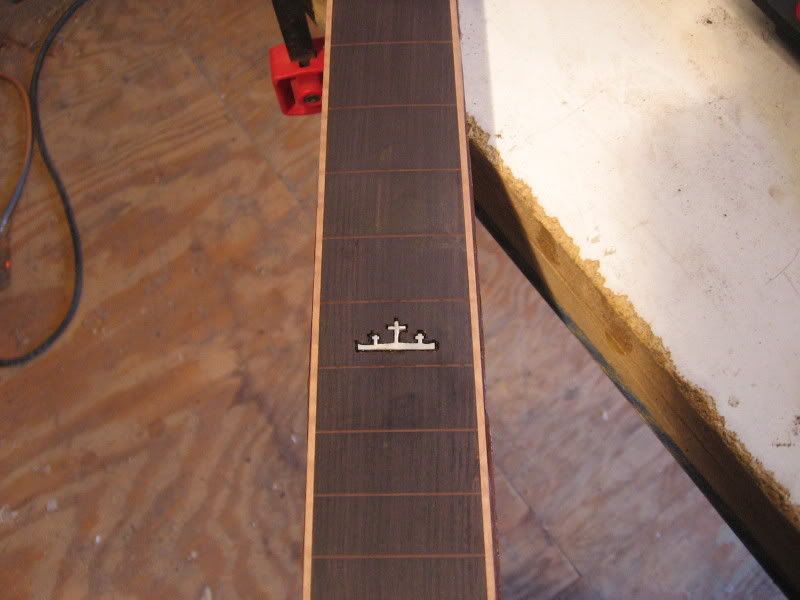
Not too bad for a day's work, considering. Until I came back and realized I had inlayed in on the 10th fret!! After slinging a few things around the shop, I just went to bed, telling my wife the GA trip was cancelled, as I'd never get the guitar finished in time.
So, after that long intro, I'll get into the meat of the post. Next trip out to the shop, I determined to try and fix it. Nothing to lose at that point, right? I had an offcut off the end of the African Blackwood fingerboard, maybe I cut rout out and inlay a whole new block. If it didn't work, I would gain some repair experience.
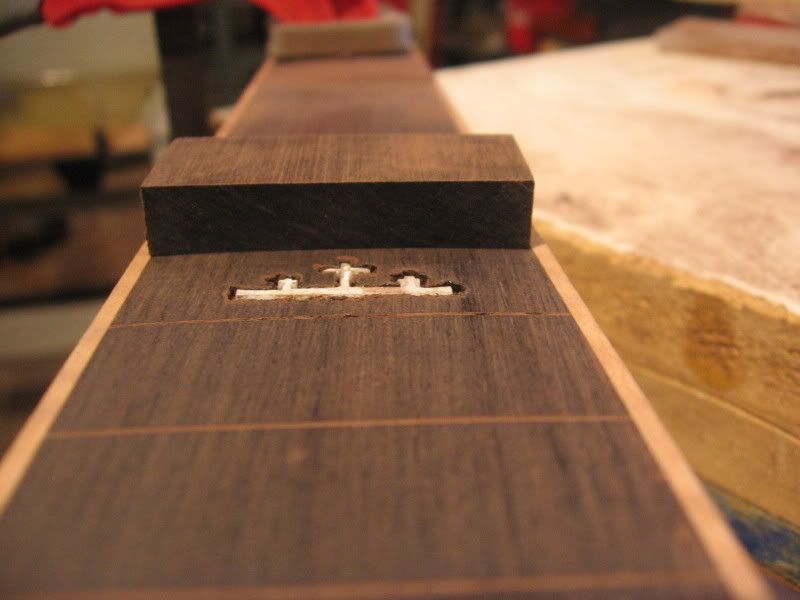
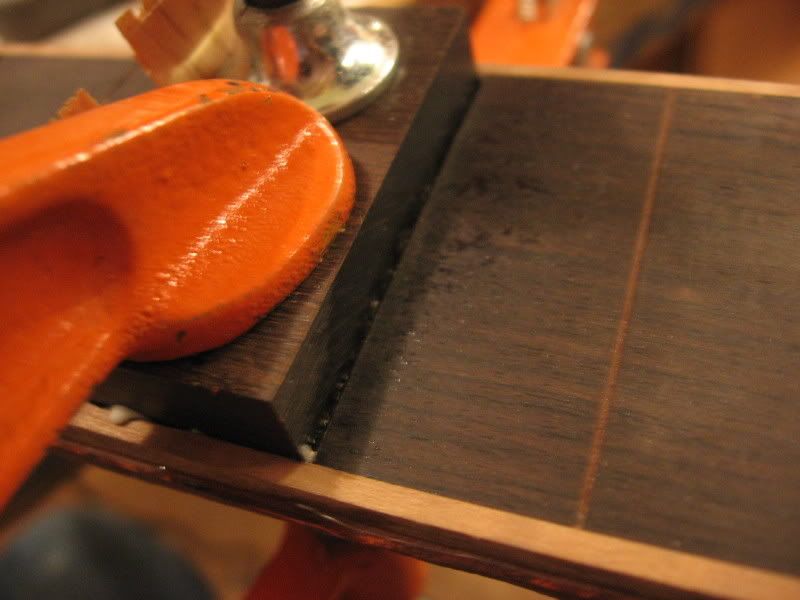
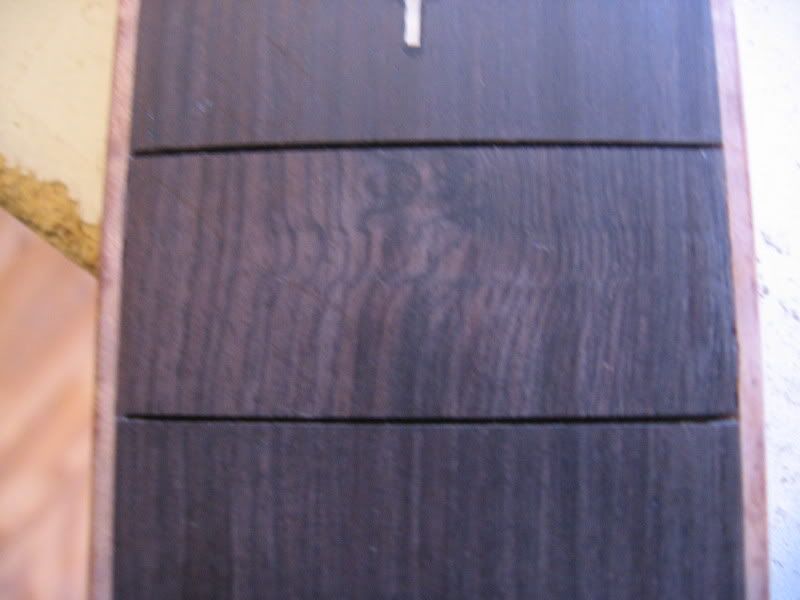
So with the inlay still in place, I carefully (understatement of the year!) freehand routed out the old 10th fret block as close around the delicate inlay as I dared. In most places I was able to get right up to it.
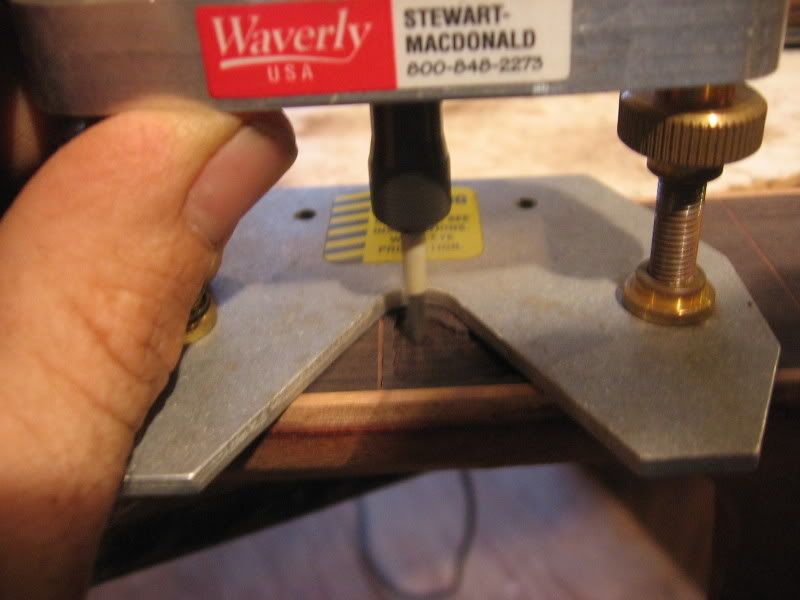
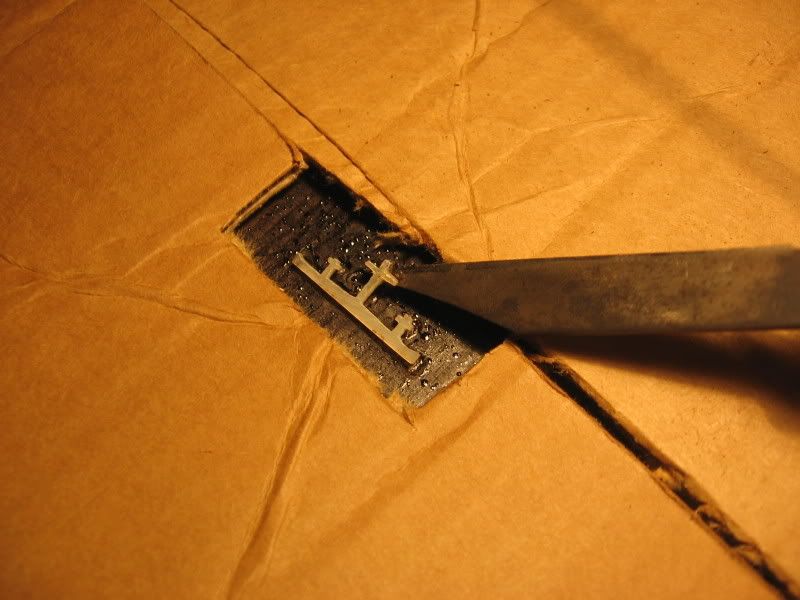
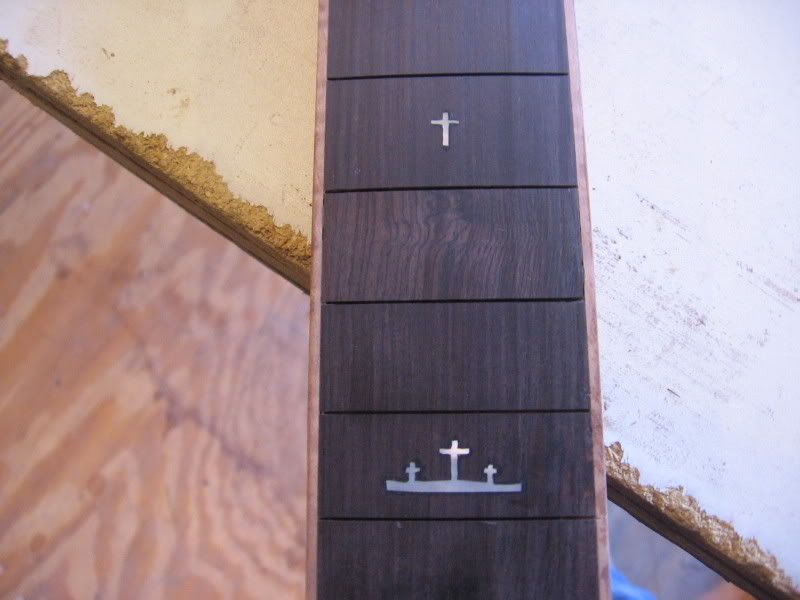
I was pleased, it actually came out pretty clean! All that was left was the inlay itself, which was tacked down with some CA (thankfully it was not filled yet). A couple of pieces of cardboard for protection and a heat gun and it released it one piece!
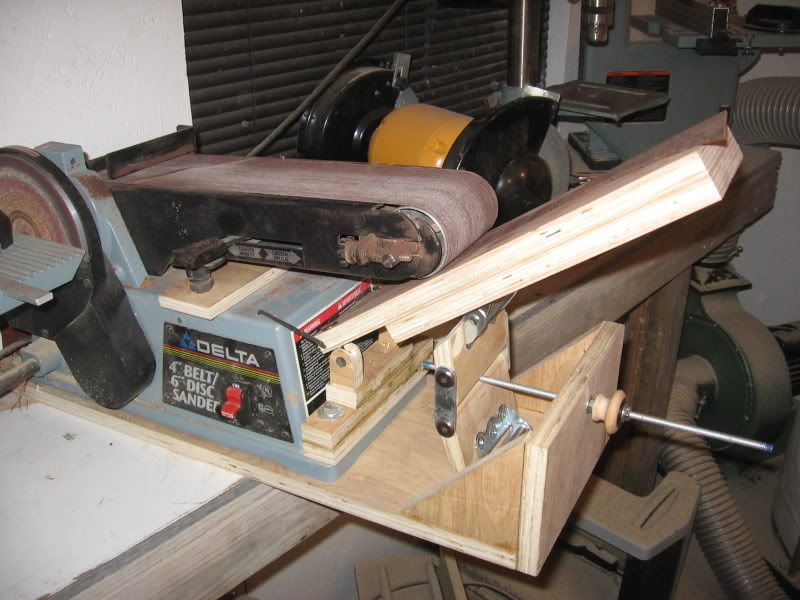
A little bit of final cleanup, and on to the inlay block. I had an offcut off the end of the African Blackwood fingerboard, so I cut it to length, allowing .023" gap on either side for the fret tang, and tapered in in my taper sled. Another kudo to the taper sled! Perfect every time! Including the three times I've had to saw the maple fretboard binding off so far, but that's another story...
With the inlay block a good fit in the recess, I put a radius on the bottom to match the fretboard's compound radius. This because the Dremel had to follow the contour of the fretboard to cut the recess or I would've had to build a little jig to cut a flat bottom recess.
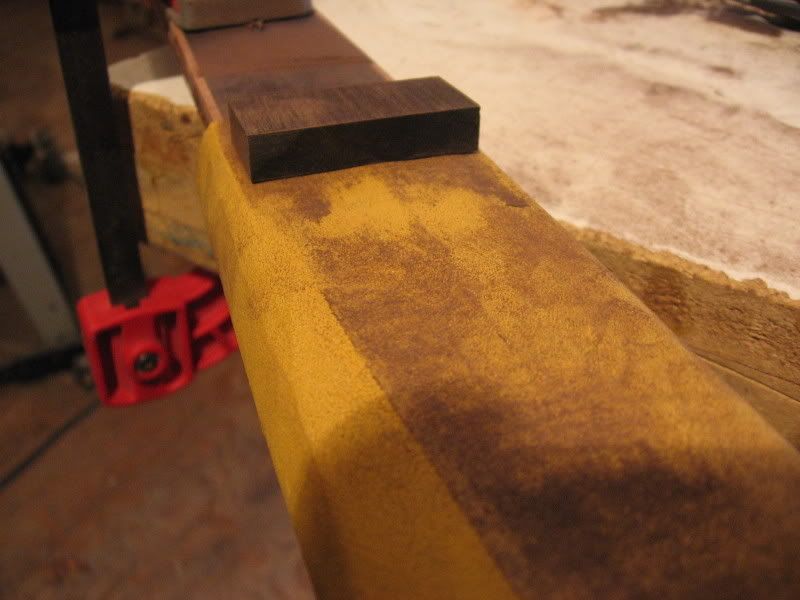
As you can tell, the block was actually cut before routing the cavity. Now just to glue it in! A couple of .023" oak shims thicknessed on my little mini-thickness sander:
and I'm good to go!
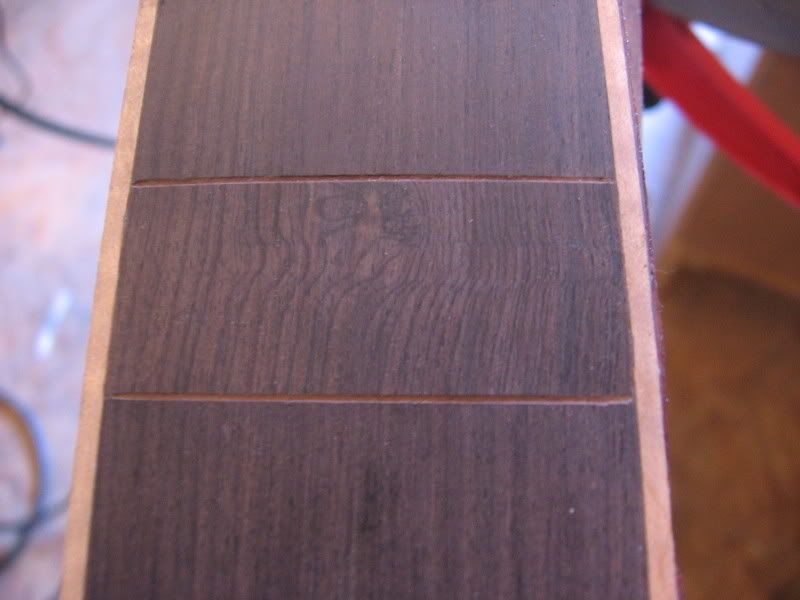
Here is the block being glued with LMI white:
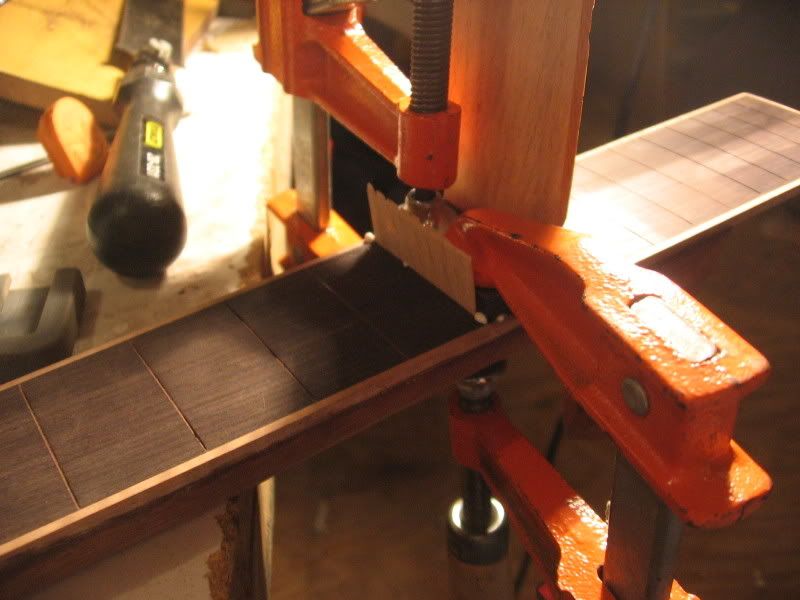
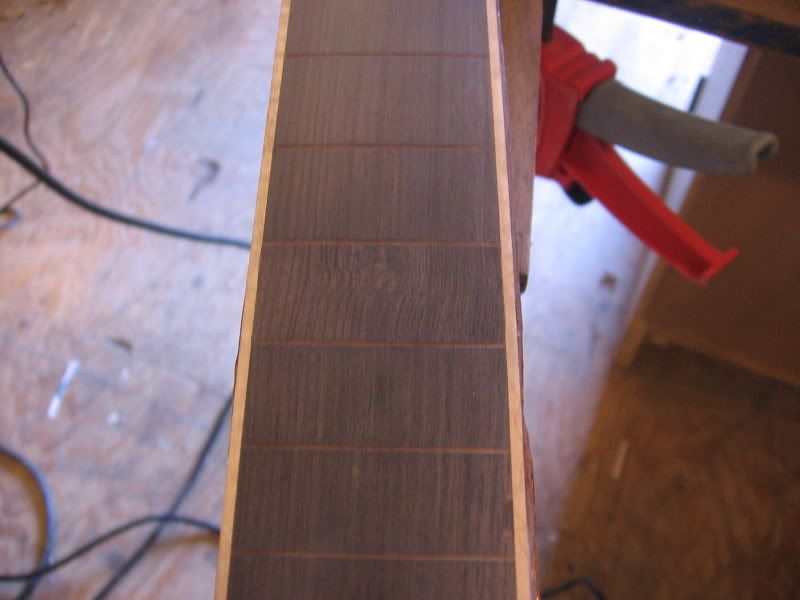
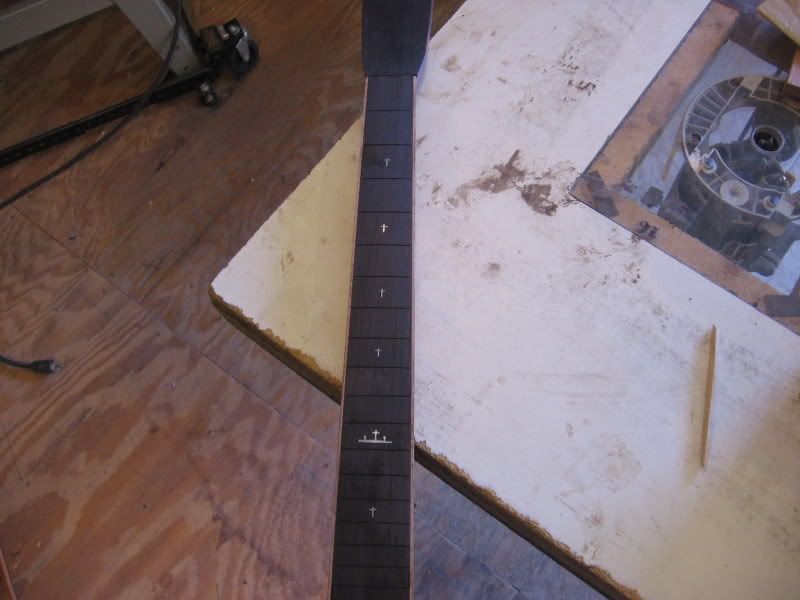
And the end result!
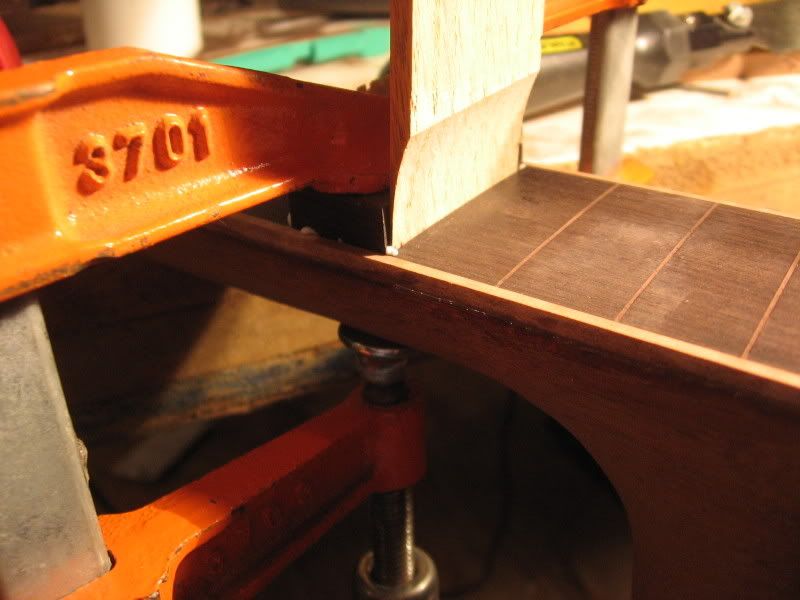
Just one more problem reared its head, looking closely, I found the nut end of the fretboard had a slight gap in it! Well, off she comes! With the help of a little heat, of course. Man, this is getting crazy now, I'll never get this thing done in time to deliver! Oh, well...
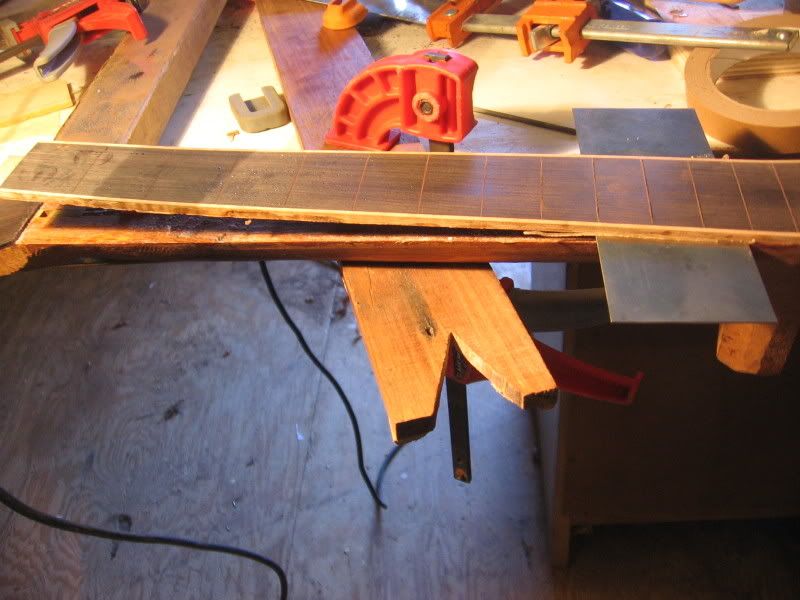
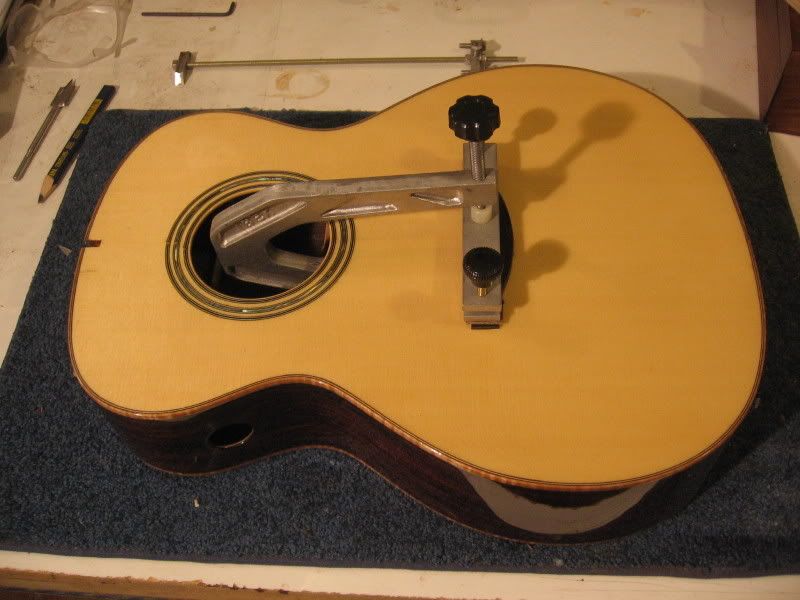
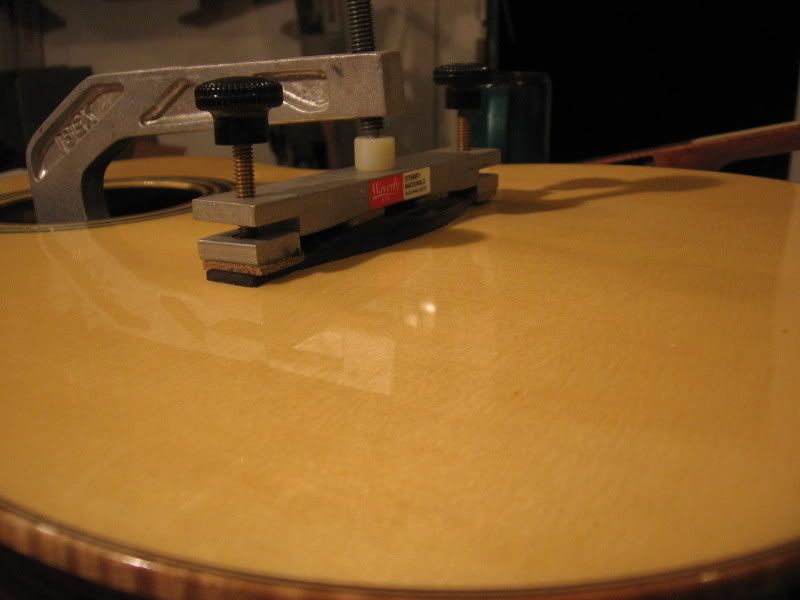
Gluing back on after cleanup, using System III epoxy. Notice the extra clamp on the headstock to drive it down and ensure a good bond at the nut.
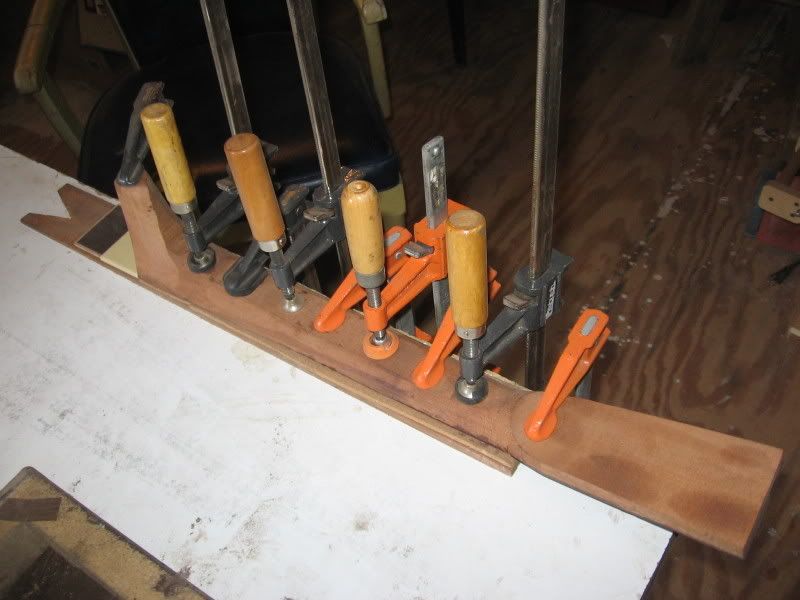
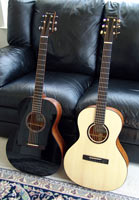
And, FINALLY, the end result. It was a bit of a chore, but I wouldn't trade for the experience.
Hopefully, this will give someone else some hope! It ain't over 'til it's over folks. Look hard enough, there may be a save! Most importantly, I'm now back on schedule. Putting the final finish coats of the neck today, glued the bridge on last night, will probably fret tomorrow!


![[:Y:]](./images/smilies/smiley20.gif "Thumbs Up")
![[clap]](./images/smilies/smiley32.gif "adulations")


 Thanks a lot, Lars!