Official Luthiers Forum! http://w-ww.luthiersforum.com/forum/ |
|
Peg head Mishap & Progress Pics http://w-ww.luthiersforum.com/forum/viewtopic.php?f=10102&t=11574 |
Page 1 of 1 |
Author: | robertD [ Mon Apr 09, 2007 9:49 pm ] |
Post subject: | |
Hello All, 
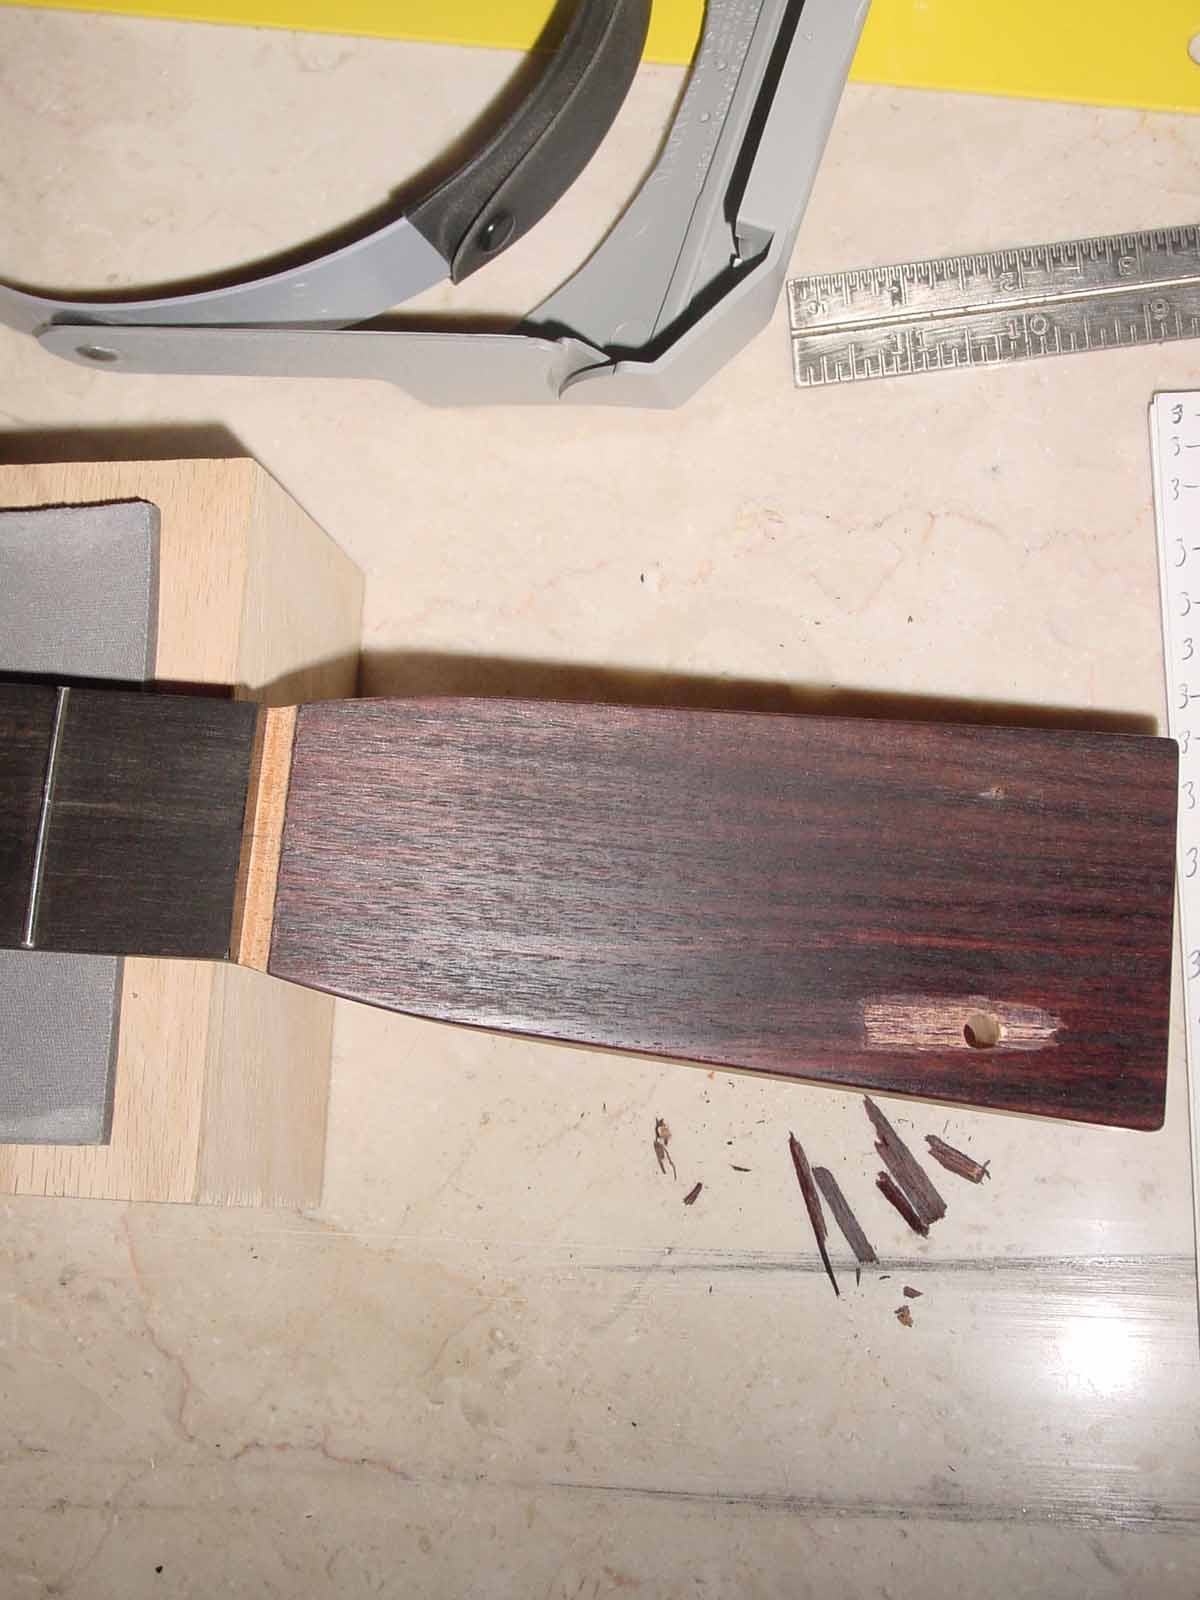
I thought I would be smart, and take a brad point 1/4" drill bit. Drill in reverse through the back of the 1/4" pre-drilled peg head hole, so as to create a small hole in the peg head veneer. The object was to find the center of the hole in the veneer, so I could then drill through the veneer side (Face) of the peg head to prep for the tuners. As you will see in the picture below, I pressed a little to hard, when drilling in reverse. OK! I was pressing a lotta to hard! Another lesson learned. Anyway, I guess its obvious what I need to do. Remove the veneer? However, I’m always open for suggestions. Oh! I should also say, that Paul Bordeaux is making an inlay of about 1.5"X1.5" for the peg head. This may end up being a perfect opportunity to use a veneer that better suits the inlay. I had already installed the rosewood veneer before I called Paul. Hope your listening Paul! 
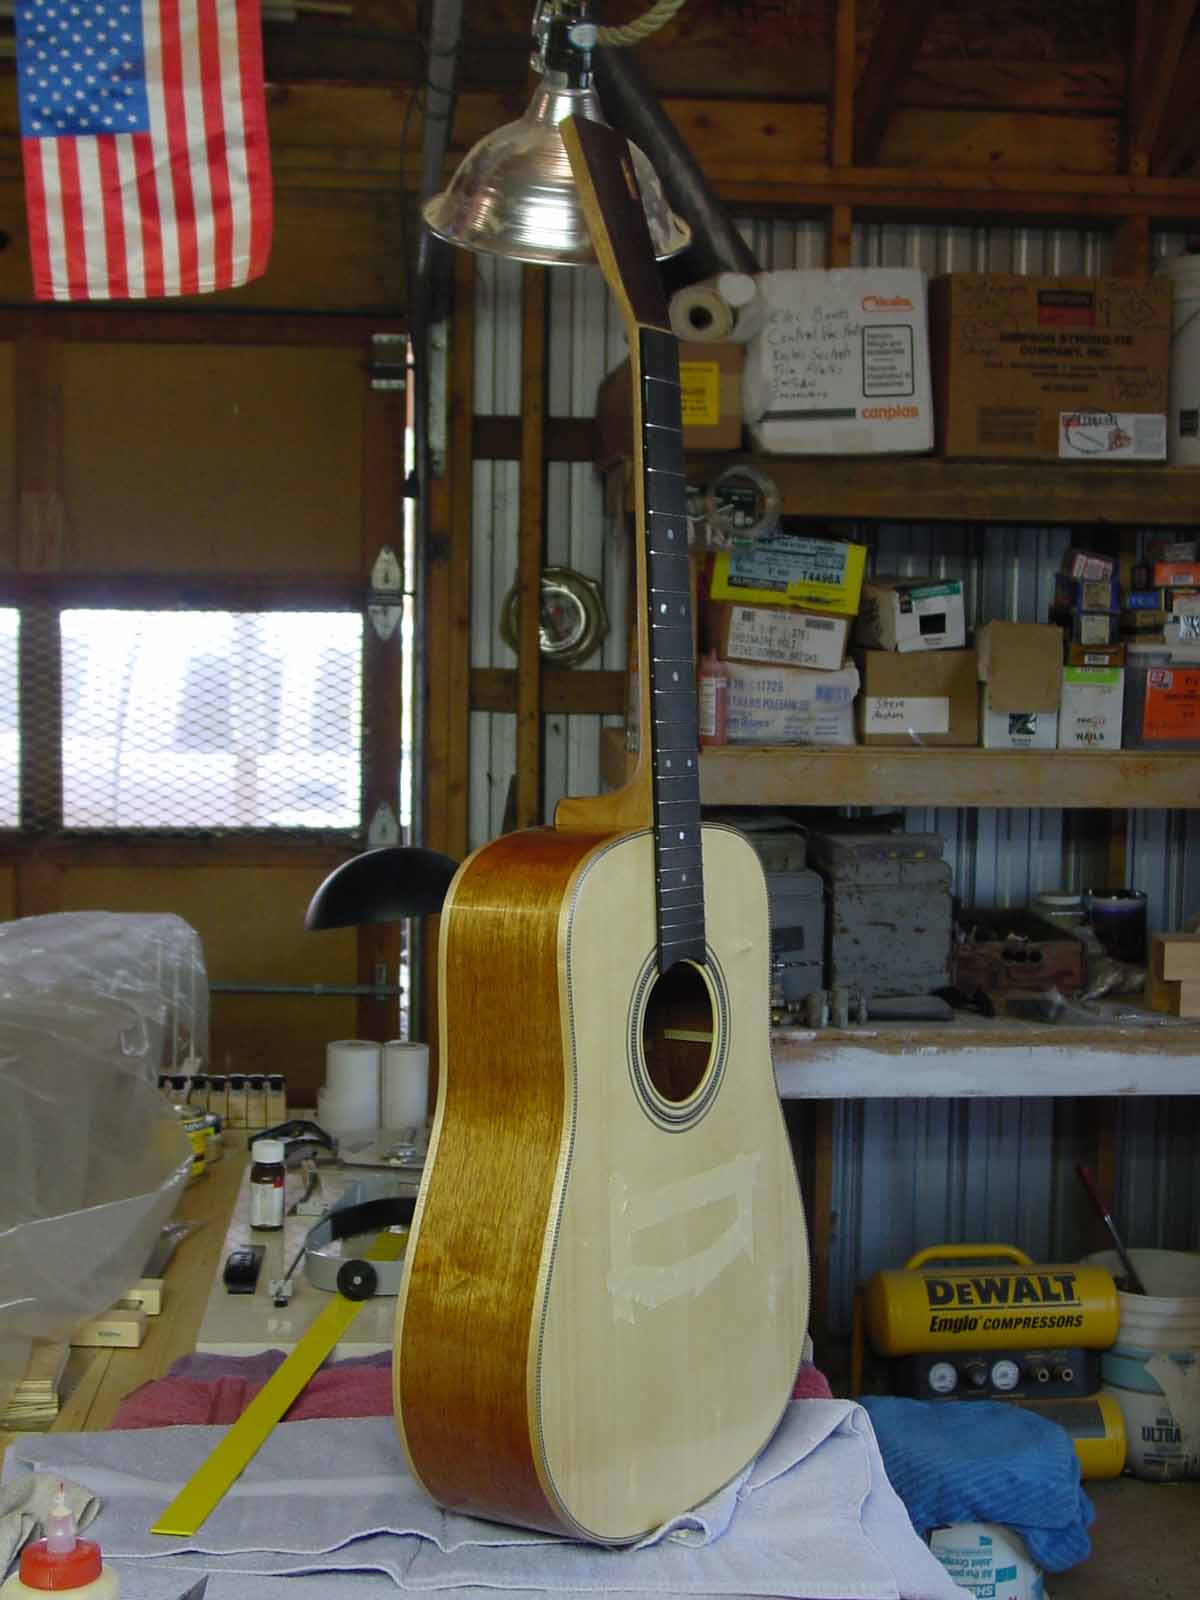
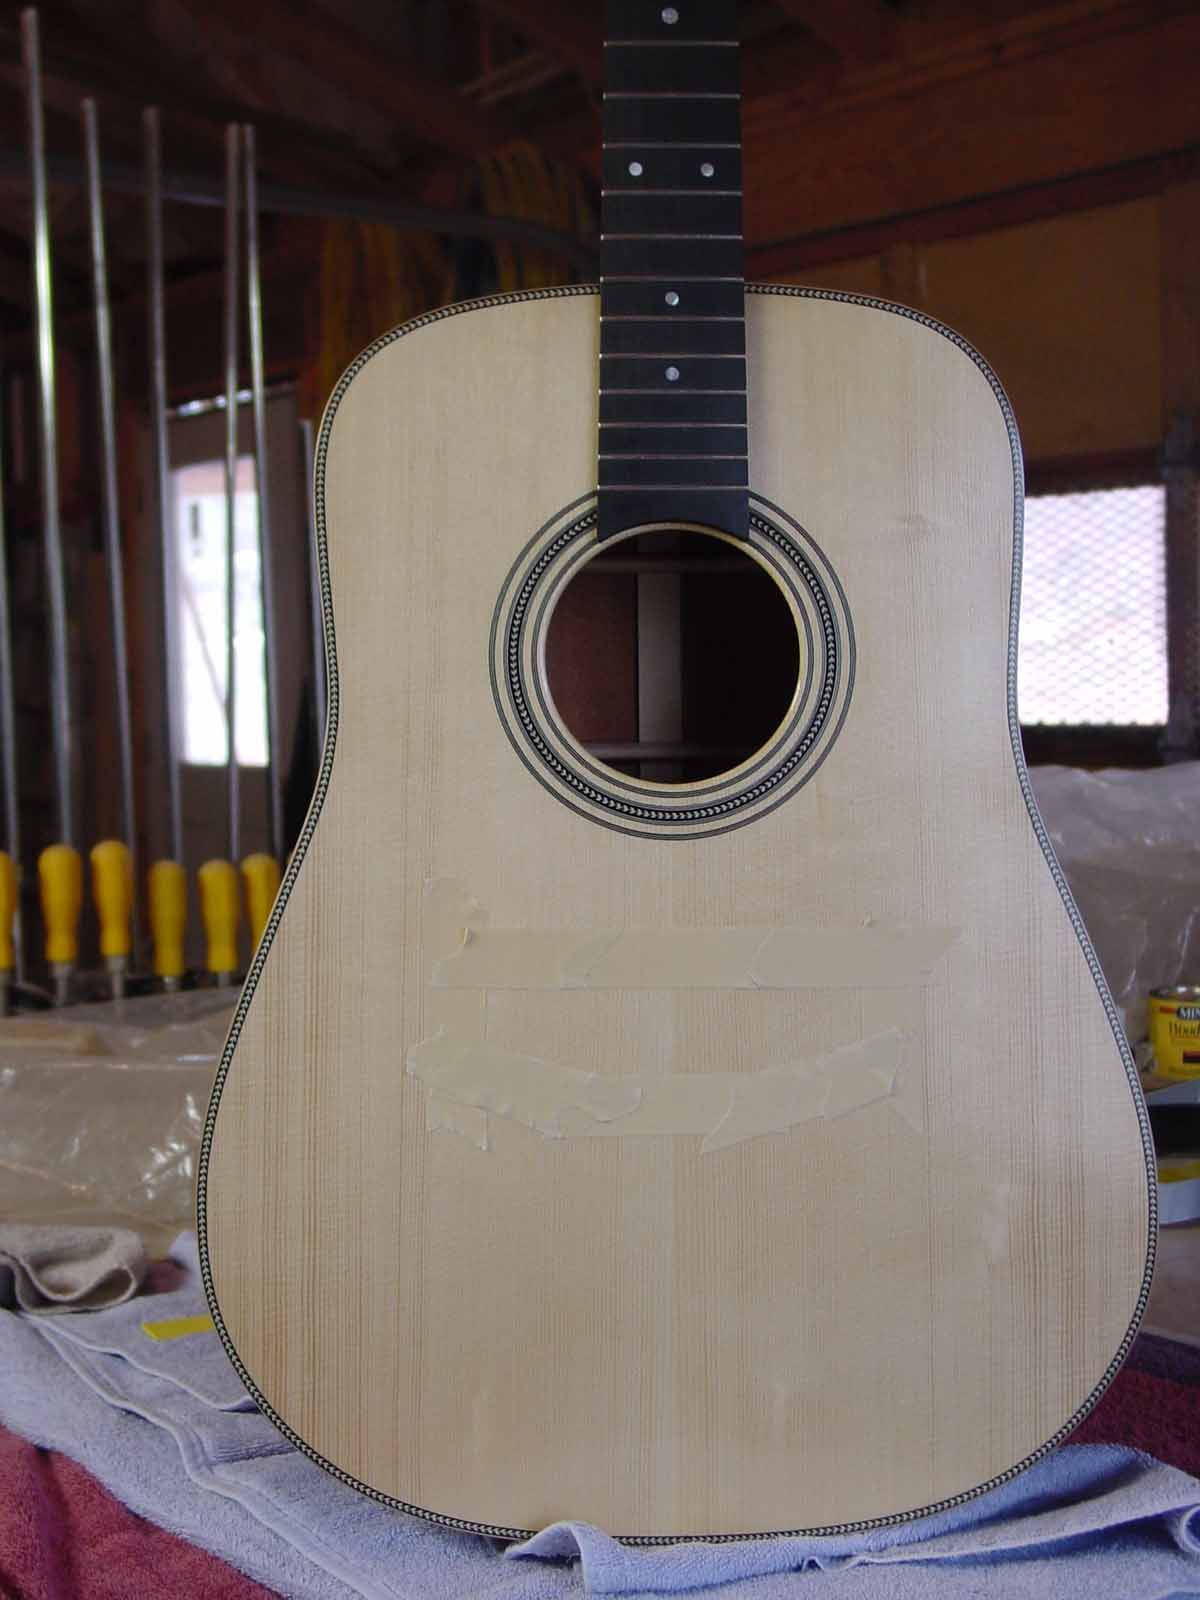
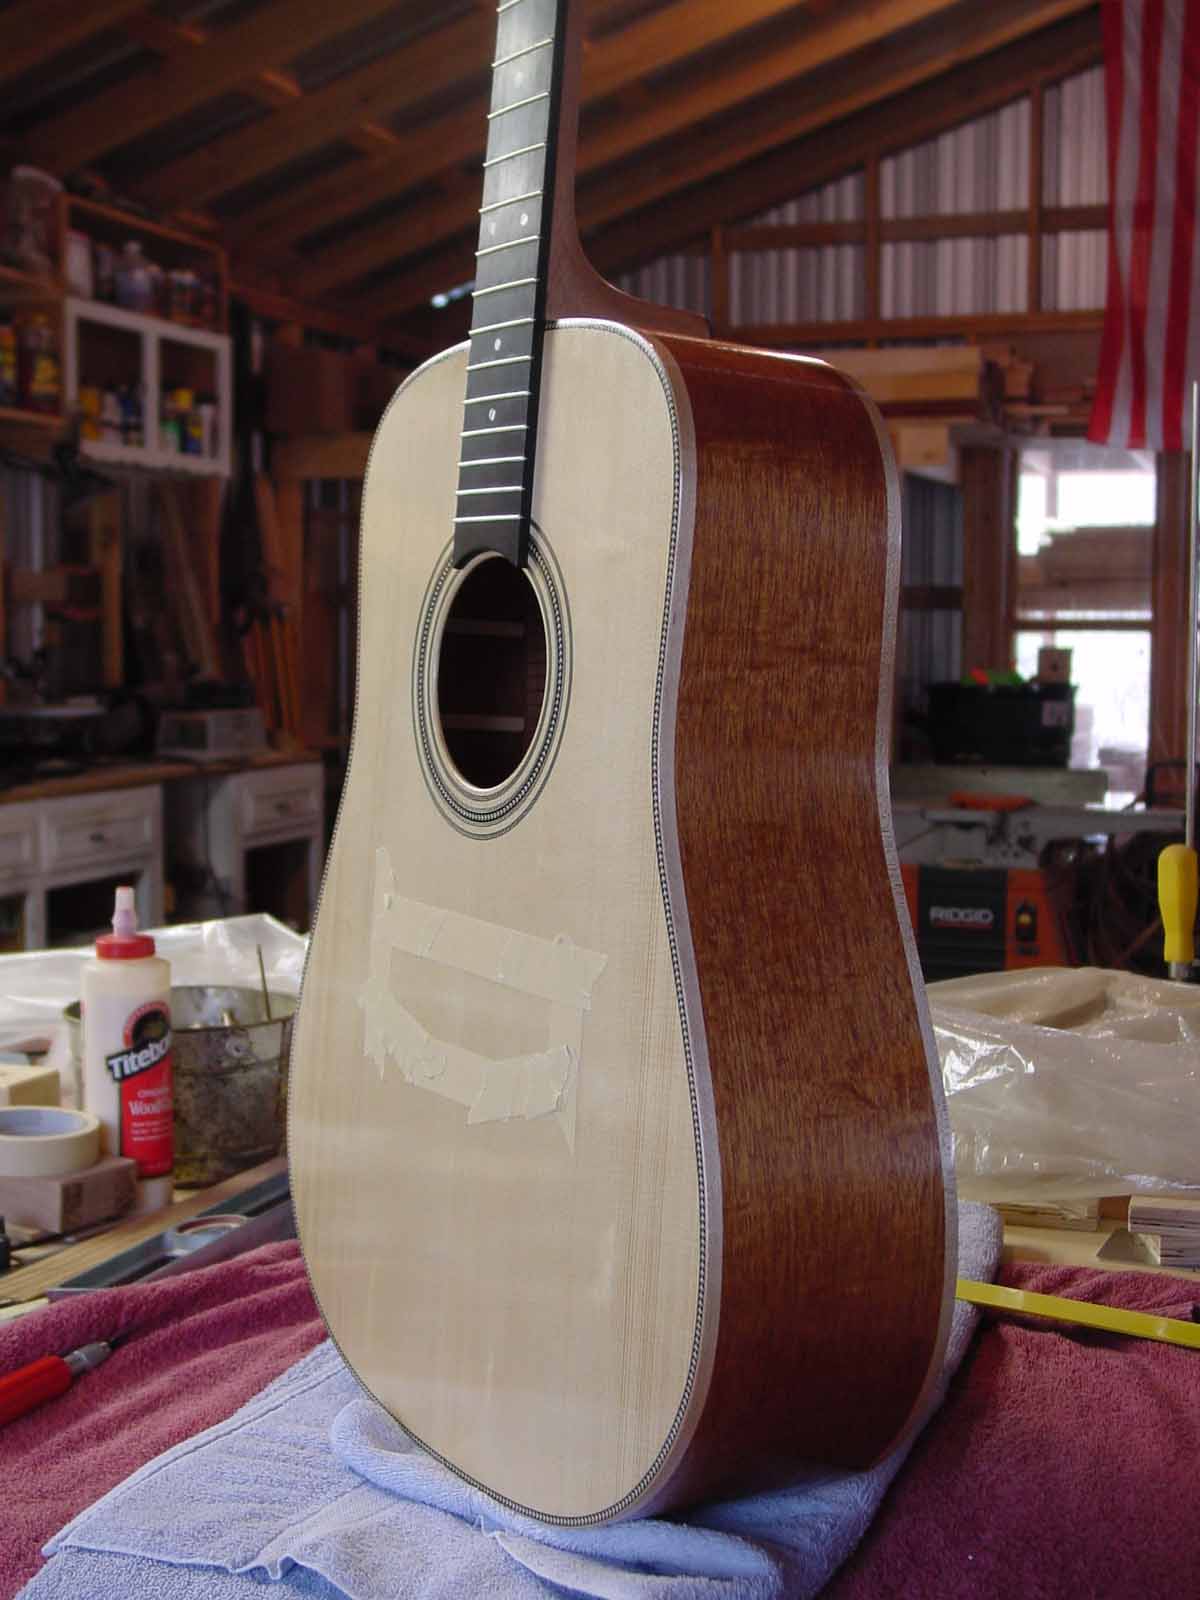
Since I was taking pictures, I thought I’d show everyone where I’m at right now. The body has the fourth coat of true oil, the neck only one. The body has not been polished. The LMI procedure called for 0000 steel wool. However, I didn’t like what it was doing to the finish. It appeared to aggressive for me. So, I’ve decided on the alternative LMI method of using the 6000, 8000, 12000 Micro-Mesh sand paper, which is on order. Sorry about the quality of the pics. Peg Head Mishap! ![]() 
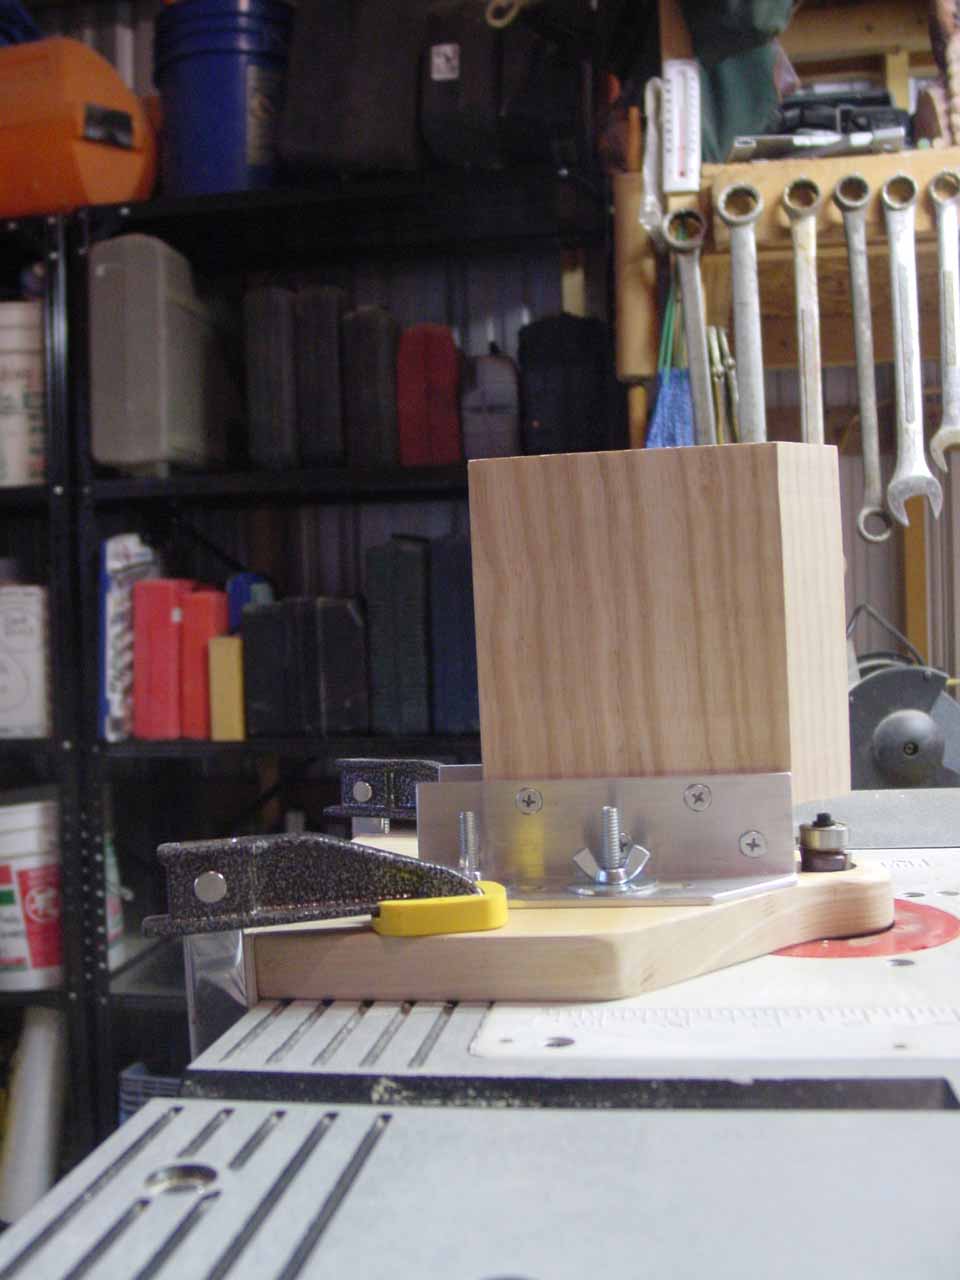
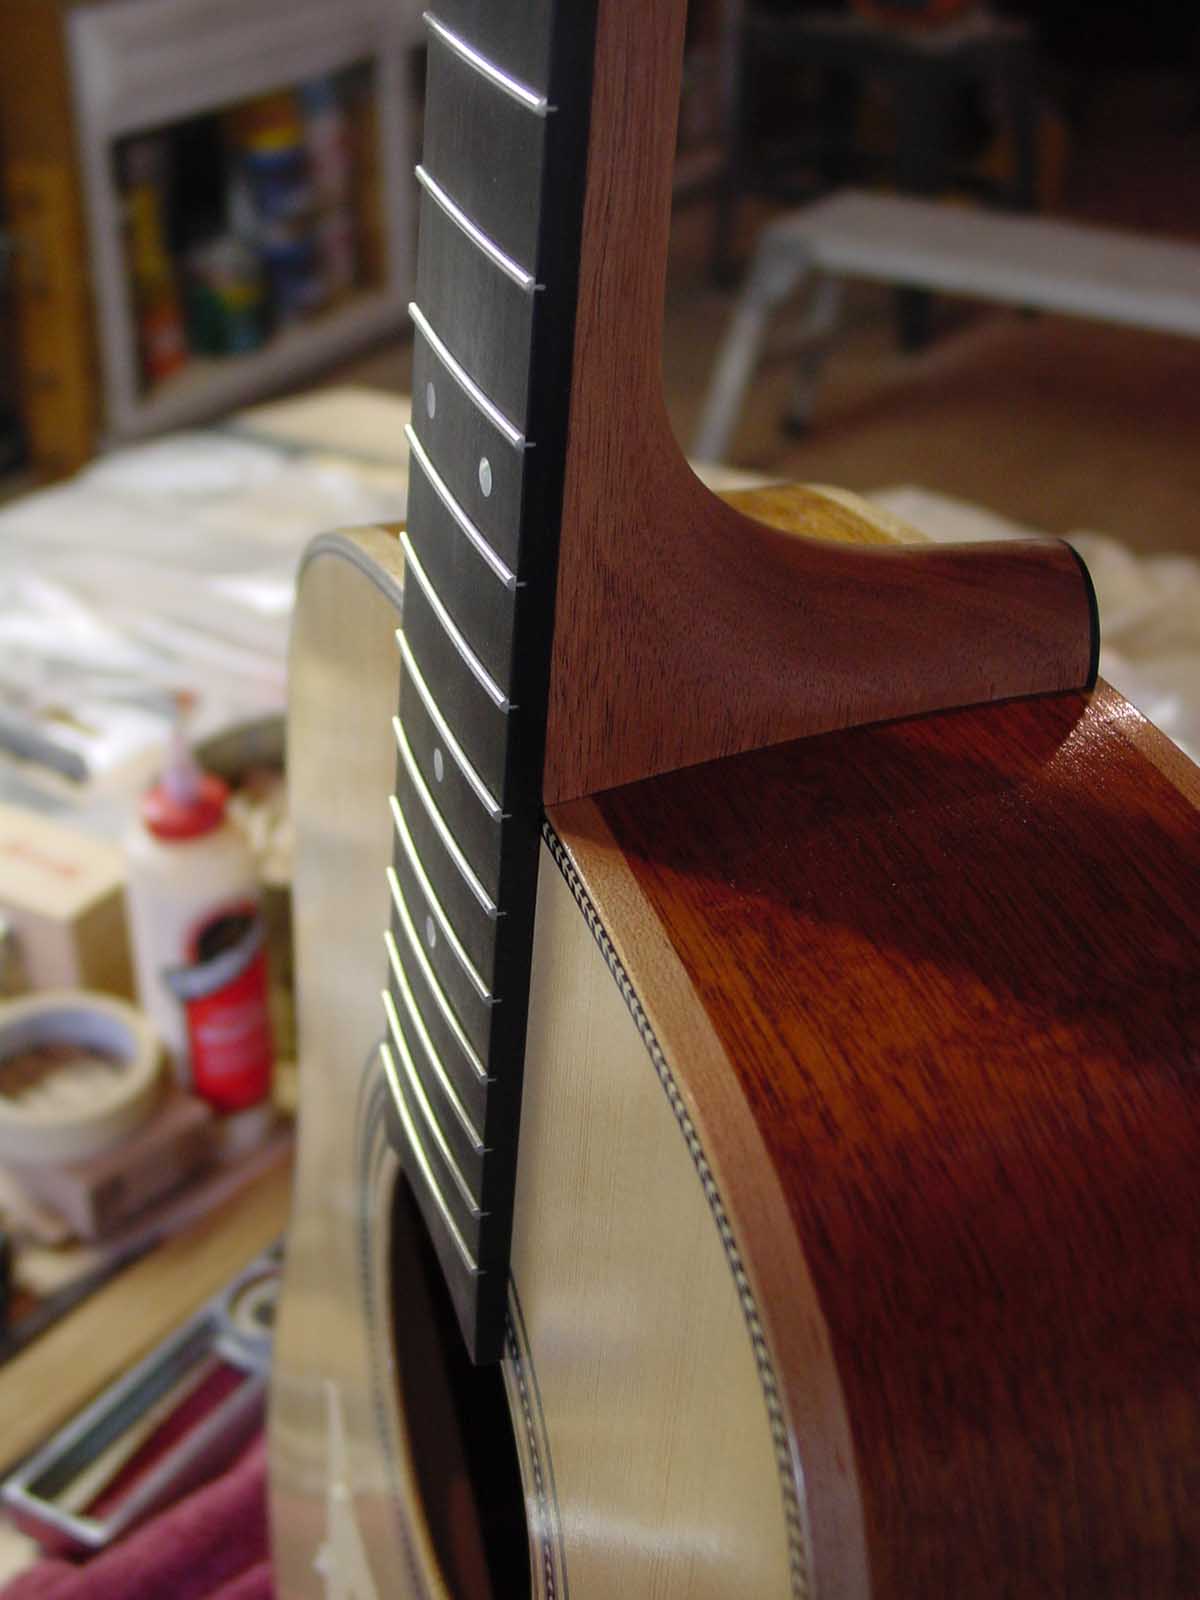
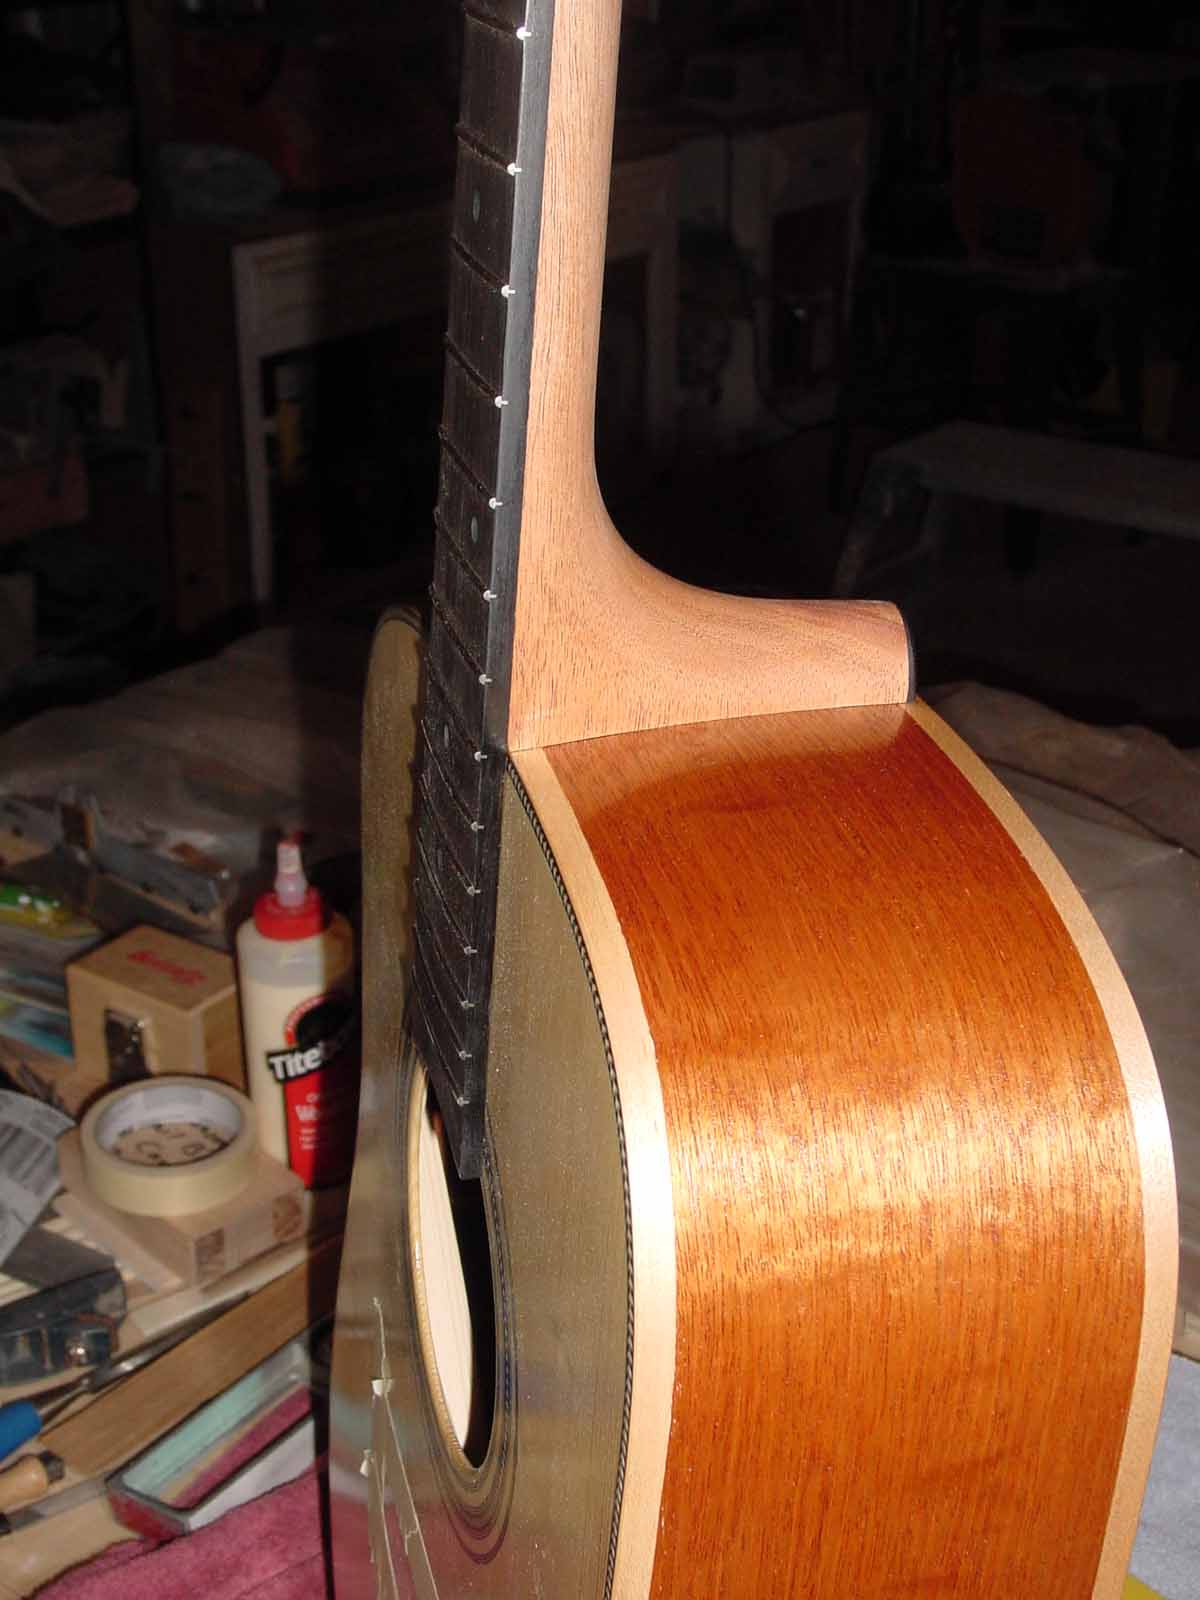
The following shows that I've laid out for the bridge. the neck is not permanently installed. After taking the pics, I removed the neck, and sanded off the finish for both the fretboard and the bridge. ![]() ![]() ![]() ![]() ![]() ![]() Thanks for looking, Robert |
Author: | snood [ Mon Apr 09, 2007 10:50 pm ] |
Post subject: | |
Wow nice looking guitar... What did you use to rout the binding and purfling chanles? |
Author: | Dave Anderson [ Mon Apr 09, 2007 11:35 pm ] |
Post subject: | |
Robert, I like to drill through the overlay with a brad point bit with a backing piece to prevent tearout.Like others have said it's not too hard to remove the overlay with a little heat and thin knife.We have all probably done this a few times. Good luck with it and Nice guitar so far! |
Author: | crazymanmichael [ Mon Apr 09, 2007 11:42 pm ] |
Post subject: | |
as a standard procedure for drilling any stock where chipout is an issue, follow hesh's suggestion about using a backer board. it must be clamped on firmly to provide adequate support to prevent the chips from tearing out. this also applies to routing wherever possible. when routing, it is sometimes not possible to do so, and a short climb cut will usually suffice to eliminate the chipping risk. slightly off topic, and it may just be a photographic artifact, but it appears that you still have leveling flats on the fret crowns. if this is actually the case, you should work to get rid of them as they do affect your end result. your fret ends, on the other hand, appear to be beautifully finished, very neat and uniform. some players like the crisp look and feel such you have here, whilst others prefer a more rounded detailing. much of a personal thing, so if the guitar is for someone else you may want to ascertain their preference. and how many did you say you've finished so far? ![]() as others have said, very nice work. |
Author: | robertD [ Tue Apr 10, 2007 3:38 am ] |
Post subject: | |
Thanks All for the positive comments! To be completely honest though, the pictures don’t show the flaws. They are small, but, flaws none the less. I have been thinking of posting a new topic, in hopes you all would have some suggestions. Perhaps I’ll do that in a couple of days. I like everyone’s idea of a backer board clamped to the peg head, it makes perfect sense. Hesh, good suggestion to use ebony, I was thinking the same thing! Ebony would have to show off the inlay much nicer than rosewood, don’t you think so? Also, you have assumed correctly, I did use Titebond. And, great advise to apply heat with an iron, to remove the overlay. In the future, when will have to drill holes in the peg head from scratch, I was planning on using my drill press with a 1/16" bit to drill a pilot hole for each tuner in the peg head. Then use a 1/4" Forstner bit (if that’s the size hole required for the tuner to be used), and drill through the face & then the back of the peg head. Let you know how that works in a few months. Todd, I hadn’t thought to floss one more time, but, I think that’s a very good idea! Do you have a suggestion to the type and grit of paper to use at this stage? Snood, I used a router/bearing set I purchased from Grizzly.com, along with a jig I built to work in conjunction with my router table. (Pic below) the router/bearing set turned out to be a mistake, in that, after routing the channels, the cut for the purfling was to shallow, and caused the maple binding to tilt out away from the side of the guitar. Fortunately, after sanding true the sides of the guitar, the binding still had an acceptable appearance. Another lesson learned though. I think I will have to buy another router/bearing set that will cut closer to the standard sizes of purflings and bindings. Dave, thank you for your comments also! Michael, good advise on routing for future projects! As for the frets, and, if I understand you correctly. Except for the ends that have complemented me on, I’ve not done anything to them. So, the original crown shape of the frets are still there. I was thinking of polishing them, as I have seen at Frets.com. Also, this is my first guitar building project, so I’ll probably never sell it. Unless of course, I get an offer I can’t refuse! Thanks again to everyone, Robert ![]() |
Author: | Bill Greene [ Tue Apr 10, 2007 4:08 am ] |
Post subject: | |
Robert: I'm with everyone else...that's a guitar anybody can be proud of. Nice work. Sure looks better than mine did at that stage. Bring that to the MAGI get together for sure! Bill |
Author: | robertD [ Thu Apr 12, 2007 5:54 am ] |
Post subject: | |
Sorry for the bump. Just wanted to say, Thanks for the great advise! ![]() The iron worked like a charm! I think I completed the whole procedure in about ten minutes, with no snags! Thanks guys! Robert |
Page 1 of 1 | All times are UTC - 5 hours |
Powered by phpBB® Forum Software © phpBB Group http://www.phpbb.com/ |