[QUOTE=Michael McBroom] John,
Looking good! I'm curious to read about whether or not there is a detectable difference between your guitars with the V-braces and those without. On the 7-fan pattern guitars I built, I always installed the V braces.
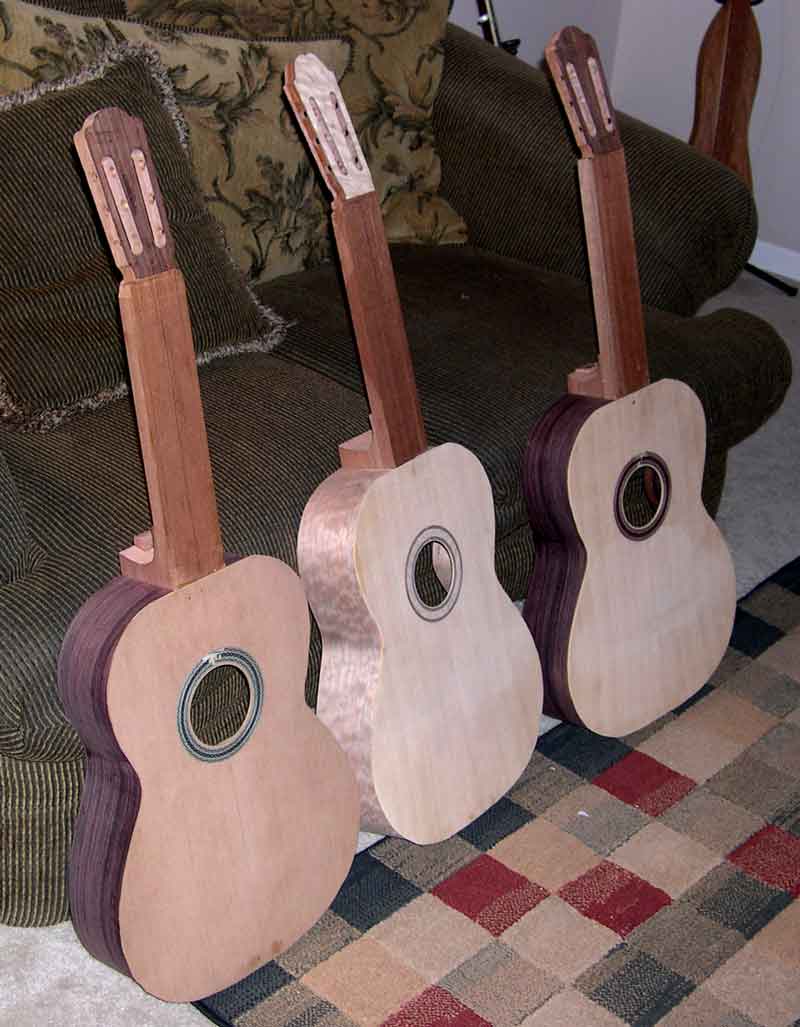
You're a braver man than I regarding the carving of the neck heel. I find I always have to do a bit of extra shaping to the heel after the sides are attached. Gut-check time for me. Sometimes I'll even lay down a layer of masking tape on the sides next to the heel to prevent accidental gouges. But that won't really be an option for you. Good luck! And I'd really be interested in seeing how you go about it.
Paul,
I find that I don't have to hold each tentellone til the glue sets. I use Titebond, and push each one in place, and as I'm installing them, I go back over the ones I've already installed and push on them again to make sure they're still snug. A few days ago, I had to remove the top of a guitar I'm currently building (long story), and I found that the tentellone glue joints had been very solid. No tentellones came loose from the sides and the soundboard spruce separated without pulling away from the tentellones.
Best,
Michael
[/QUOTE]
On my last one I switched to hide glue for the tentellones and found that if you get a good even layer you can hold them for a shorter time and the glue would draw them in tighter (kind of like violin makers do).
Now if I could just get someone to make them I'd be all set 
-Paul-
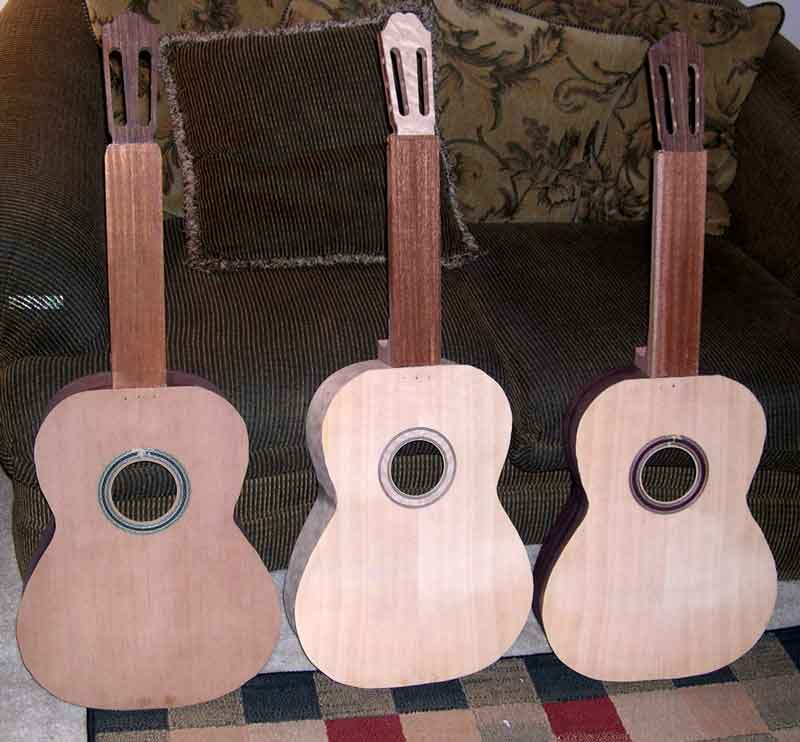
BTW: This is why I put the backs on my steel strings last, I did classicals first and I liked being able to double check the top joints and adjusting the heel height before I glue the back on. When something works I don't like to change it 
|
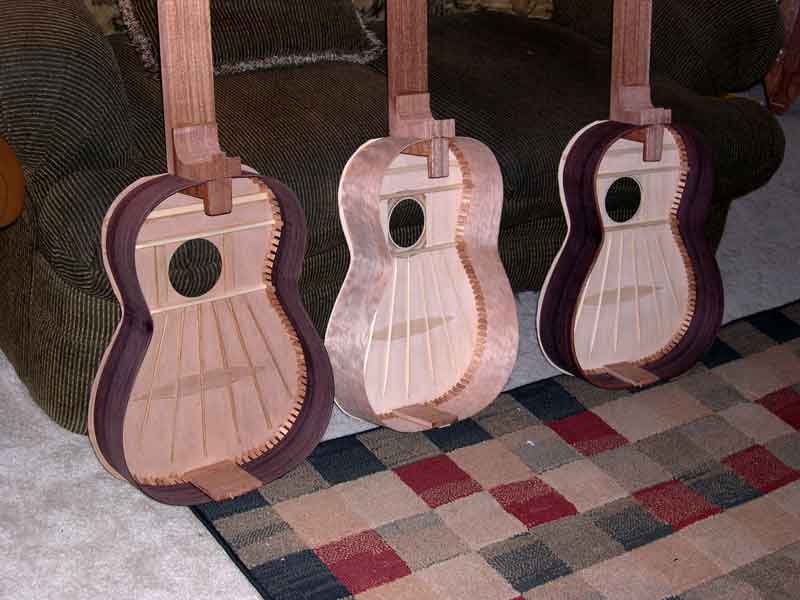
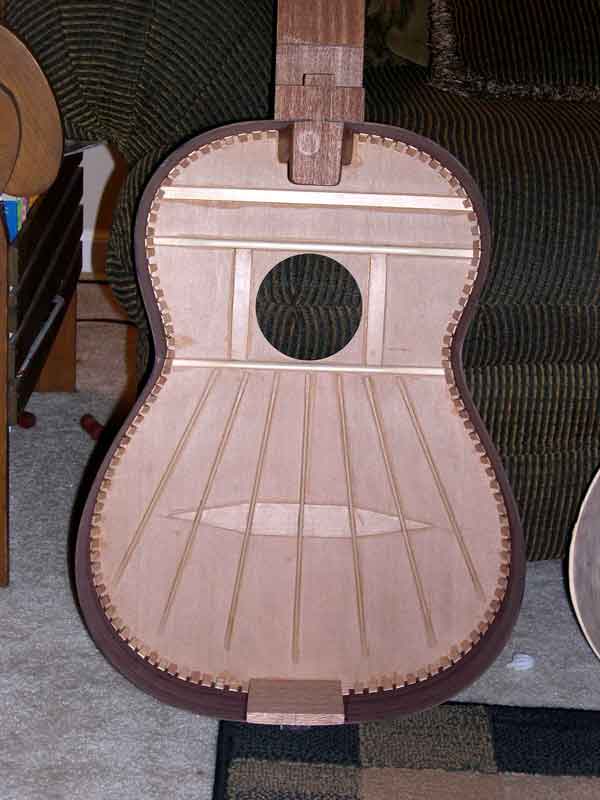


 When gluing tentellones your high tech glue spreading device doubles as a high tech clamping device as well!
  Gotta do it all by hand, so you can imagine the daunting task of sawing individual blocks from kerfed or solid linings.