[QUOTE=SimonF] Doug,
Here is a solution that works flawlessly for me and yields a neck as true
as Taylor - and you can't do a neck any more perfect than that.
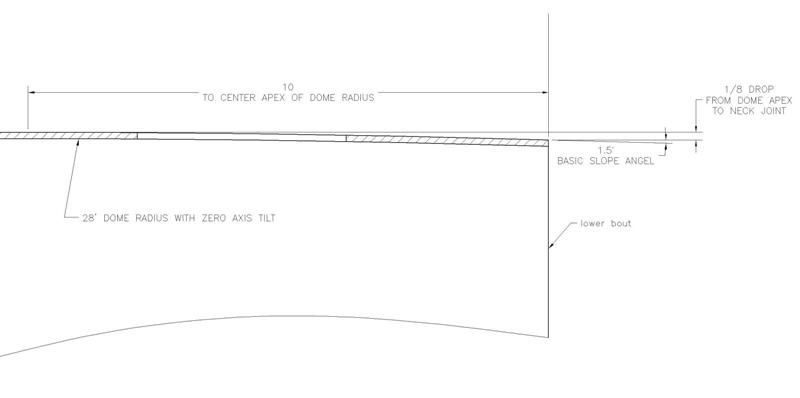
I use a 28" radiused soundboard. If you take a straight edge and lay it on
the upper bout where the fretboard goes, it will give you very close to 1/
16" airspace where you bridge will be placed. If you account for a .250"
thick fretboard plus the fret height, this will give you a perfect neck angle
- where a straightedge set atop your fretboard hits the top of your
bridge. This assumes you are using a 3/8" thick bridge.
In practice, the upper bout is usually never perfect so I take a 1/16" thick
shim and place it at my bridge location. Then I take a long flat workboard
to which I have afixed some 150 grits sandpaper. I move the workboard
back and forth with the end sliding on top of the shim. I stop when the
upper bout has been uniformly sanded. This gives the upper bout the
perfect "ramp" for the perfect neck angle. I use a tenon jig by Craig
Holden that allows you to figure out the matching angle for the tenon -
but you could just as easily figure it out with an angle gauge and cut your
tenon respectively. Then all you have to do is make sure the tenon
cheeks sit perfectly on the sides. Note that you need the headblock
region of the sides to have no ripples but be perfectly flat.
This will ensure that you avoid the dreaded 14th fret hump - which is
generally caused by the tenon angle not matching the upper bout angle.
If you get both of them aligned you won't have a hump.
In reality, especially on your first guitar, it doesn't have to be perfect by
any means to be very playable. This is one of those things that you can
get close enough the first go around and then improve on subsequent
tries.
Best of luck, friend!!!
Simon
[/QUOTE]
How about this scenario:
Laying the straight edge on the f/b extension area as you indicate...now the airspace at the intended bridge location is too great...now you'd need to take neck angle away, which will leave a gap at the f/b extension & body joint...(creating a need for a "wedge" under the f/b extension)...will the 1/16" shim and sanding the upper bout trick flatten the area enough to get the proper angle without a "tell" at the upper edge of the soundhole? (ie, getting too thin on the top soundhole edge?).
Larry
|