I just completed an armrest bevel and rib rest and thought I would share my methods. Surely there are other ways to do this; this is what worked for me. Hopefully someone out there will find it useful. Also please note that I am not the best writer so please ask if anything is unclear.
I have been reluctant to do a bevel because I couldn't quite wrap my head around how to route the purfling channels on the sides without doing a bunch of hand work. Using .030" wide purfling this was not a task I looked forward to. Then one day it clicked that I could make a template that I could clamp to the sides to act as a guide for a router. I did a dry run on a mock-up body and decided it was good enough to attempt on a real guitar.
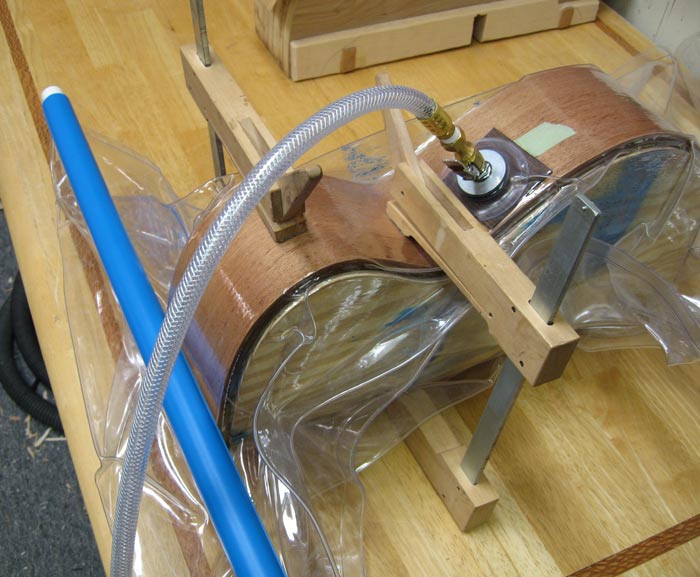
First off I made the side template, which is made of two pieces of mahogany bent in the side bender and then laminated together on a mold in a vacuum bag. The template actually sits atop the actual sides on the mold. I laminate my sides using vacuum as well; this makes everything nice and stiff and everything fits together quite well which is absolutely key. Here is the side template being glued up:
Next up I added an extra strip of lining to the sides where the bevel and ribrest would be. I just bent a couple extras when I bent the linings in the first place.
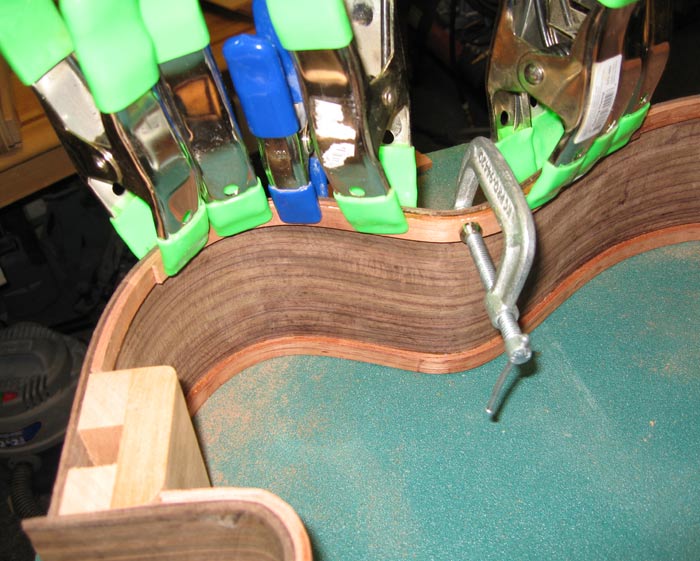
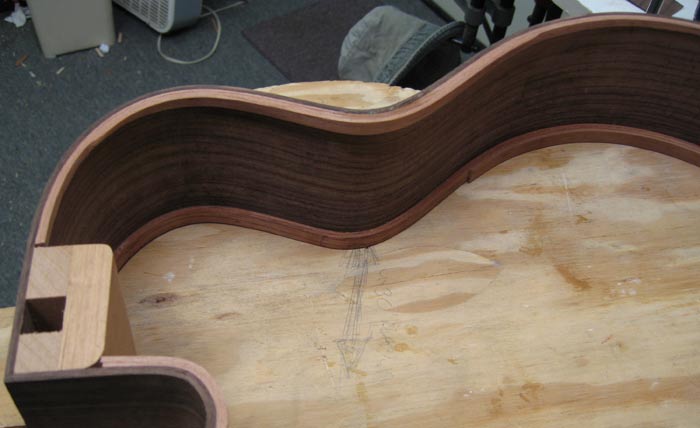
Once the top/back were attached, I dug right in and rough cut the bevel with chisels and a rasp, going a little deeper than the final bevel to make room for a veneer overlay which will match the bindings.
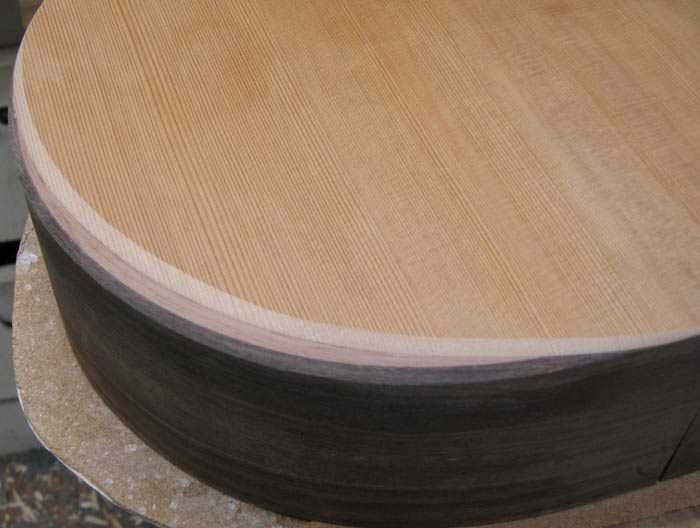
Once roughed out, I rubbed a piece of paper on the bevel to get a flat representation of the 3-D shape of the overlay (it helps to have dirty hands for this job):
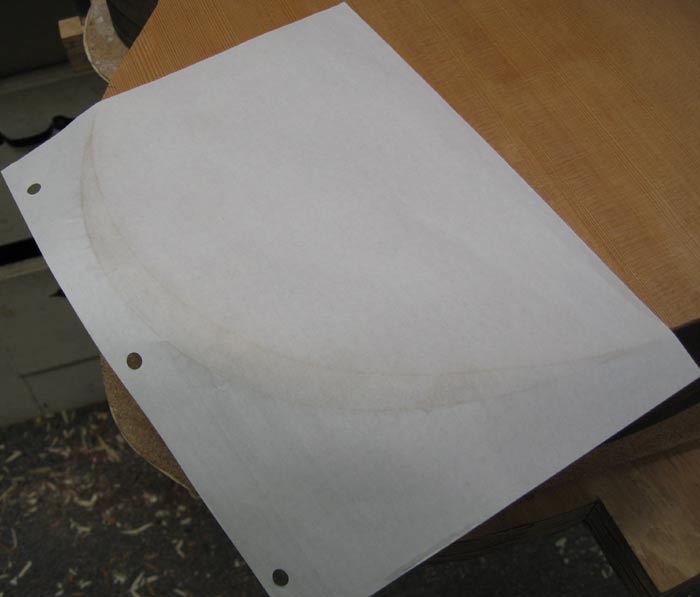
Next I transferred the shape to my veneer and cut it with scissors. I put tape over the cut line for support to keep the veneer from splitting down the grain. Ask me how I know to do that...
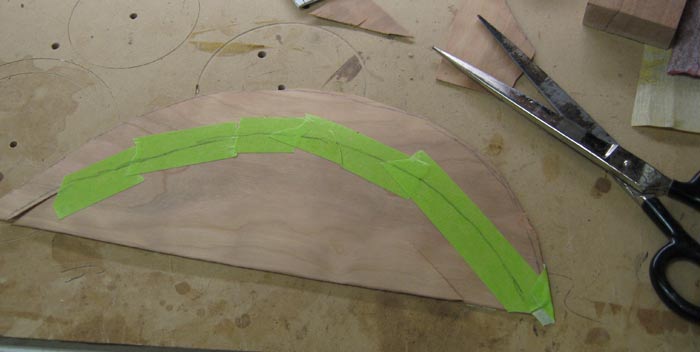
Next I glued the overlay, taped it on, and cleaned it up:
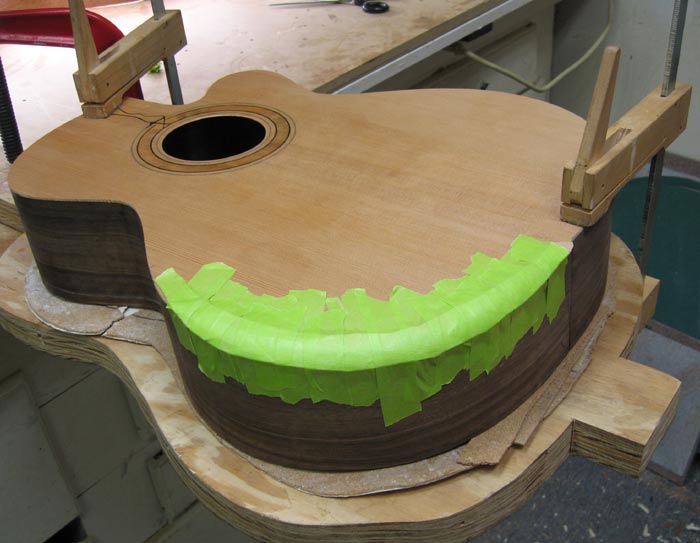
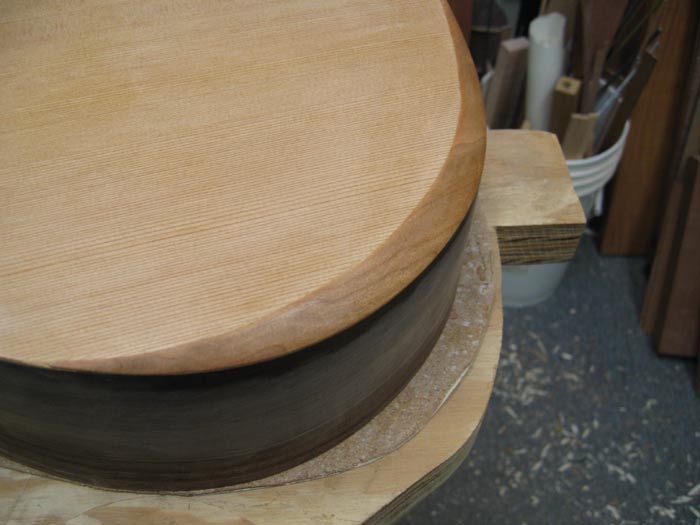
Next I routed the binding and purfling channel for the rest of the guitar as if there was no bevel there. Sorry I didn't take a picture of that.
Next comes the heart of the system. I clamp on the templates as best as I can and route the purfling channels. I used a dremel with a 1/32" spiral bit, using the shank to register against the template. You have to keep the tool moving at a reasonable speed or you will burn the template. On the dry run I used a laminate trimmer with a guide which should also work if you're concerned about using the bit shank as a bearing. I was really wanting a Cochran plunge base for this operation!
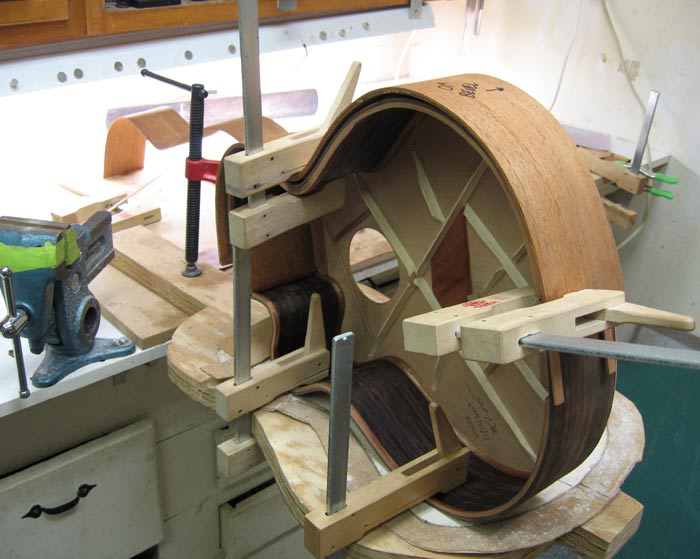
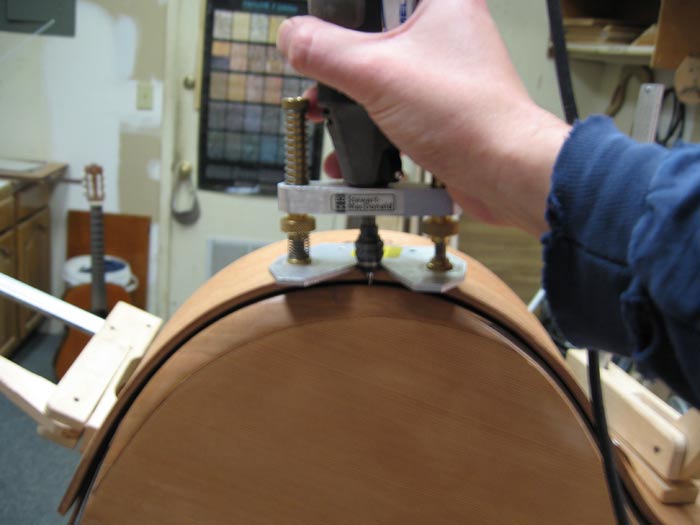
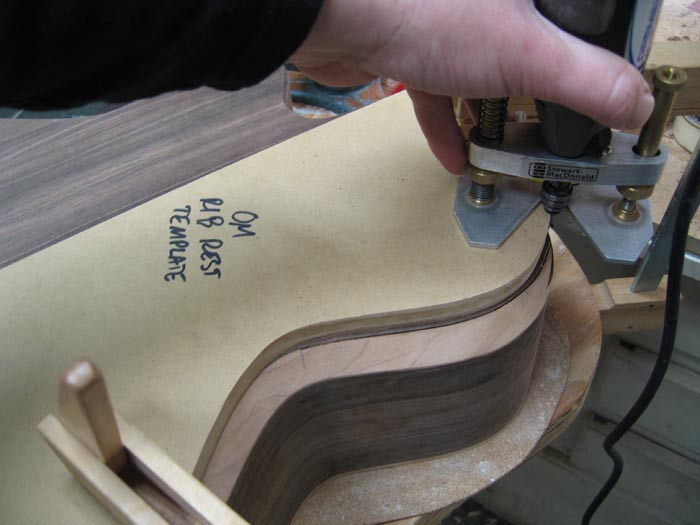
For the middle of the ribrest, I cut as much as I could with the stewmac base:
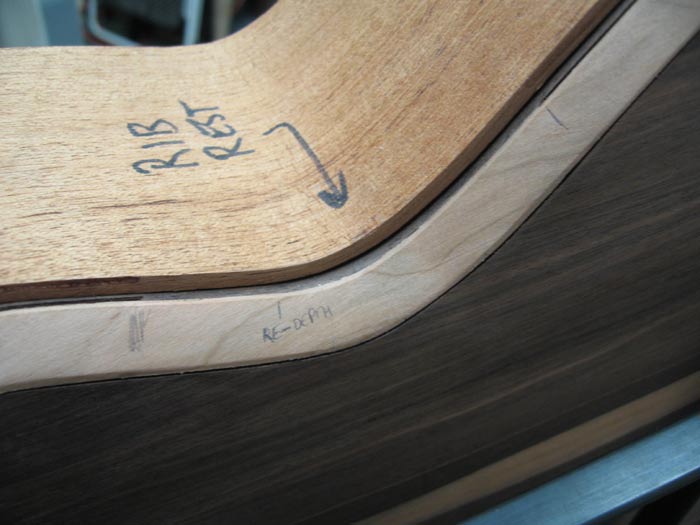
and made a custom base to cut the convex portion:

After routing the channels the guitar should look like this:
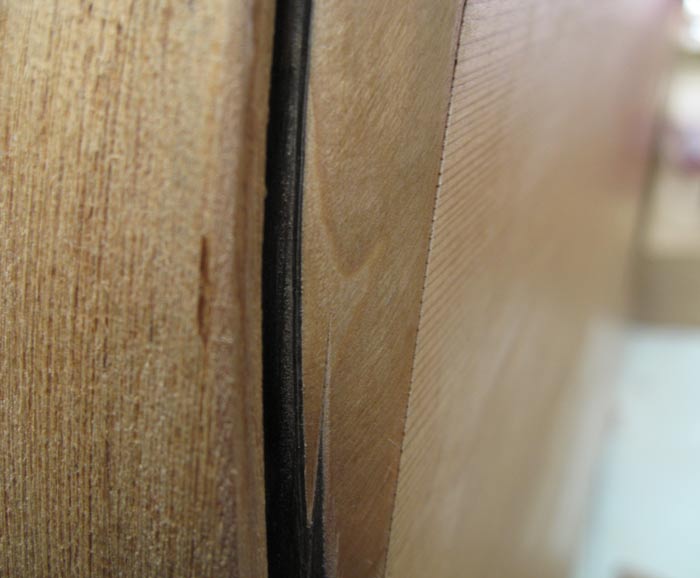
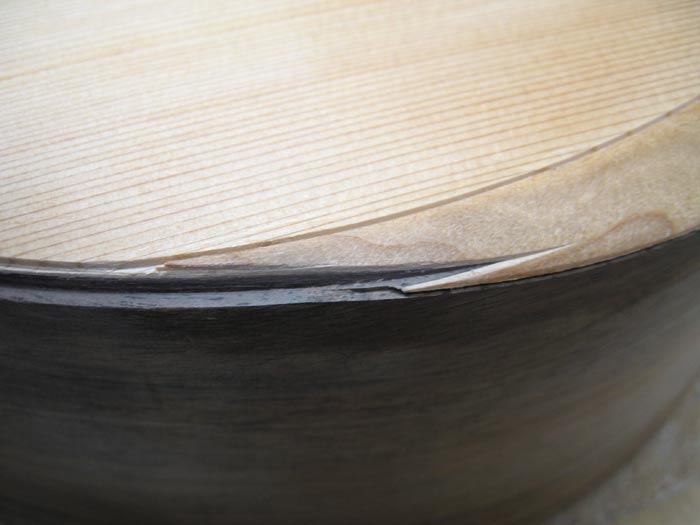
The purfling is glued up just like normal; there is no interruption at the start/end of the bevel:
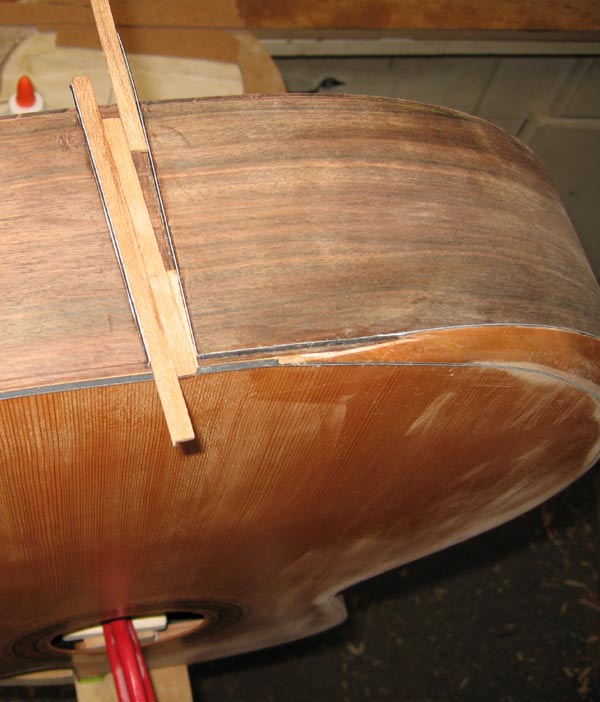
Once the bindings are glued in everything is cleaned up and it's finished:
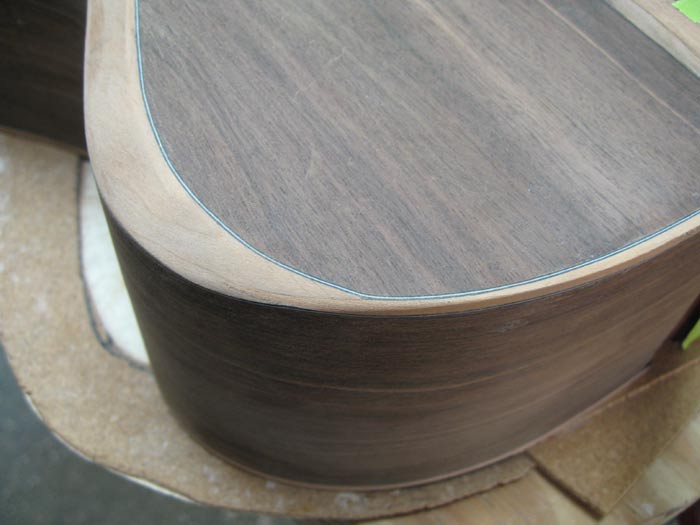
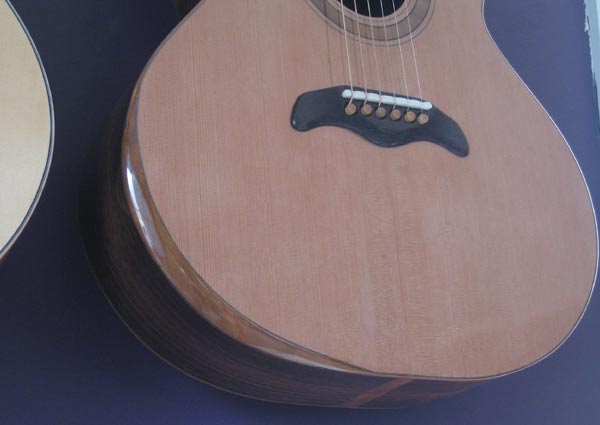
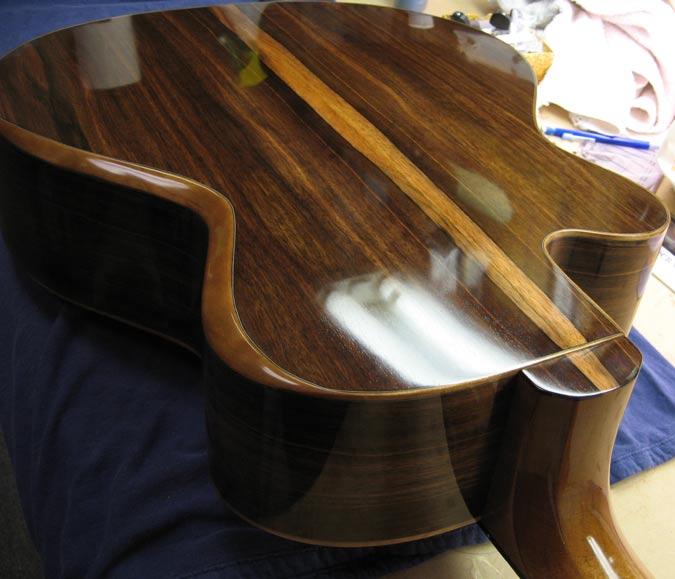
Here's the finished guitar:
-Ringo
![adulations [clap]](./images/smilies/smiley32.gif)
![Thumbs Up [:Y:]](./images/smilies/smiley20.gif)