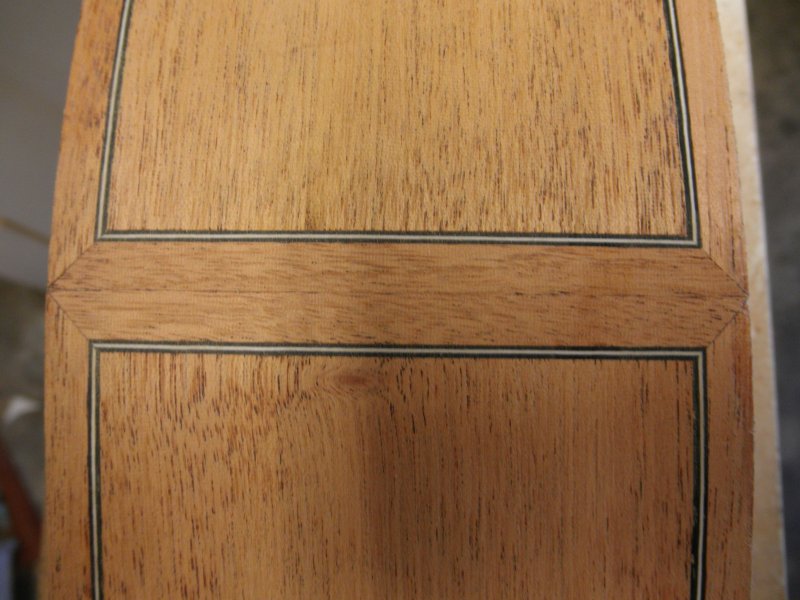
I had posted a finished guitars and a couple people had said they'd never seen this type of miter for a tail wedge and I was doing a couple today so I thought I'd post a Tutorial on one way to do it.
I'm not under the illusion that I created this design or method but thought I'd try and share a couple ideas with the forum as I've received so much.
First off here's pic of the finished miter.
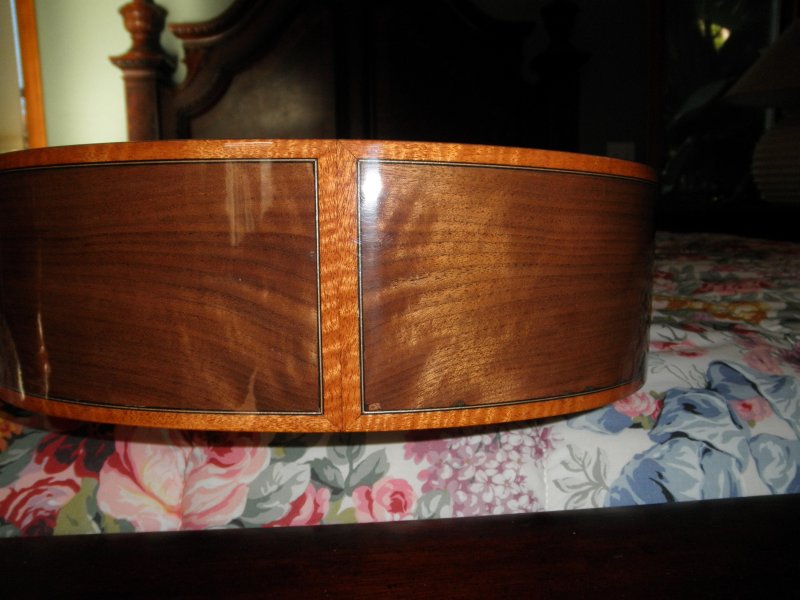
This tut assumes the binding and purfling ledges are already cut (wedge is not cut yet) and that you have a couple of off cuts of the binding that will be used on the guitar, that the binding is pre-bent and the bottom purfling is already glued to the binding edge. I use CA for everything.
I also use a jig to hold the guitar upright, makes things really easy to locate the pieces.
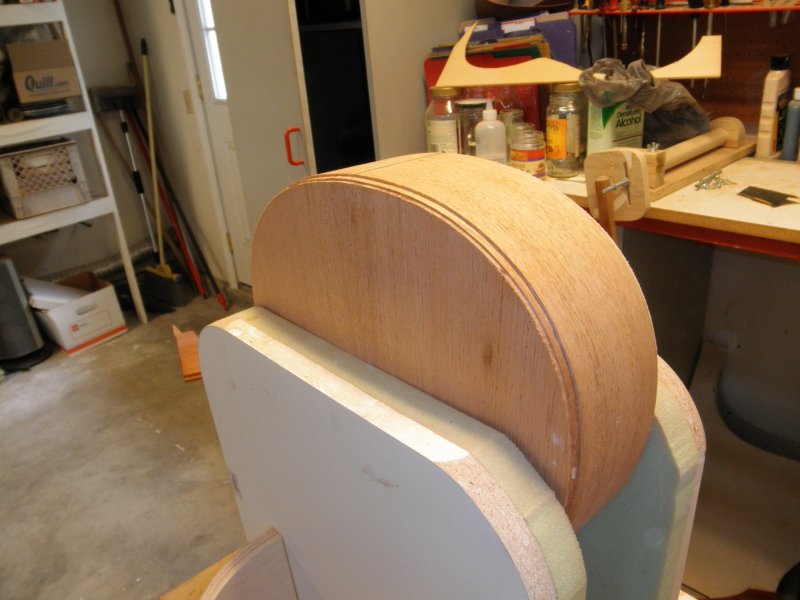
With the guitar in the jig, line up the waist bend so when you cut the binding at the wedge the waist will still line up.
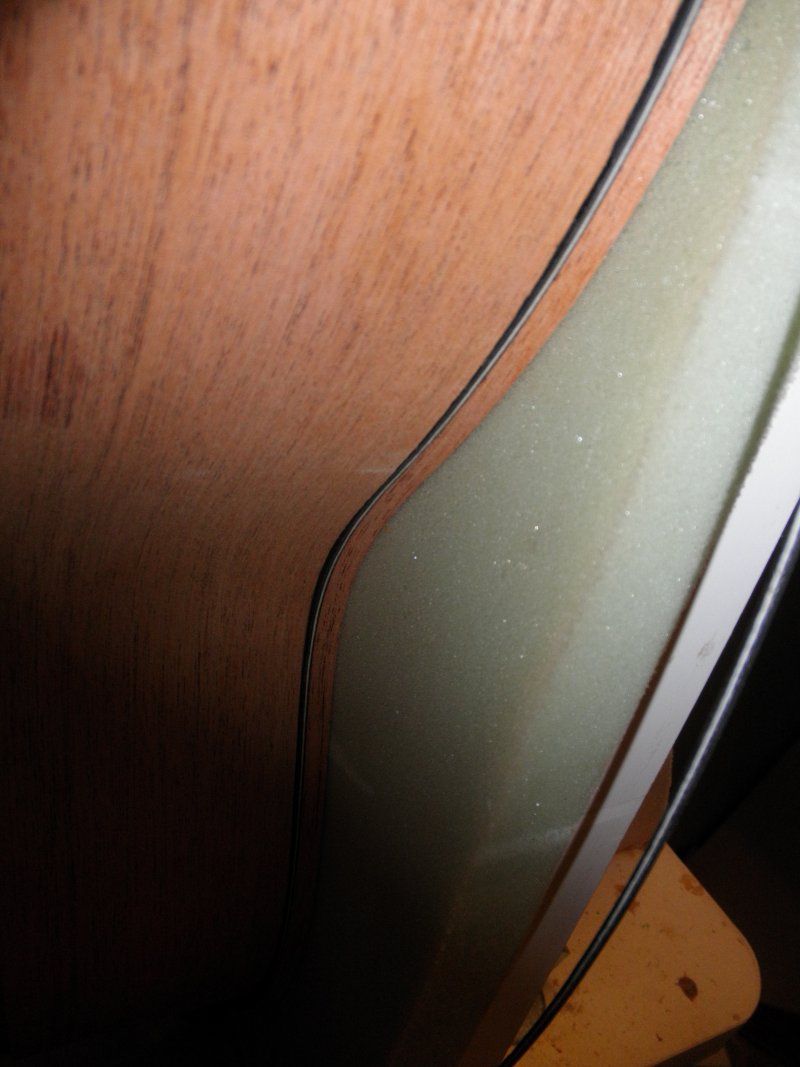
Next sand the edges of the wedge strips lightly and position two cut offs that are long enough to reach just past the binding edge. I'm just holding them and marking them in this pic.
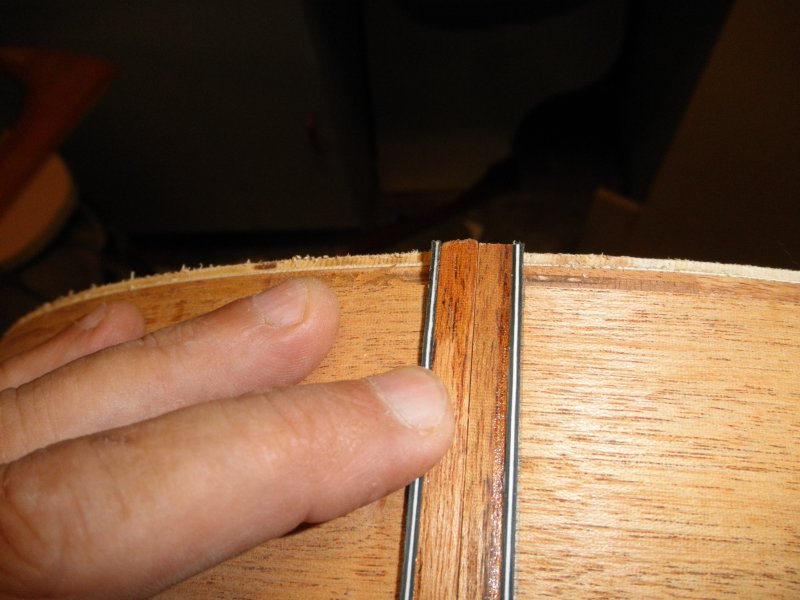
Mark and cut the wedge area. I use a razor saw for everything.
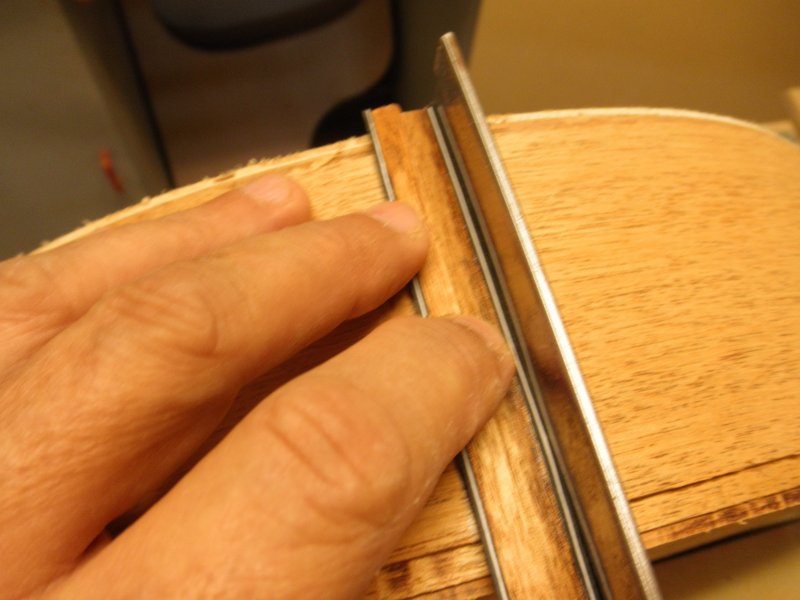
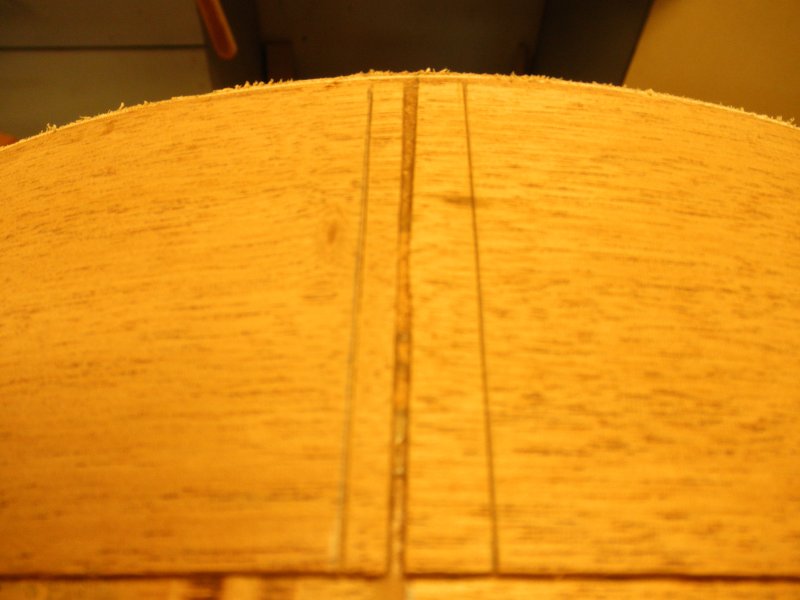
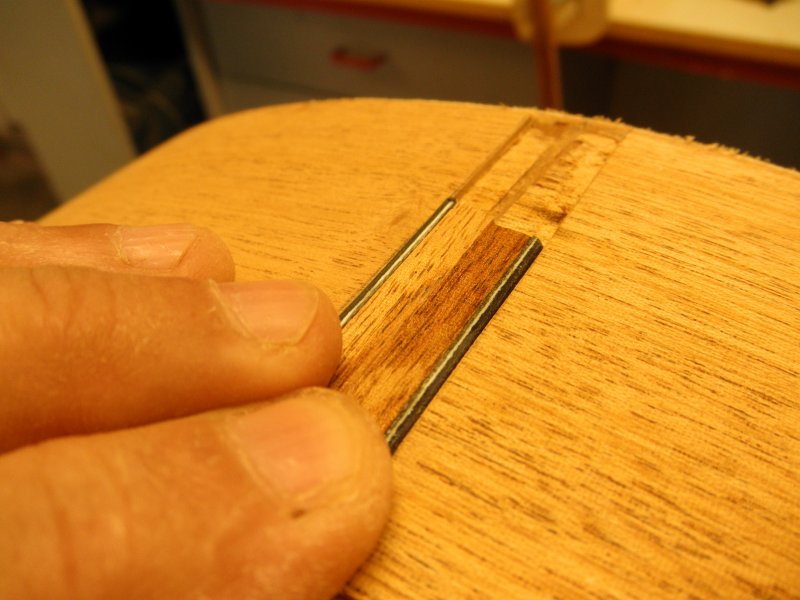
Tune up the cut to get a really tight fit.
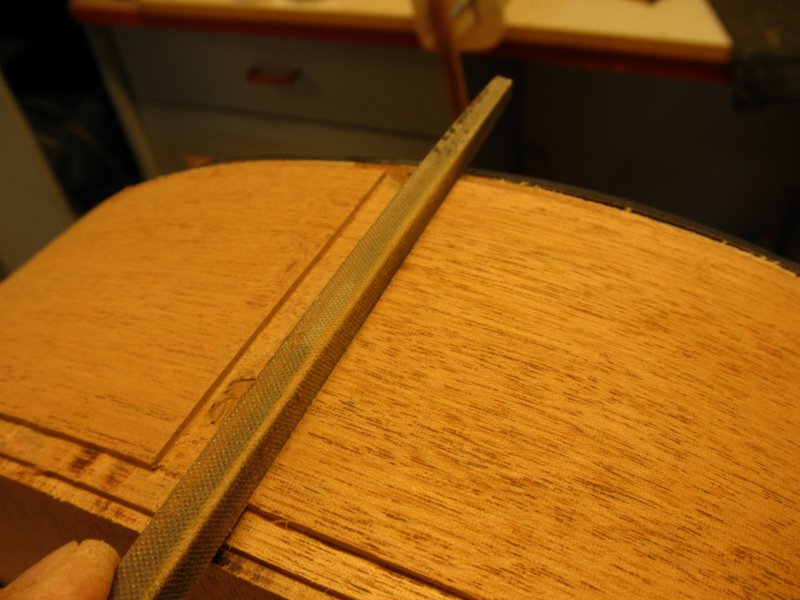
These pieces had be 'snapped into place.
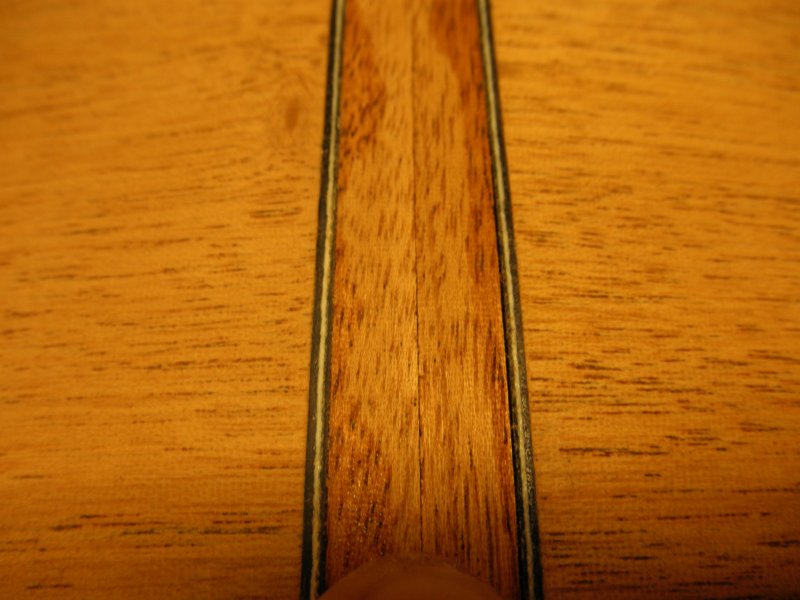
After the wedge pieces are fit tack the purfling in with a little CA.
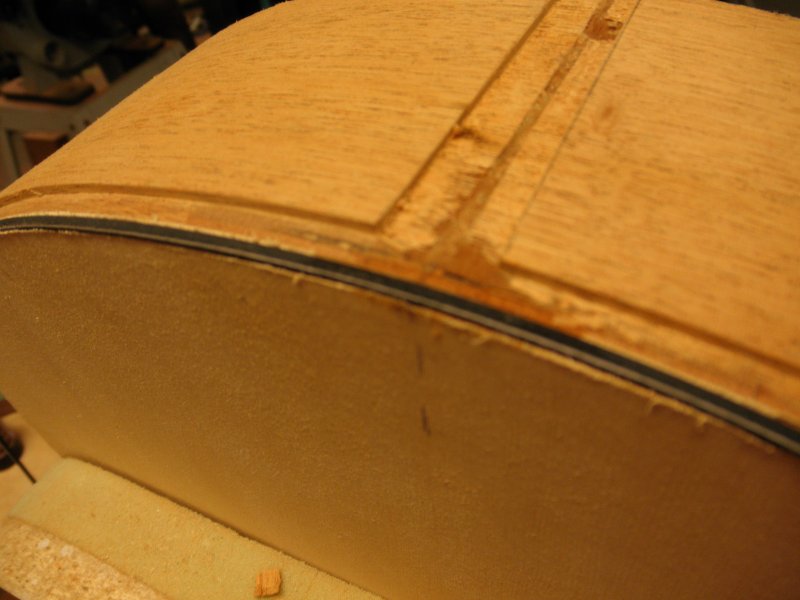
Then, with the binding held at the waist run the binding past the wedge pieces and mark.
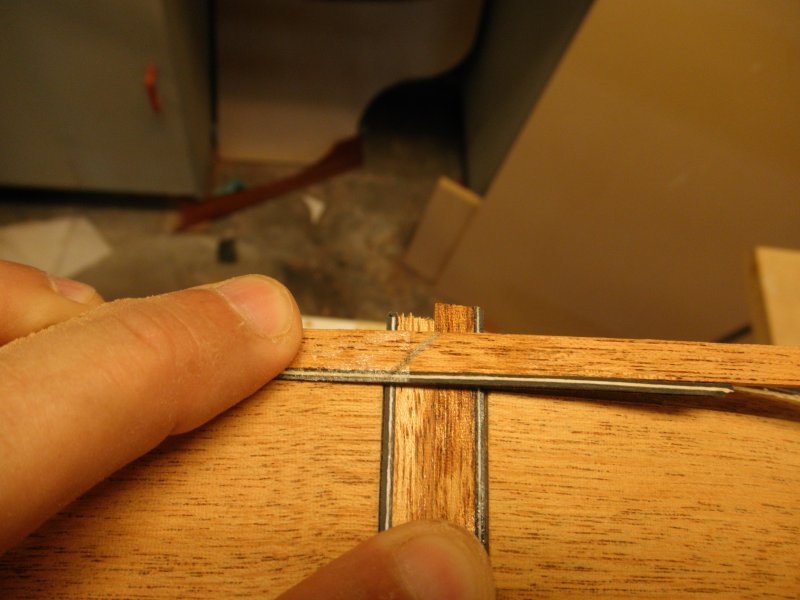
Cut the binding then mark and cut the matching wedge piece.
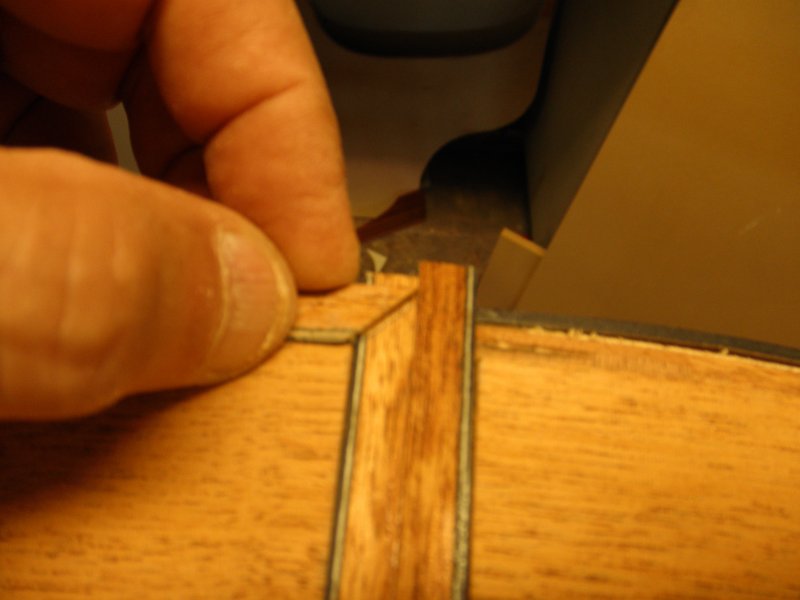
Cut the wedge piece and trim/sand/tune to fit.
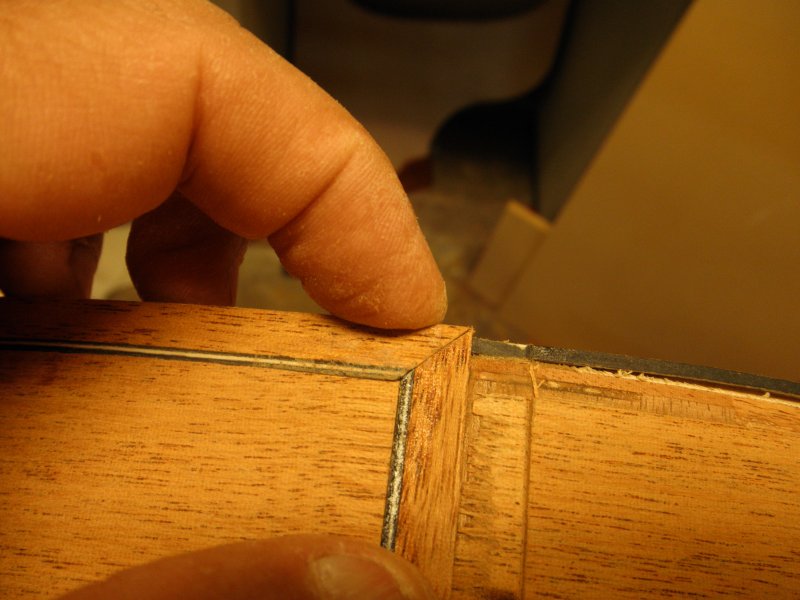
Then holding the binding piece in position, remove the wedge and tack the end of the binding.
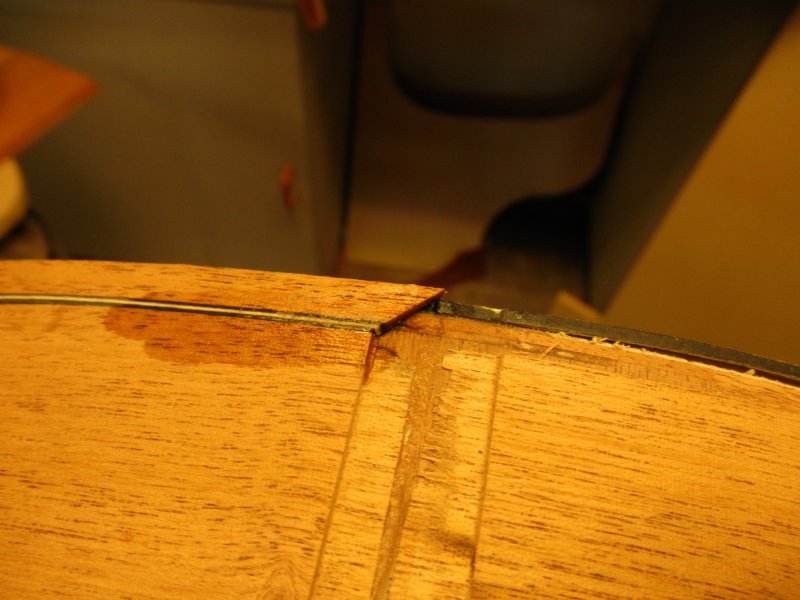
The tip of the binding point seems to want to stand proud so make sure to glue it down. Not sure what hammered that purfling but i just carried on.
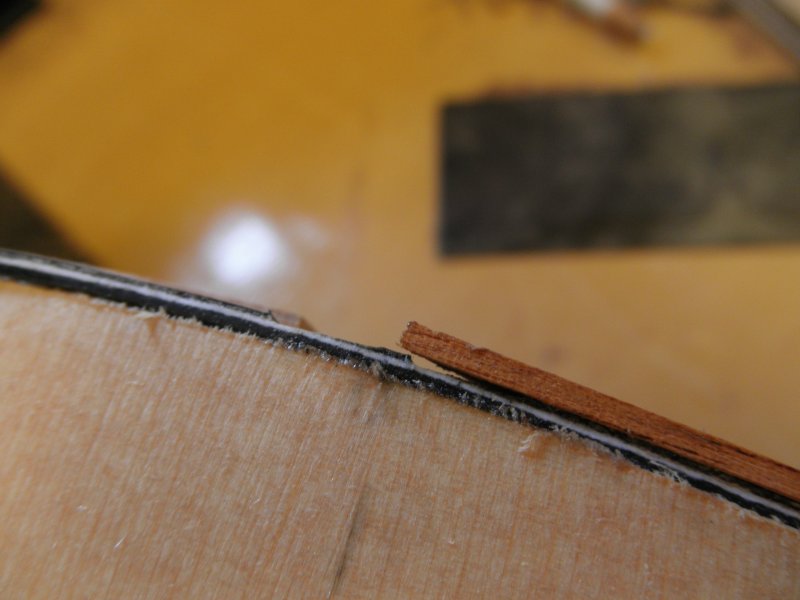
Then bind as usual.
The next piece is fit in a similar fashion.
Line up the wedge pieces and the first binding
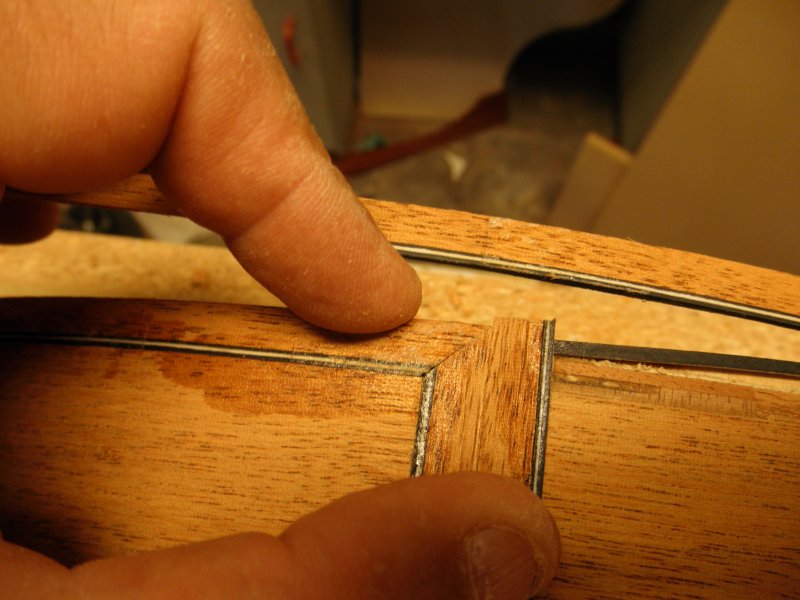
Run the second binding piece over the wedge, mark and cut the binding.
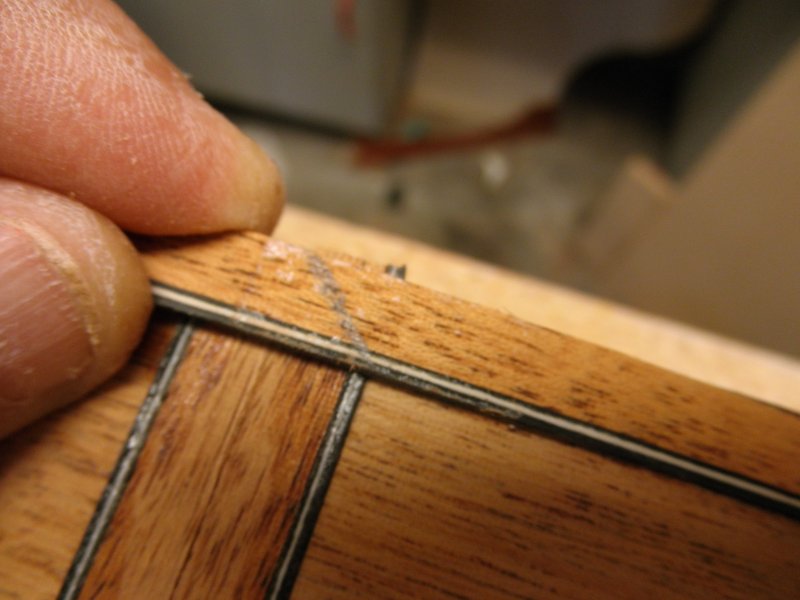
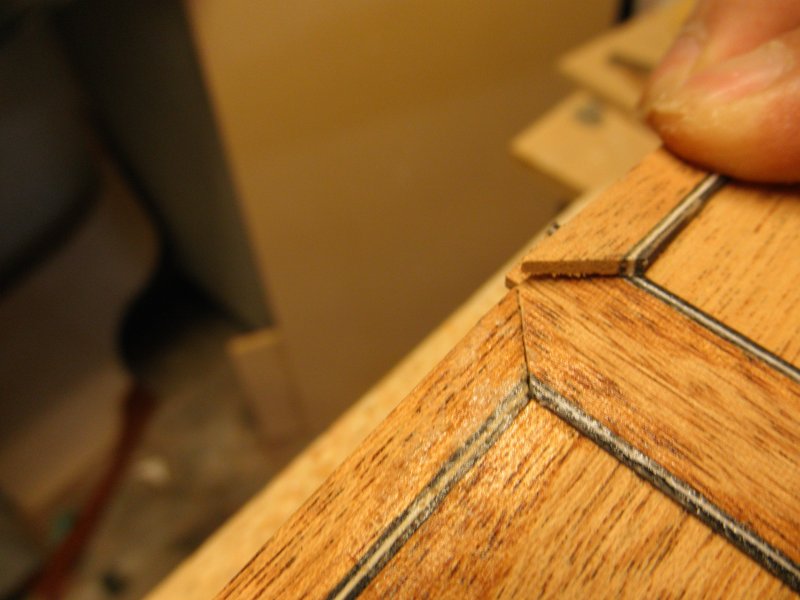
Mark and cut the second wedge piece.
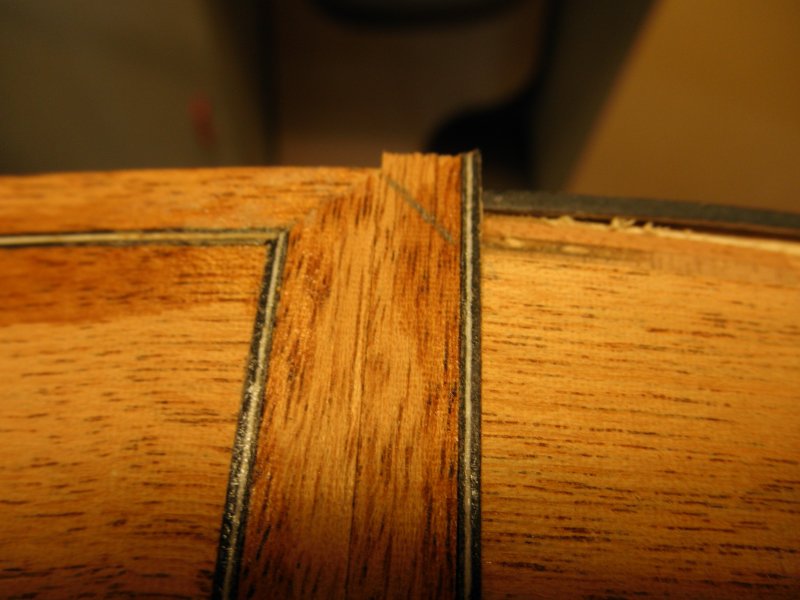
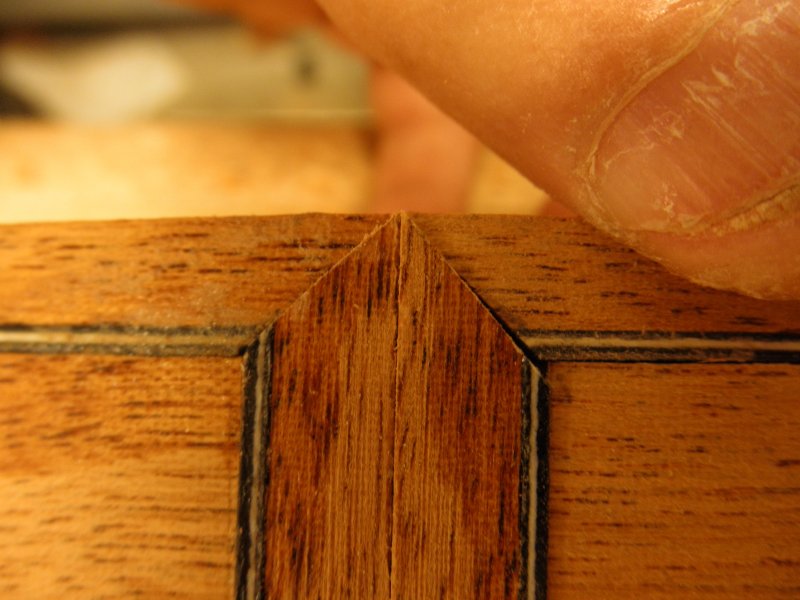
Sand trim to fit - that's better.
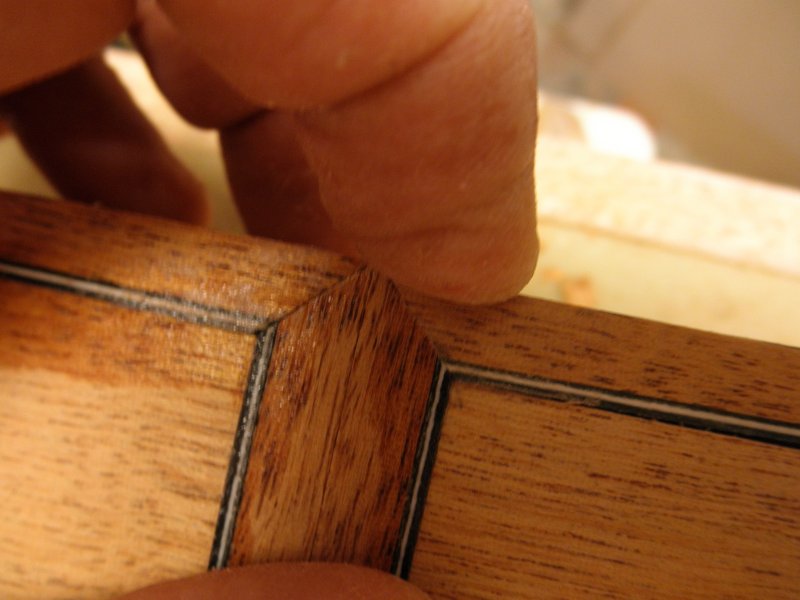
Remove the wedge pieces and tack the second binding in place.
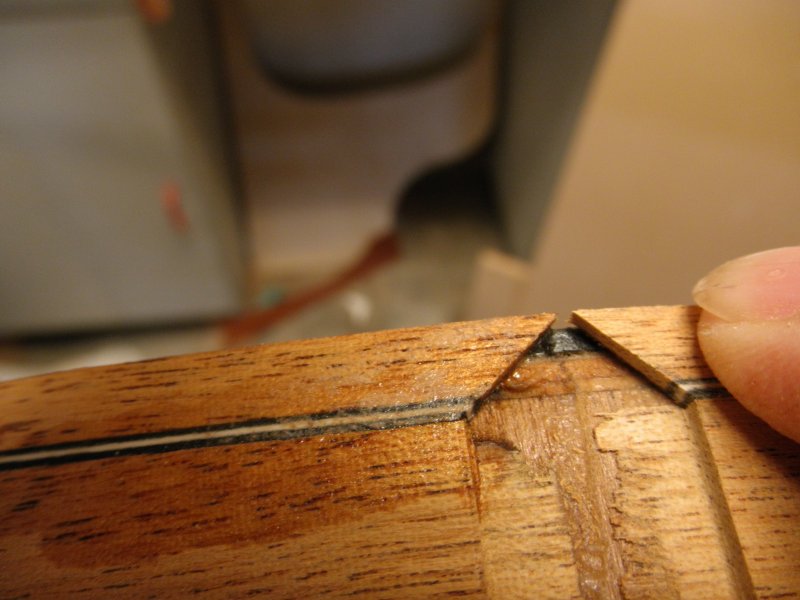
Finish binding this side.
Bottom binding. Very similar to first set of binding but remember DO NOT glue the wedge pieces in yet. That's the very last step.
Mark and trim.
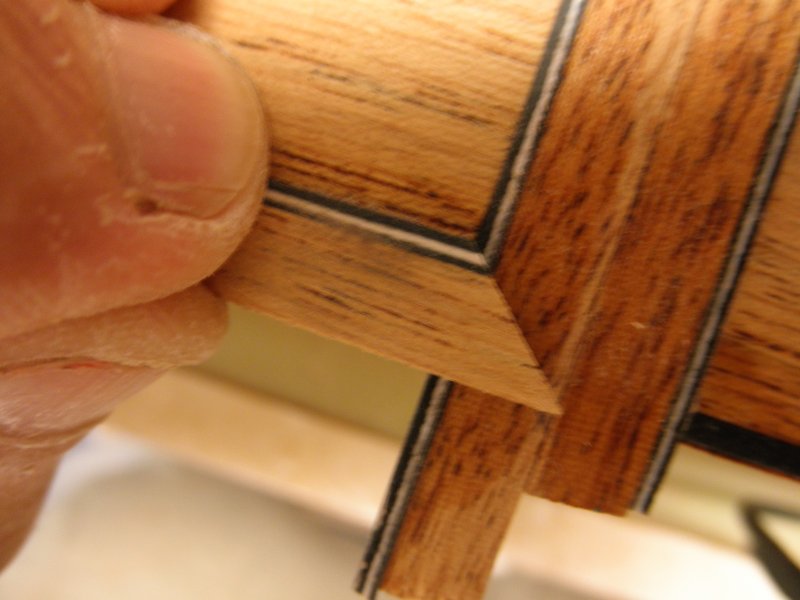
Tack the ends and bind as normal.
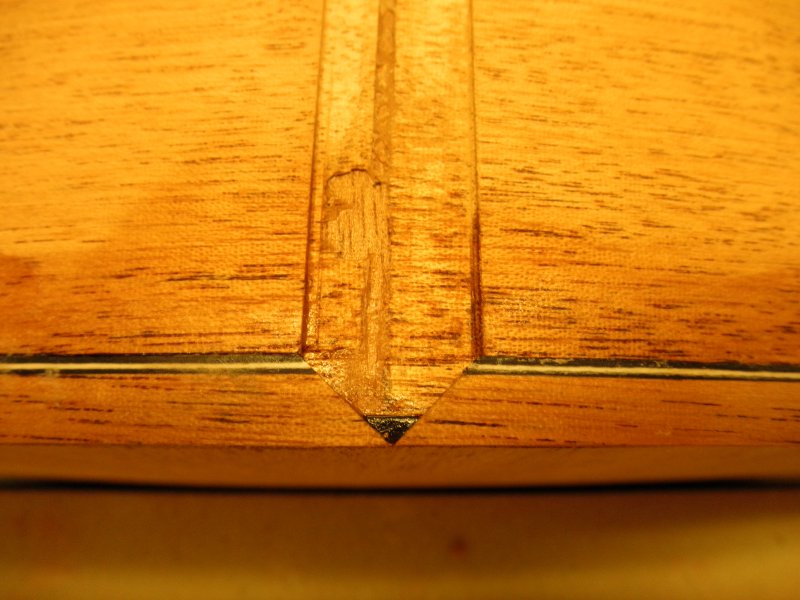
Now comes the hard part.
The wedge pieces are now cut and trimmed to fit both the top and bottom binding cuts. No short cuts. Just cut, sand, fit, sand, fit sand some more till you get a good tight fit.
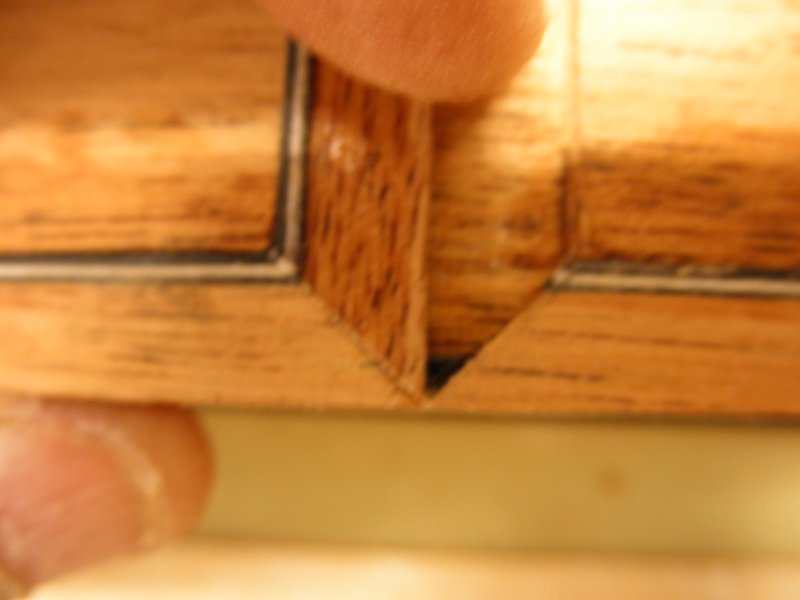
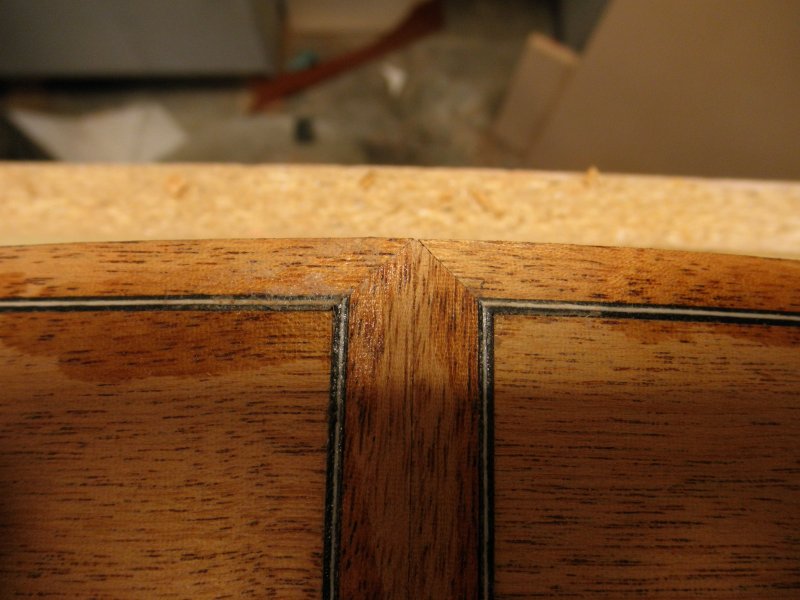
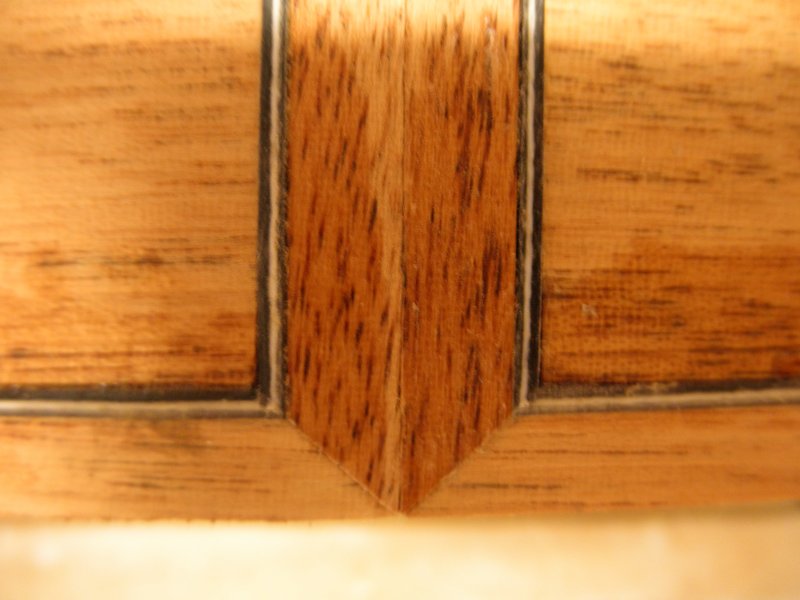
The fit was very tight on this set of wedge pieces and the assembly had to be lightly pounded in.
Flood with CA
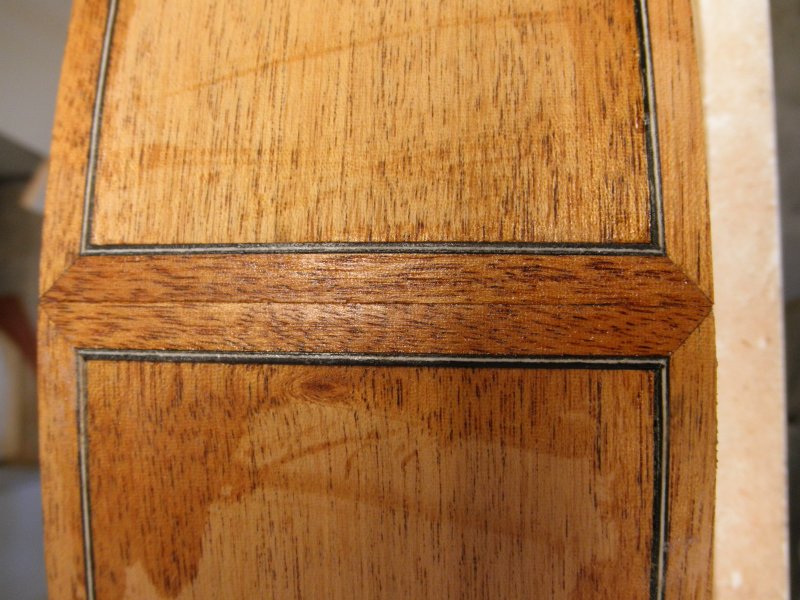
Scrape and sand to finish.
