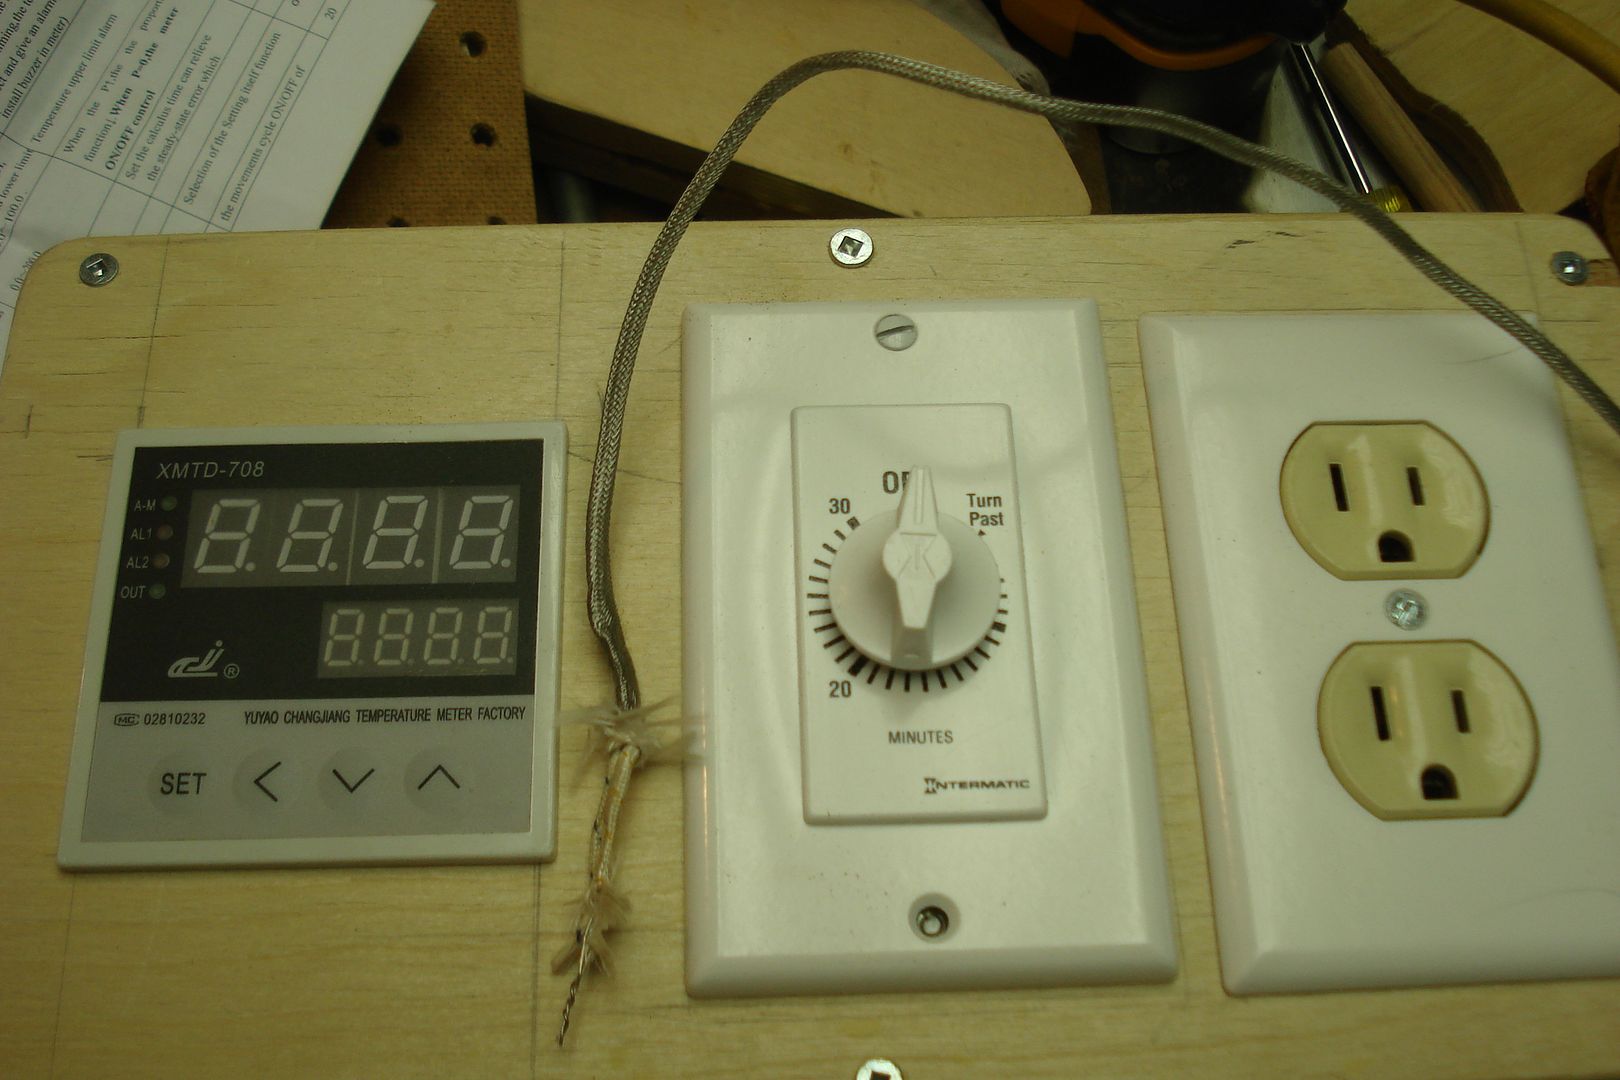
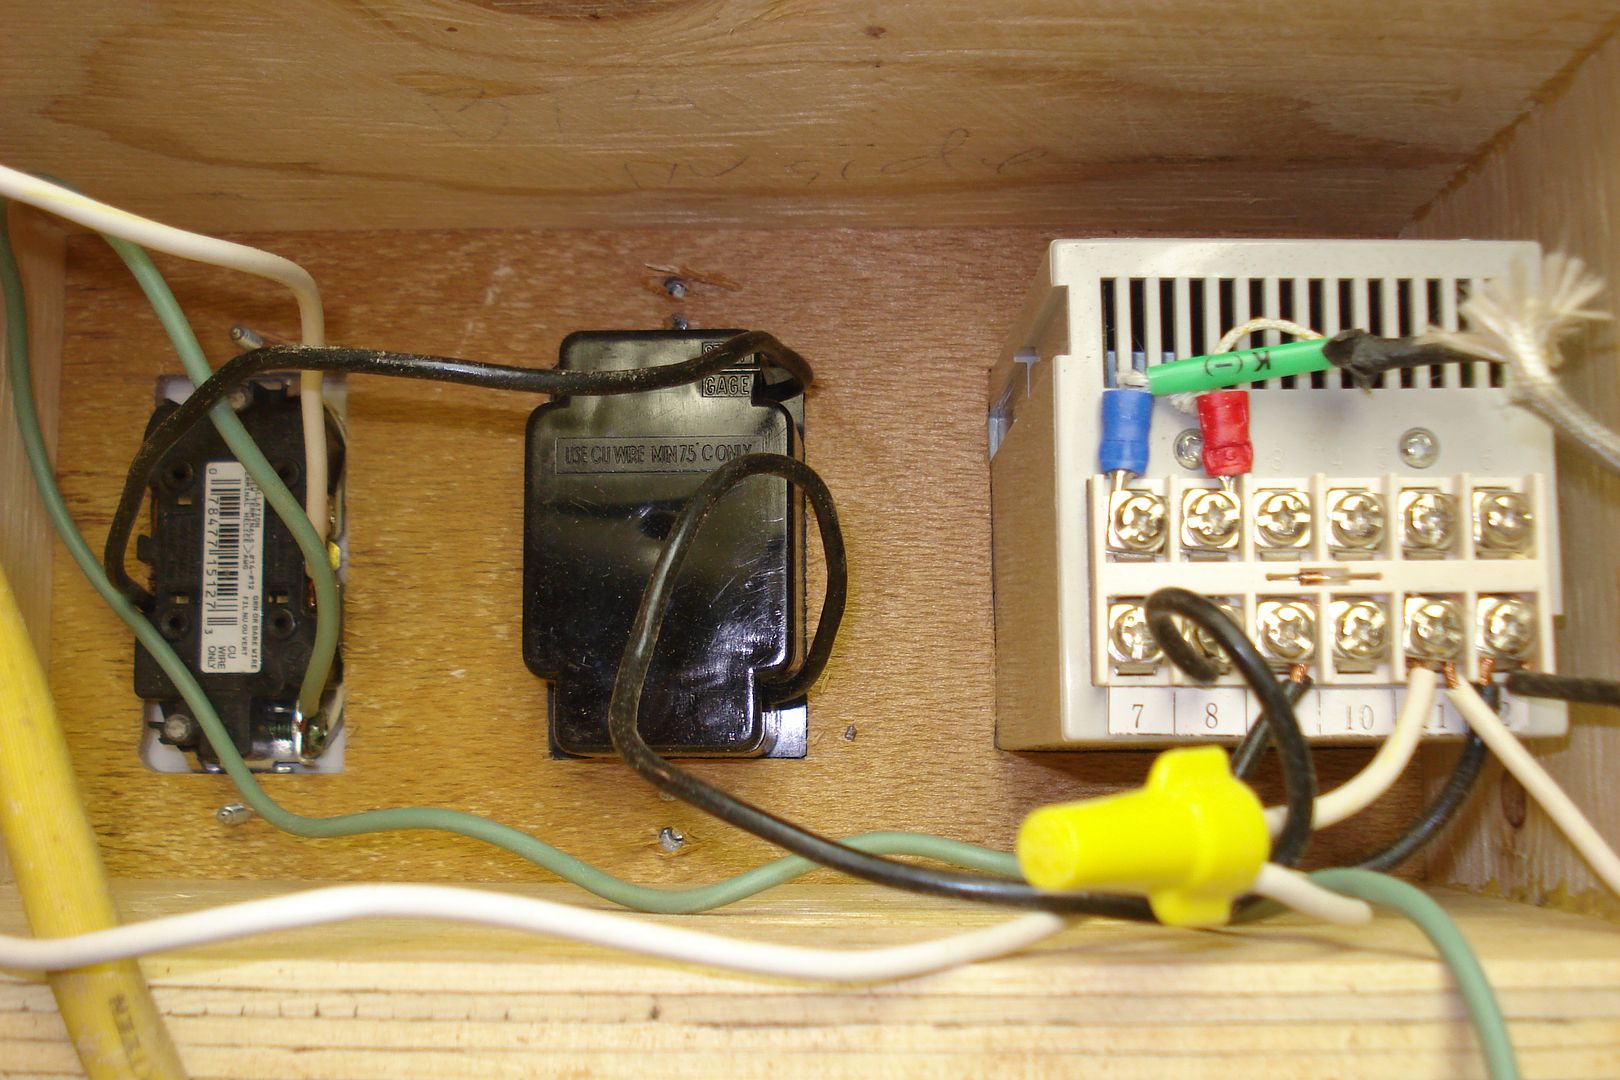
I have been planning and collecting parts to make one of these for a few years. Last summer I bought more parts from the OLF classified (thanks Scott!) and just recently picked up the last few things I needed. I have looked through the posts and couldn't find what I was looking for so decided that as I struggle through this I would post on my successes and failures and hopefully at the end have a system that works. First off a couple of things:
1) I AM NOT AN ELECTRICIAN!!! I am documenting how I build this unit but you need to be comfortable in your process or seek advice. Electricity can be dangerous and can cause fires!
2) I am using two blankets so this unit may be more than most people want/need
3) Fred Tellier deserves consulting credit on the advice on some parts and wiring
I have a couple of goals in my design. They are:
1) I want to know the temperature as the sides start to cool, that means when the relay to heat is shut off I still want a temperature reading
2) I may want to use other blankets or a different configuration so I am making this controller a stand alone unit with the blankets being able to be plugged in and out so I can change them.
So, I started last evening when Rod True indicated that he was thinking about the same thing. We have recently moved and we are still unpacking so I don't access to my table saw, CNC machine, jointer, etc. Small hand tools will be all that I have. So, here goes!
This is the bender I use, I may build a new one once I get the heating blankets all figured out.
Attachment: Bender.jpeg
To get started you need to collect your parts
Attachment: Parts.jpeg
Then you need to get something to place them into, for me it is 1/4" plexi glass because it was closest at hand. (for these parts and their mounting system I suggest going with 1/8" material as I had to make some modifications to get them installed into 1/4")
Attachment: Plexi.jpeg
Next, layout where you want the parts mounted
Attachment: Layout.jpeg
Then cut out for the components (this took a couple of hours or more with drill press, coping saw and files)
Attachment: Cutout.jpeg
And then install the components into the faceplate
Attachment: installed.jpeg
When I bought a but of the pieces as a lot it came with switches that light up and require a separate power 12V supply, so again this may be more than is required but "non-powered" switches are readily available and would simplify the project. Anyway, I will start wiring today and will explain what is going on as that progresses.
Thanks
Shane
|


