Someone asked the question a couple of weeks ago about how fellow OLFers made their guitar molds, so here's a short essay on how I make my external type molds.
Same principle works if you build using dovetail neck assembly or Spanish style construction.
I make mine by cutting half guitar shapes out of 14mm thick mdf and laminating them together to build up a deeper mold.
I'm assuming, if you're a newbie like me, you don't know how to use a router. So I'm going to be really pedantic with how I describe this. It's a bit complicated but if you read and follow the pics it should become a bit clearer.
Feel free to add comments :)
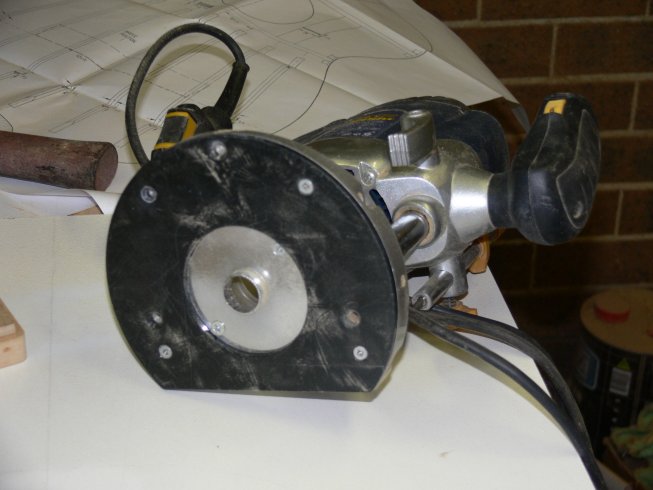
1) You need a router with a template guide.
2) You'll need to measure the distance between the outside of the collar on the template guide and the widest part of the cutting bit.
Use a straight cutting bit.
That distance, on my set up, is 5mm, which you'll need to compensate for later.(Insert your own measurement here when you're making your own.)
3) Select a body shape, or plantilla.
4) Make a card board template of your half guitar shape and draw it out onto a piece of 5mm mdf.
Thats your basic shape.
5) As mentioned, my template guide/router bit has a 5mm gap, so I used a compas, like a set of calipers to measure out and draw a 5mm line around the outside of my basic guitar shape.
So it looks like you're drawing a guitar shape that is 5 mm all round larger than what you want your final shape to be.
This new line represents the inside line of the template.
(sorry I didn't take pics of this bit)
What you're going to end up with is a template that's inside edge is 5mm bigger than you want the final guitar shape to be. That's how you compensate for the 5mm gap between the router's template guide and the actual cutting bit. When you cut the mold it will be an exact match with the guitar shape.
Some people's guitar molds have straight outside edges.
but the outside edges on my molds are also guitar shaped so that I can fit clamps around the mold to clamp the sides into the guitar when I'm assmenbling.
6 Decide what shape you want the outside of your mold to be and draw it on. You don't need to be too acurate with this, so long as its neat.
The outside shape of my guitar mold is 50mm larger again than the original shape of the guitar.
7)Cut out your template.
I cut mine out with a coping saw, and then sanded to shape.
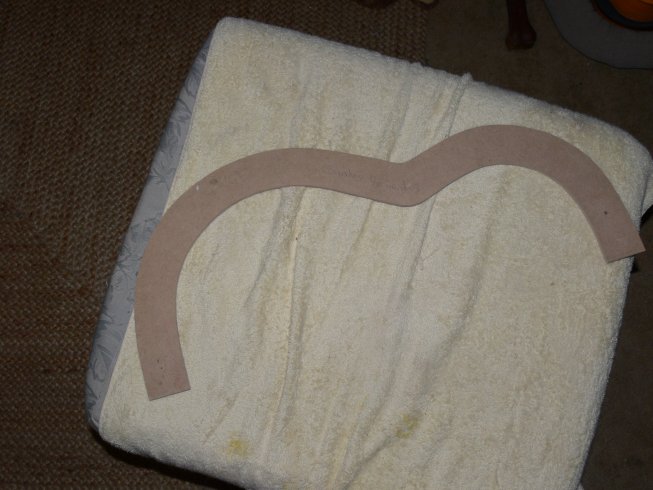
8) Select the material you want to make your mold from
and fix your template on. (I tacked mine on with brads)
I used MDF.
Whatever material you use, make sure the boards are flat.
They often aren't flat when you buy them and you end up with a wonky mold, so pay attention when selecting materials.
*important* You want the router cut to be perfectly square to the surface of the finished mold.
If its not square, the mold will be wonky.
8) When you cut out the template keep the waste pieces. Tack them around the template on the board your'e cutting the mold from, to balance the base of the router so that it doesn't wobble, and stays square to the surface of the job.
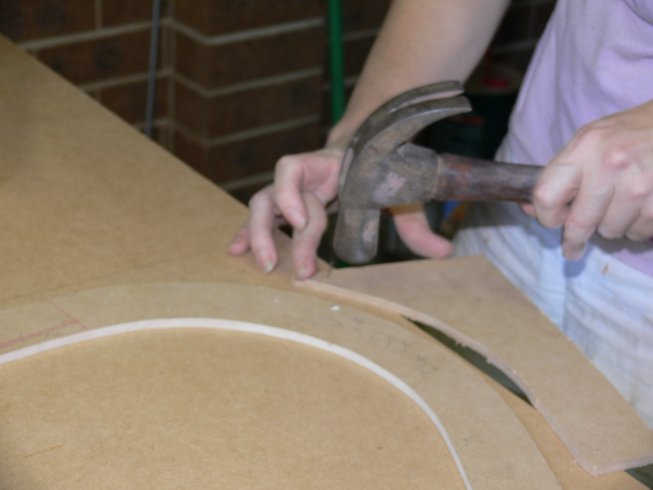
9) Do a couple of dry runs to make sure your router doesn't bind anywhere and, when you're satisfied, cut it out by doing small cuts, no larger than 5mm deep on each run.
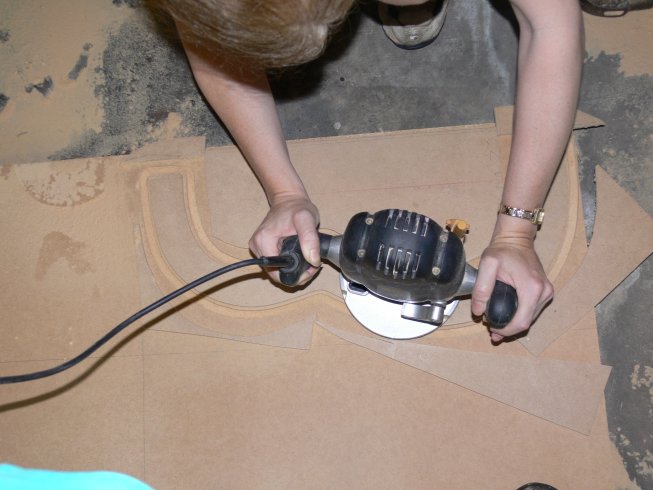
Heres what you end up with
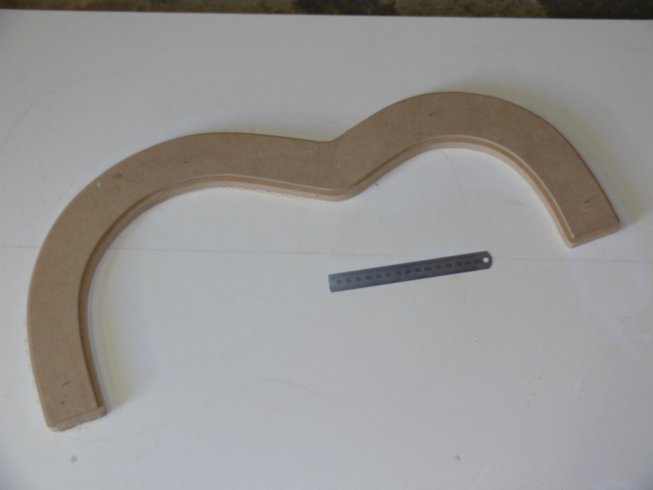
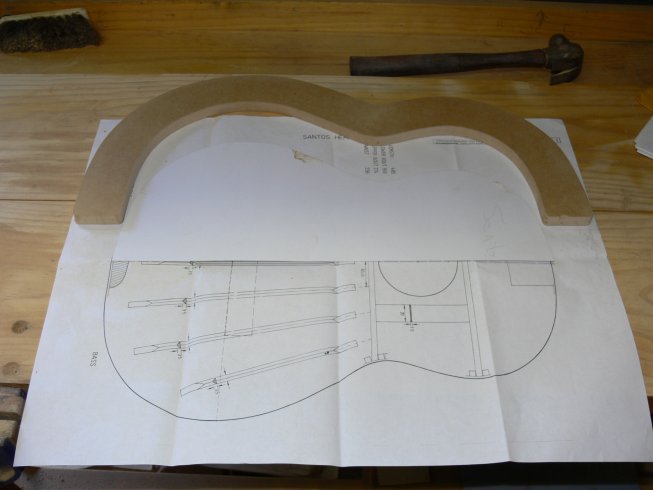
What I then do is to use the routed out part to draw up a final guitar shape on a piece of cardboard, just to make sure everything looks right before I continue.
10) if you're satisfied with the result, repeat the process of tacking on the scrap cutouts, doing a dry run and rout out several more guitar half shapes as needed till you have 6, or 8 of them. However many you need to build up a deeper mold.
11) The next part of the process is to glue the cutouts together in two stacks.
Drive a couple of brads into a piece of board and then turn the board up so the brads are sticking up.
Drive one of your guitar shapes onto the brads just to temporarily locate it and so you can check it with a square.
The sides need to be square with a working surface.
(actually they wont be square with the working surface of a solera because soleras are dished, but for the purposes of buliding a mold, keep the sides of the mold square with an imaginary flat working surface)
You can remove the mold from the board later without nails being stuck in it.
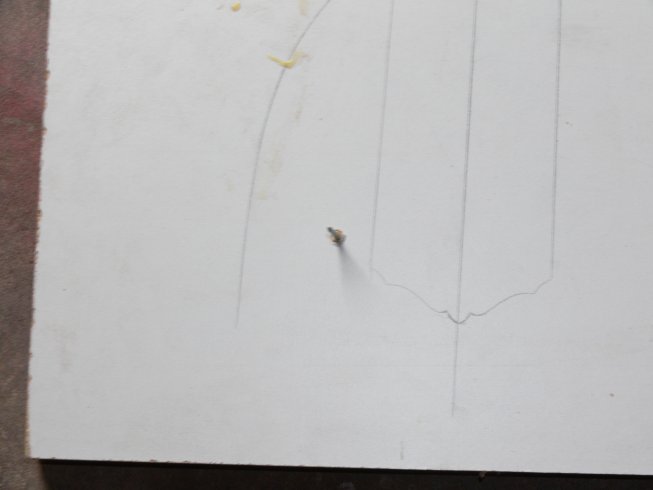
12) Build up layers of routed out shapes by glueing them together.
I drill a pilot hole in each new shape and do to dry fit before glueing each layer.
I then temporarily tack it on so it doesn't creep when glueing.
double check regularly with a square.
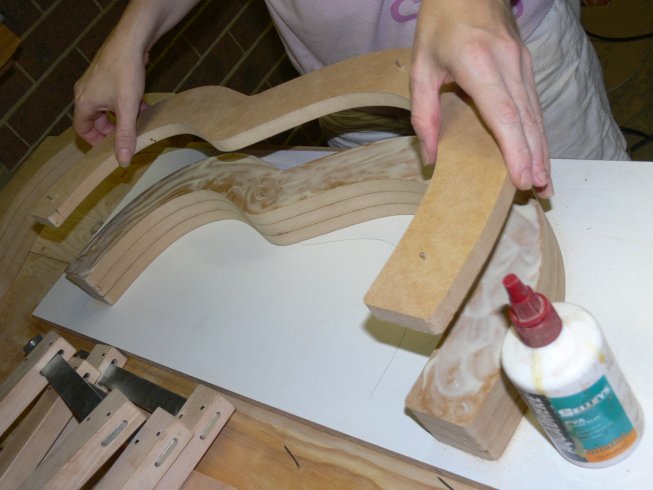
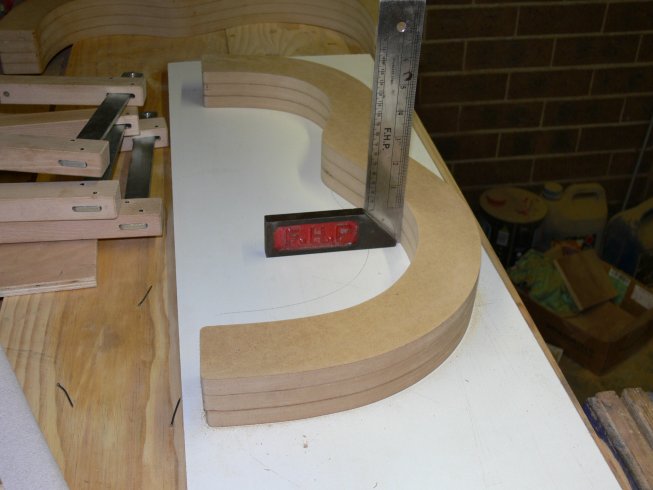
You'll end up with with a mold deep enough to build a guitar in.
Don't make it too deep or you won't be able to get lining clamps on the sides during guitar assembly
13) The ends of my routed out shapes are rounded, because of the routing process.
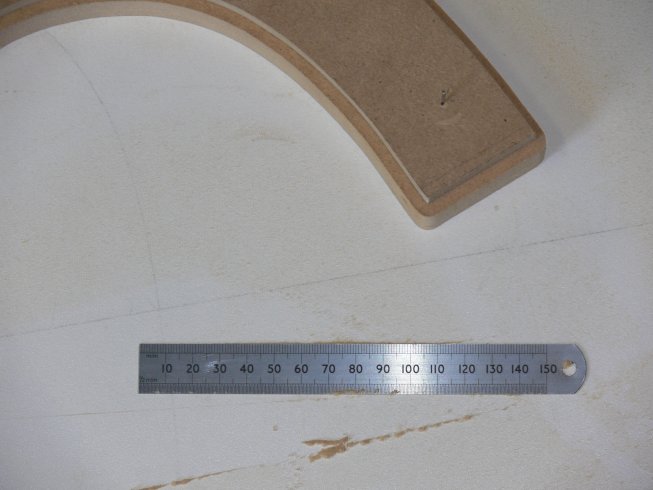
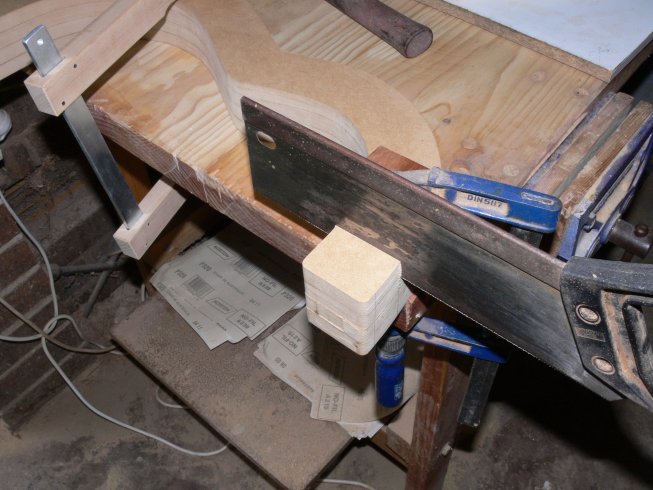
14) Cut off the rounded ends AFTER you've laminated them together.
In the picture below I'm cutting off a large piece so as to make way for an aperture for a neck neck as in spanish style construction.
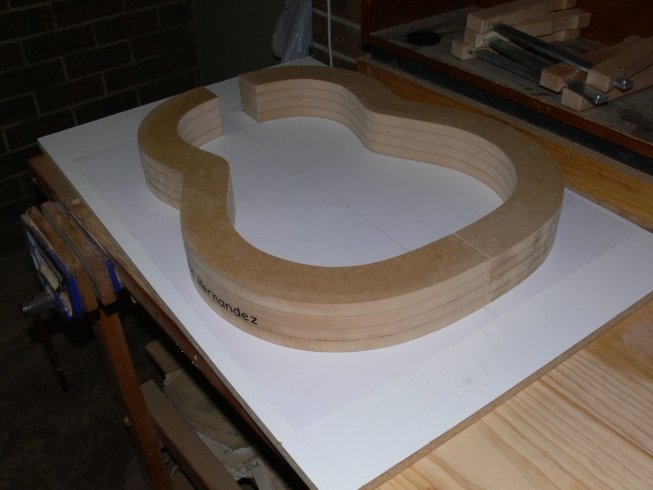
Here's the final results:
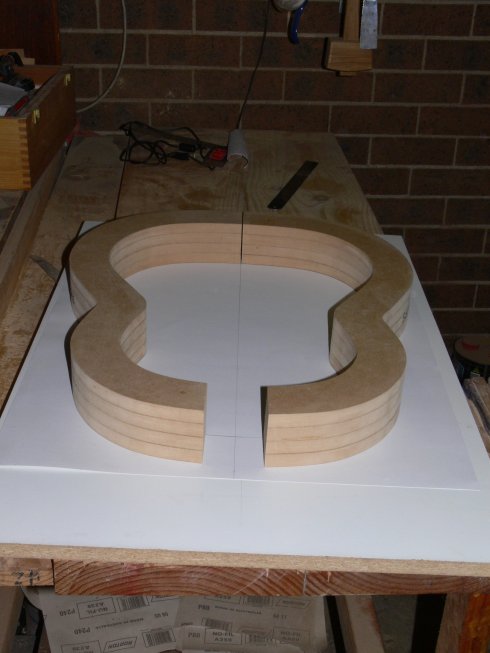
cheers,
Claire


